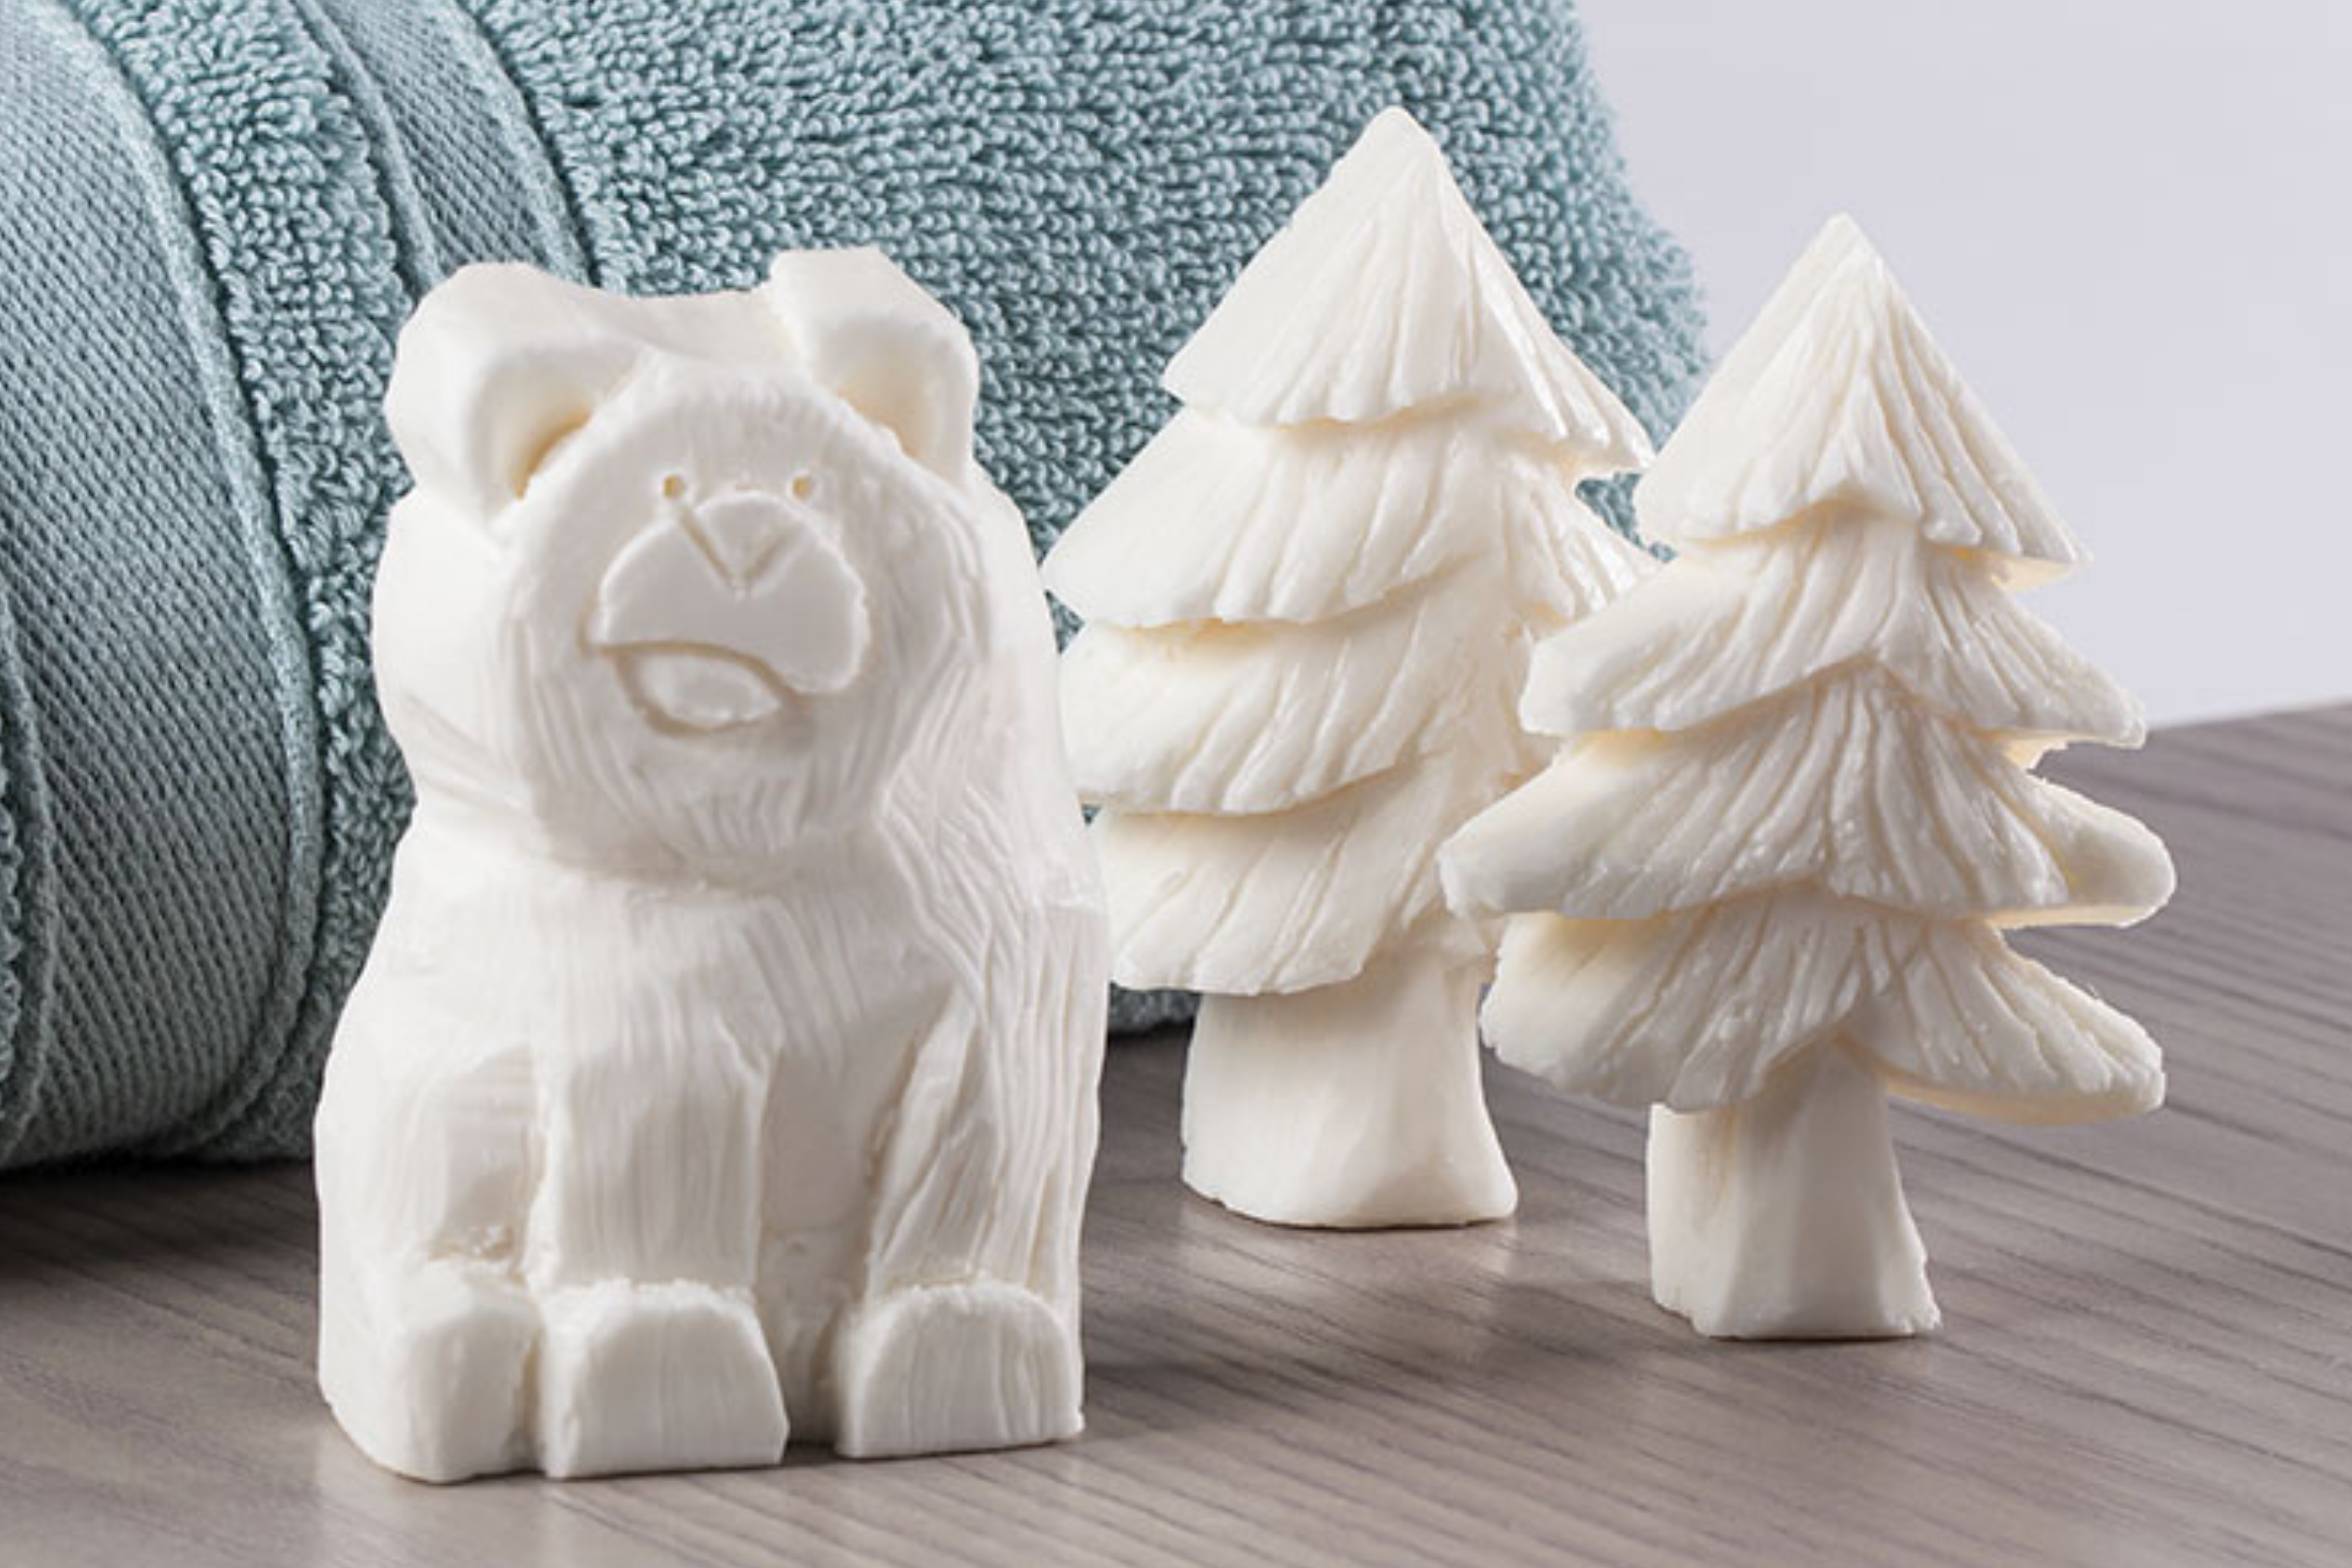
These fun and charming patterns will bring the rustic charm of a mountain-nestled cabin to your city dwelling or your country home.
Not sure if wood carving is for you? Soap carving is a great introductory step towards whittling wood for beginners. Try your hand at the craft with this low-cost and low-risk project.
Things You’ll Need
Materials
• Ivory soap: 1 bar for each
• Marking tool: stickpin or toothpick
• Acrylic paint: assorted colors (optional)
• Paint brushes: assorted sizes (optional)
Tools
• Knife
• #3 gouge: 1/4″ (6mm) (optional)
• #5 gouge: 1/2″ (13mm) (optional)
• V-tool: small (optional)
Getting Started


Center the template on the soap bar and transfer it with your preferred marking tool. You can achieve this by poking a stickpin through the pattern to indicate the basic landmarks.
Remove the pattern. This will reveal a stipple outline of your bear.


Begin to connect the dots with a knife. (You could also make one from a popsicle stick: use a hobby knife to shape a blade at the end of the stick, then sharpen by sanding with 220-grit sandpaper.)
Make a stop cut around the tops of the ears. Use the knife or a medium-sized gouge of your choice; I prefer a 1/2″ (13mm) #5.
Roughing Out


Establish the shape. Remove the soap from around the bear’s body until you reach the desired shape. Use the knife, leaving details (such as the snout and feet) for later.
Use the knife to make stop cuts between the head and ears. Relieve the ears slightly to distinguish them from the crown of the head. Then start detailing the face, making gentle stop cuts to separate the features. Relieve the face slightly so the snout protrudes.
Adding The Details


Start shaping the legs and feet with your knife. If desired switch to the 1/2″ (13mm) #5 gouge to round and smooth. (I just stick with the knife.)
Define and separate the legs and feet. Use the knife or the 1/2″ (13mm) #5 gouge.


Continue adding details and smoothing the edges. Use the knife or a small 1/4″ (6mm) #3 gouge.
Add the rest of the snout details, separating the bottom lip and nose from the upper lip. Use a small knife and apply gentle pressure when adding the nose, or it may snap off.


Shape and clean the ears. Use the knife or the 1/2″ (13mm) #5 gouge.
Texture the fur. Make fur lines using a small V-tool of your choice. Finish with acrylic paints if desired.
Subscribe To The #1 Carving Resource
SAVE 22% off the cover price on a 1 Year Subscription (4 Issues)


Recent Comments