


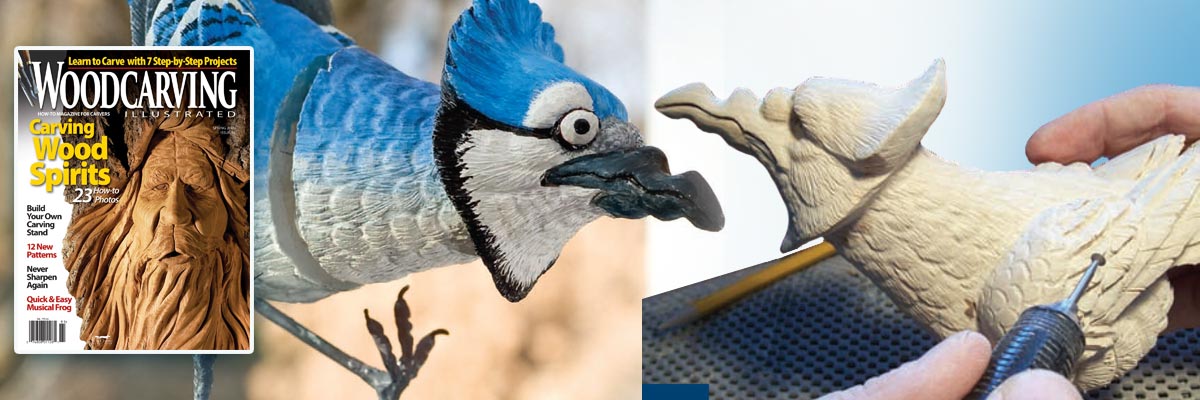
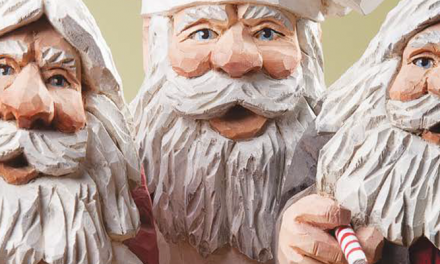
Peek-A-Boo Jay – Delightful critter splitter wood carving is sure to get a second look
By Doug Brooks
Visitors are sure to get a chuckle out of this clever critter splitter wood carving. When positioned on either side of a pane of glass, the two-part carving creates an optical illusion. Children will be delighted and everyone will want to know the secret.
The bird is carved as one piece and then cut in half. A magnet is attached to one side with a matching washer attached to the opposite side. The critter splitter can be displayed on a pane of glass, hat brim, lamp shade, or a variety of other surfaces. For thick materials, like a bookcase or double-hung windows, use a dot of cyanoacrylate (CA) glue to secure both halves to the surface. The CA glue holds the pieces in place, but is easy to separate with a quick twist. The residue can be scraped off easily.
WCI Subscription
Get Woodcarving Illustrated delivered to your door 4 times a year.
I used a Dremel rotary power carver to rough out the carving and added the feather details with a Ram micromotor. Use your tools of choice. Mark the areas to be removed with diagonal lines and redraw the pattern lines as waste is removed. Use center lines and calipers to transfer pattern details accurately.
You can use the technique to make an assortment of carvings. In addition to whimsical critters, use the technique on a carved airplane. Secure two halves of a decoy to the top and bottom of a glass table. Have fun and experiment with creative ways to display your carvings. Send us photos of your own critter splitter creations. carving may be featured in an upcoming issue of Woodcarving Illustrated.
Use this simple wood carving technique to create a menagerie of optical illusion carvings, such as this goldfish.
~ Doug Brooks
Blue Jay: Roughing Out the Bird
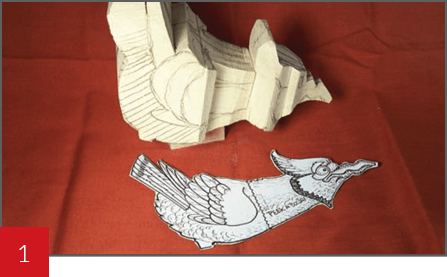
1. Cut the blank.
Attach the patterns to a piece of cardboard and cut around the perimeter. Trace the outline onto your carving blank and cut the blank on a band saw. Draw center lines and sketch the details onto the blank.
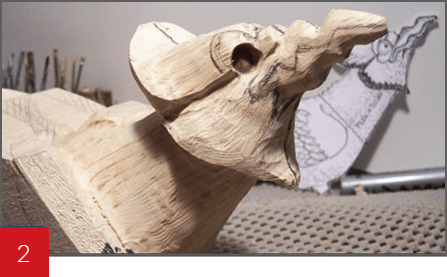
2. Shape the face and neck.
Drill the holes for the eyes. Round the face and neck with an aggressive carbide carving bit. Redraw the details, transferring measurements from the pattern to the blank with calipers.
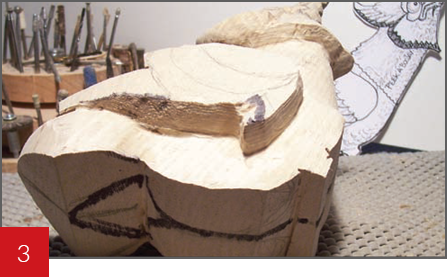
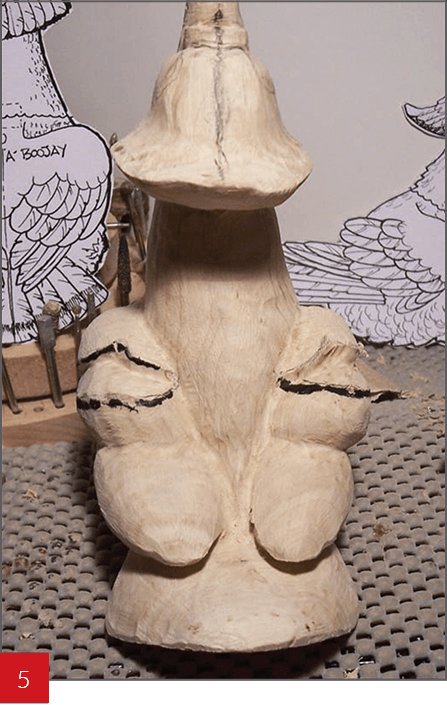
3. Rough shape the breast, belly, and wings.
Remove the excess wood from around the wings using your tools of choice. I use a carbide bit in a rotary power carver.
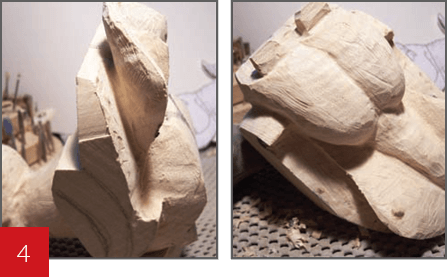
4. Shape the tail and rump.
Continue to rough shape the bird using center lines to keep the carving symmetrical. Note the gentle curve of the tail and the square areas left for the legs.
Blue Jay: Shaping the Bird
5. Shape the Wings.
Refer to the pattern often and shape the wings with the same carbide bit. Divide the wings into three feather groups. Sand the entire carving smooth. Drill holes for the legs where the square leg area meets the breast.
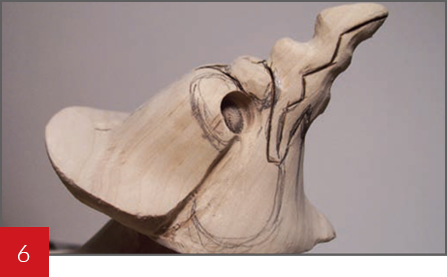
6. Begin detailing the face.
Trace along the beak lines with a wood-burner. These burn lines will act as stop cuts when you carve more details into the face. Shape the beak with a barrel-shaped diamond bit in a micro motor.
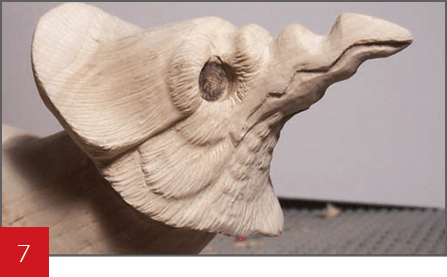
7. Add the feathers to the face.
Pencil in the feather lines using the pattern as a guide, and then trace them with a wood-burner. Shape the feathers with a barrel-shaped diamond bit. The feathers on the head are soft and flowing.
Blue Jay: Adding the Details

8. Carve the individual feathers.
Refer to the patterns and sketch in the individual feathers in the wings and tail. Trace along the lines with a wood-burner. Then use a barrel-shaped diamond bit to shape the feathers.
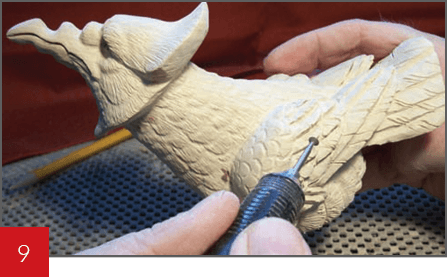
9. Add the feather details.
Sketch, burn, and carve the soft feathers. Add feather splits as desired on the larger feathers on the wings and tail. Use a cone-shaped diamond bit. Use a wood-burner to add texture and detail to the larger feathers.

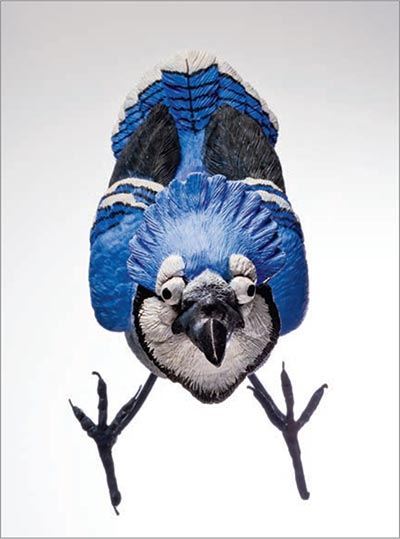
10. Separate the two parts.
Draw four reference marks along the center-line of all four sides. These marks are used to align the magnet hardware. Use a band saw to separate the head from the body. Extend the reference marks across the cut ends.
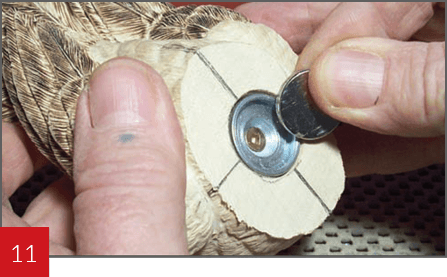
11. Add the hardware.
Center the magnet holder and the washer on opposite sides. Trace around the hardware and carve recesses so they sit flush with the surface. Attach the hardware with the screws supplied and place the magnet in the holder. Use a second magnet instead of the washer for additional strength.
Blue Jay: Painting and Finishing
Roll small pieces of Kulis Karvit epoxy into balls and insert them into the drilled holes to represent bulging eyes. Rough shape the epoxy eyes with dental tools and refine them with a diamond bit in a rotary power carver. Carefully bend pewter feet to shape or create feet out of copper wire and epoxy.
Test the strength of the magnet by connecting the pieces on either side of a piece of glass or your intended surface. Dry fit the legs into the drilled holes and bend them into position so they appear to be pushing against the surface. Remove the parts from the surface, remove the legs, and reattach the sections before painting.
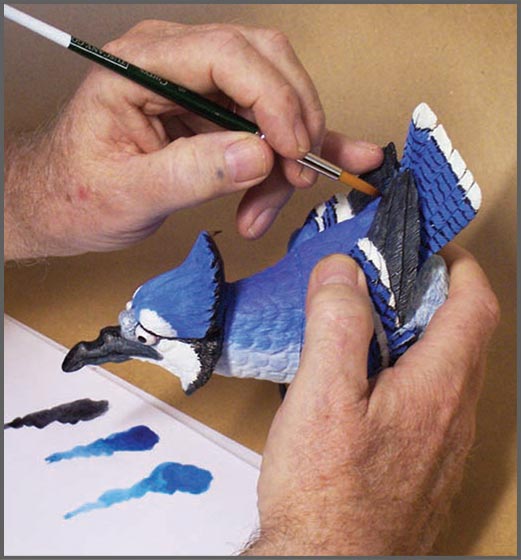
Use the reference marks made in step 10 to make sure the bird is aligned properly. Apply a coat of gesso. Paint the bird with acrylic paint. Use the reference photos as a guide. Don’t worry if your paint job isn’t perfect. If you hit a window, you feathers wouldn’t be perfect either. When the paint is dry, mask off the eyes and apply dull coat to the entire carving. Glue the legs in place with small pieces of epoxy.
Blue Jay: Project Materials and Tools
MATERIALS:
- 3½ ” x 5″ x 8″ basswood or wood of choice
- Kulis Karvit two-part epoxy
- Pewter feet or copper wire to create feet
- Assorted grits of sandpaper
- Jo Sonja acrylic paint: black, warm white, burnt umber, phthalo blue, French ultramarine blue
- Dull coat or dulling spray of choice
- ½ “-diameter rare earth magnet with holder kit and washer
TOOLS:
- Band saw
- Dremel rotary power carver
- Micromotor
- Cylinder-shaped carbide carving bit
- Wood-burner of choice
- Assorted diamond bits including cylinder-shaped and cone-shaped
- Dental tools
- Screwdriver
SPECIAL SOURCES:
- Rare earth magnet kits are available from Lee Valley Tools, www.leevalley.com
Other Wood Carving Titles
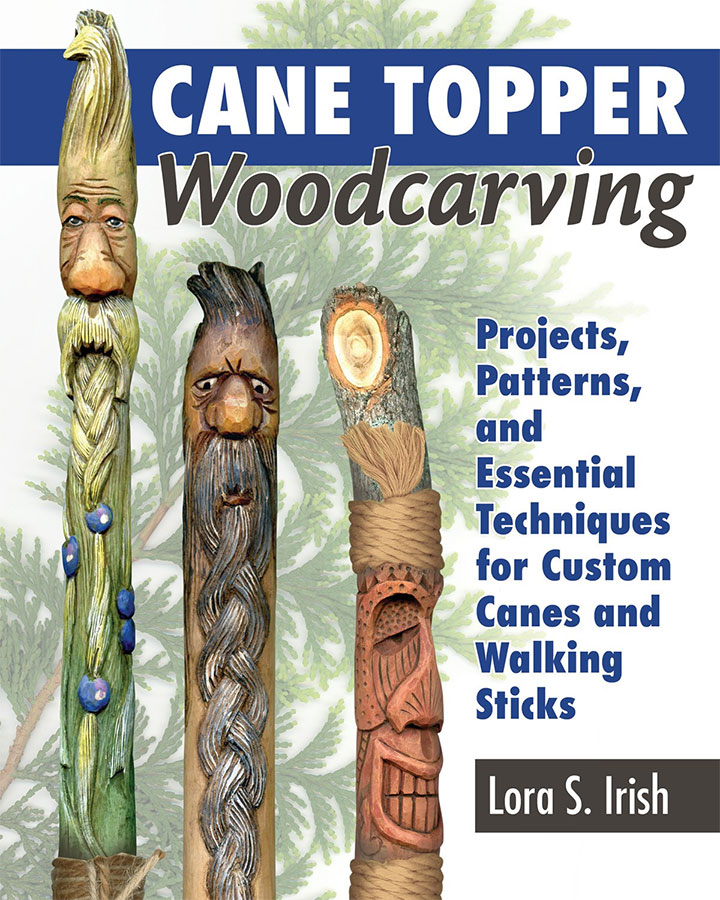
Cane Topper Woodcarving
Discover how to create unique and beautiful canes that will be treasured as useful works of art. Legendary carving artist Lora S. Irish introduces you to all of the essential components and techniques of cane topper carving in this comprehensive guide.
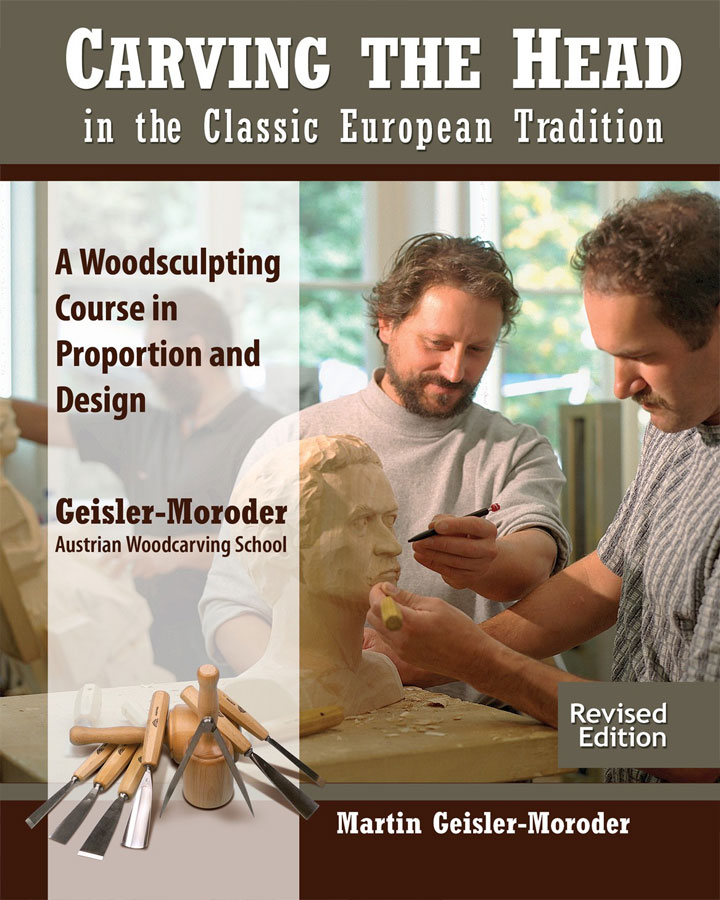
Carving the Head in the Classic European Tradition
Learn to carve a classic European bust using the traditional and famous system of Tyrolean carvers. This book presents a complete woodsculpting course in proportion and design, prepared by instructors at the renowned Geisler-Moroder Austrian Woodcarving School.
Get Exclusive Email Offers And Receive 15% OFF On Your First Book Order!
About the Author
Doug Brooks, who resides in Bobcaygeon, Ont., Canada spends most of his time in the home-based workshop attached to his studio. A fine art painter and graphic artist, Doug took up carving in 1999 as a hobby without deadlines. His quirky sense of humor comes out in his wooden creations, especially as a release after spending time on a serious piece for competition.
Recent Comments