


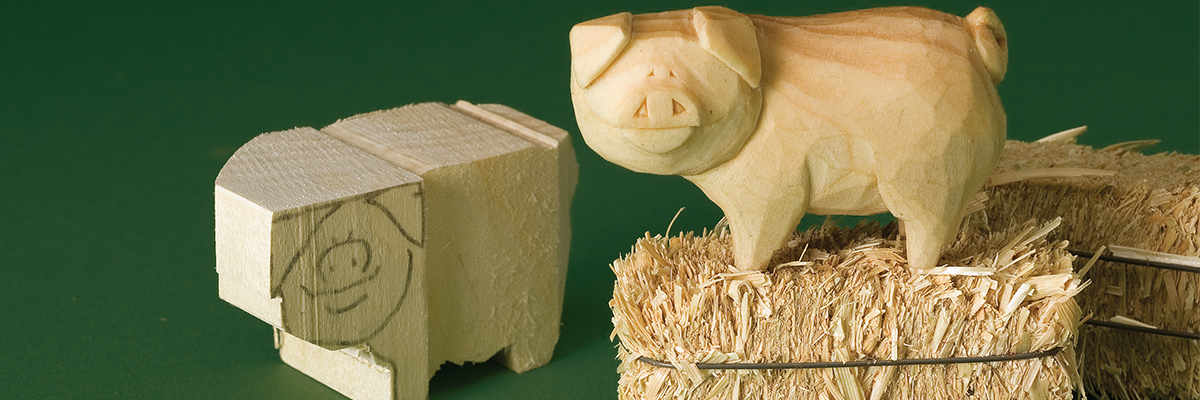
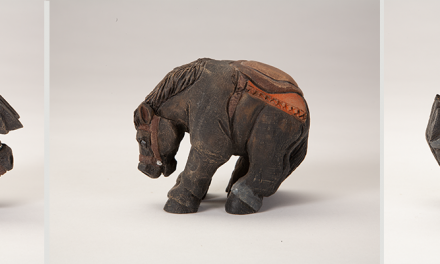
How to Whittle a Caricature Pig
Whittle this little piggy with your own personality!
By Christine Coffman, Article originally from Whittling Magazine, Issue 2011.
This little porker is big on personality but can be completed with just a few basic tools. Beginners can expect good results with their first attempt, and more experienced carvers can fill a pig pen in a weekend.
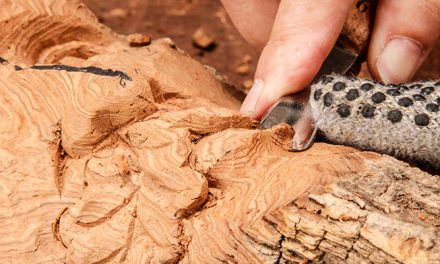
I prefer the Warren #8B and #20EX blades. The #8B is slightly curved and the #20EX is sharpened on the outside curve of the blade. The #20EX is great for making cuts on a flat surface. I also use a Drake knife with the blade mounted at an angle toward the handle. This design creates very little stress on the wrist. Whatever tools you choose, make sure they are sharp. Sharp tools require less pressure to make the cut, which gives you more control and smoother cuts. Transfer the pattern onto the blank. Make sure the grain runs parallel with the pig’s legs. Many boards check or crack at the ends because the exposed end grain dries faster. Position your pattern away from the end of the board.
You will need:
- 1 1/2 ” x 1 3/4 ” x 3″ (38mm x 44mm x 76mm) basswood, butternut, or cottonwood
- Formby’s low-gloss tung oil
- Carving knives
- Band saw or coping saw
- Free pattern included (click here!)
Whittling Volume 5 (2018)
Wood Carving a Caricature Pig: Roughing Out
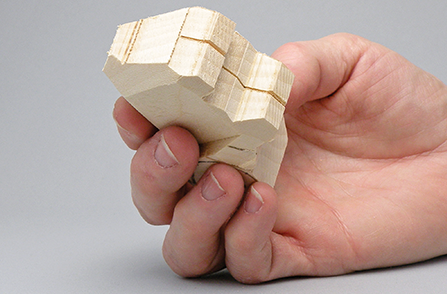
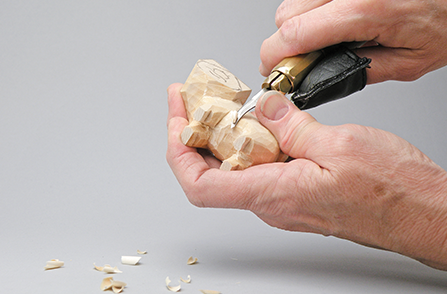
1. Cut the profile.
Cut the profile. Use a band saw or a coping saw. Cut away any sharp angles. Clamp the pig in a vise and use a hand saw to make a cut separating the two front legs and the two back legs. Do not cut too deep in the belly area. Sand the bottom of the feet smooth and level.
2. Rough out the body.
For greater control, cut thin slices of wood away from the carving. Round the pig’s body. Leave extra wood for the tail. Carve all of the areas equally. Don’t spend too much time carving in one spot. Block in the tail and continue rounding the body.

3. Define the legs.
Use the tip of a knife to make a stop cut along the area you want to remain. Repeat this step to make a slight groove. Carve up to the stop cut, making small cuts to avoid snapping off the legs. Thin the legs and feet. 3
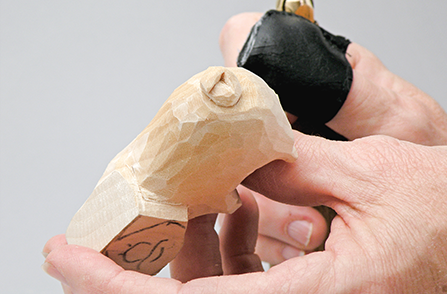
4. Refine the overall shape.
Remove wood from the back of the head. Use stop cuts and thin slicing cuts to define the upper part of the legs and round the belly. Keep turning the figure and carve all of the areas equally.
Wood Carving a Caricature Pig: Adding Definition
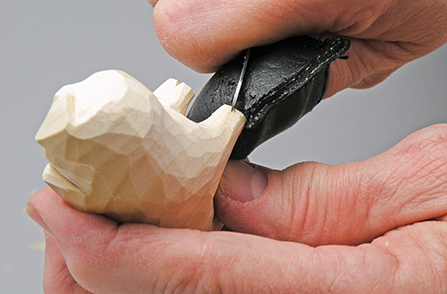
5. Carve the curly tail.
Use the tip of a knife to stop-cut along the area where the tail overlaps itself. Cut down into the center of the tail to make it look like a doughnut. Separate the tail where it overlaps, clean up the cuts, and smooth the surface of the tail. .
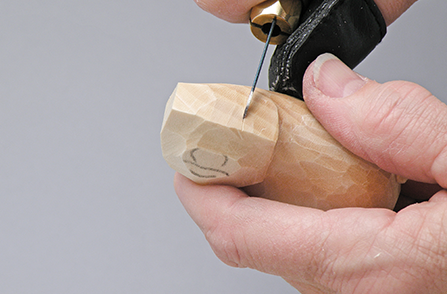
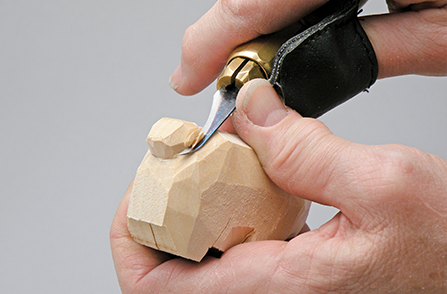
6. Rough out the pig’s face.
Carve away the wood from the sides of the pig’s face. Leave wood for the snout. Stop-cut around the edge of the ears on top of the head with the tip of the knife. Begin removing the waste wood between the ears.
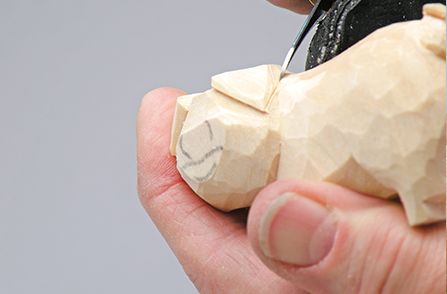
7. Finish Carving the Ears.
Stop-cut around the front and sides of the ears, giving them a triangular shape. Relieve the wood around the ears. A curved blade with the outside edge sharpened, such as a Warren #20EX, is useful for this step.
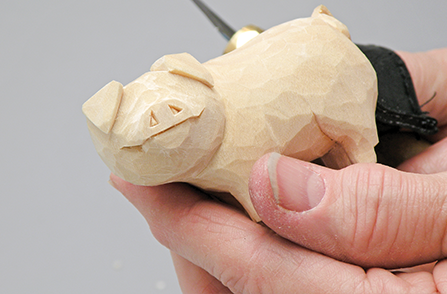
8. Carve the mouth and snout.
Make a stop cut along the upper jaw line and carve up to this line from below to make the chin smaller than the snout. Smooth and shape the chin and snout. Stop-cut around the triangular nostrils and carve away the wood inside the nostrils.
9. Carve the pig’s feet.
Carve a small V-shaped wedge from the front of the pig’s feet to simulate cloven hooves.
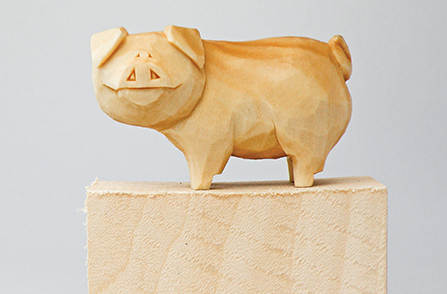
10. Finish the carving.
Carve two tiny triangular eyes set close together. Go over the entire carving and remove any rough cuts. Use a knife to add your signature and the date. Apply the finish. Dip the carving in Formby’s low-gloss tung oil. Wipe off the excess and let it dry overnight. Dip the carving again and let it dry overnight.
More Resources:
Get your copy of the NEW Whittling Special Edition Issue of Woodcarving Illustrated Magazine here!
Be on the lookout for a new whittling book by Chris Lubkemann, the Little Book of Whittling coming out on July 10!
Click here for more whittling tutorials on Woodcarving Illustrated’s blog.
Other Wood Carving Titles
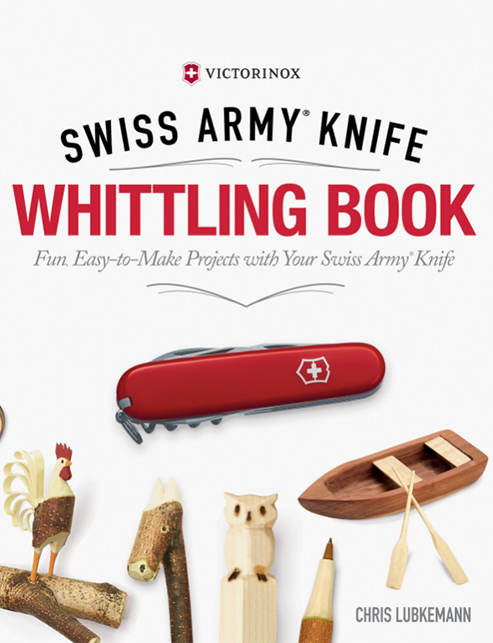
Swiss Army Knife Whittling Book
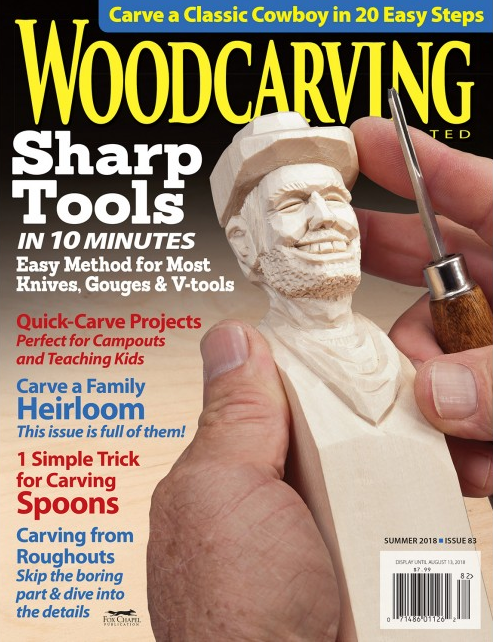
WoodCarving Illustrated Magazine
Get Exclusive Email Offers And Receive 15% OFF On Your First Book Order!
About the Author
Robert Triplett has been carving for most of his life. He retired from the U.S. Army after twenty-five years of service and later worked as a safety engineer at electrical power plants. Born and raised in Bedford County, Pa., Robert lives in Hummelstown, Pa.
Recent Comments