


PYROGRAPHY VOLUME 6 (2018)
The 2018 issue of Pyrography features a variety of projects, patterns, and features, as well as interesting techniques.
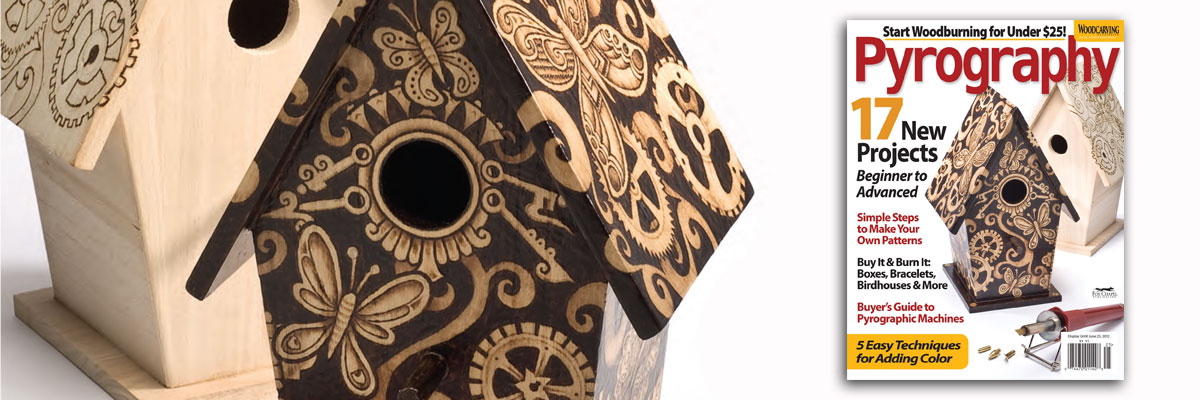
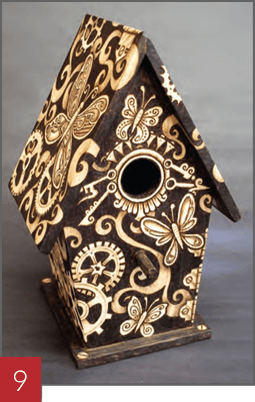
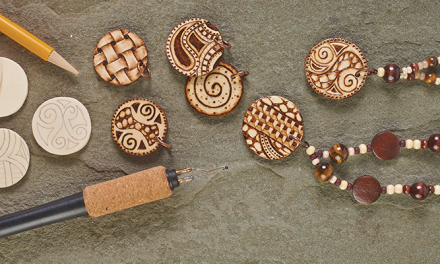
Practice dark shading with this lighthearted steampunk design
Wood Burning a Birdhouse
By Sheila Rayyan
ARTICLE ORIGINALLY FROM Pyrography Magazine Issue 2 2012
I started doing pyrography a few years ago when we built an addition onto our house. I wanted to burn some leaf designs into our new staircase, so I bought an inexpensive soldering iron-type woodburner at a craft store and started practicing on random objects in our house.
A small, unvarnished footstool was my first target. I soon upgraded to more professional pyrography tools and moved on to other objects: trinket boxes, birdhouses, wooden utensils, etc. Now it’s become a bit of an obsession— whenever I see something made of wood, I wonder if I can burn a design on it. I currently have my eye on our rustic coffee table.
I like to do birdhouses because they come in all sorts of interesting shapes but are still simple enough to let my designs stand out. You can buy inexpensive birdhouses at the local craft store and make them look like a million bucks. I look for houses that have uniform color and few variations in the wood grain. I also check to make sure it’s relatively well made and not damaged; I avoid loose, broken, or missing parts and large gaps in the joints.
Now Let’s get the tutorial started and begin wood burning a birdhouse.
I like to do birdhouses because they come in all sorts of interesting shapes but are still simple enough to let my designs stand out.
~ Sheila Rayyan
Wood Burning a Birdhouse: Burning the Design
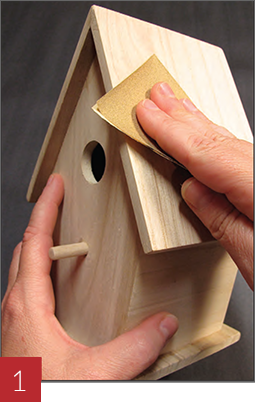
1. Prepare the surface.
Using 220-grit sandpaper, sand the birdhouse well to remove any excess glue and grime. Sand stubborn glue with coarser paper, and then go over it again with the 220-grit. Clean off the wood dust with a tack cloth
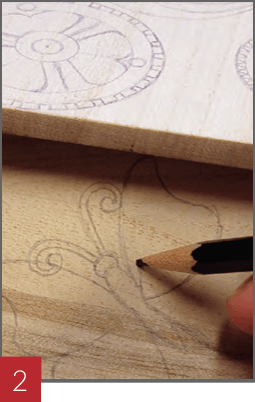
2. Draw the design.
I usually draw my designs freehand in pencil, but you can transfer the pattern using graphite paper. Draw lightly so the marks are erasable. I like to wrap the design around the sides and edges to make it more interesting.

3. Burn the outlines.
I use a 1.5mm ball stylus. After burning all of the outlines, make sure the design is balanced, check for gaps in the composition, and add more design elements if needed.
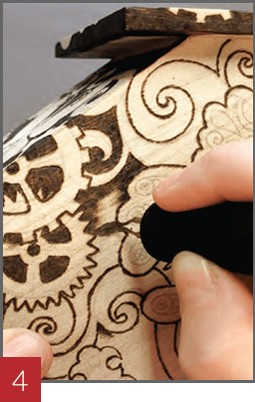
4. Fill in the dark background.
Use a medium/small spear shader to burn the solid background in the smaller areas. Avoid the temptation to crank up the heat. This makes the pen uncomfortably hot in your hand and might scorch the wood or damage the pen. Be patient and slowly darken the wood using short, slow strokes.
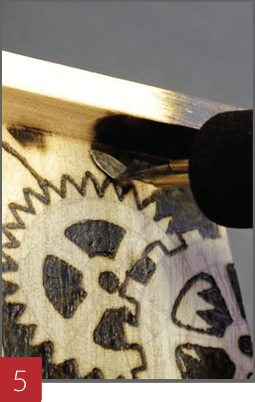
5. Burn the corners.
The pointed tip of the spear is useful for getting into the corners where the wood joins, as well as burning narrow spots in the design.

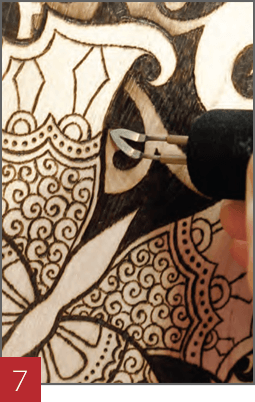
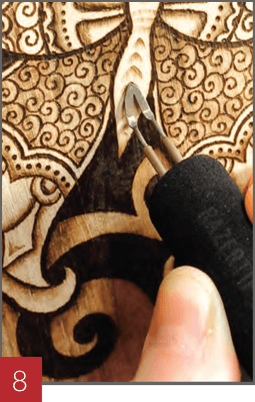
6. Add the details.
Use a fine-point .8mm ball stylus to draw the fine detail lines, such as the designs on the butterflies
7. Add depth with shading.
Before shading, erase any pencil marks that are showing. Use a medium spear shader. Turn the heat down low and test your technique on a scrap of wood, slowly bringing the temperature up to create the right shading effect. Shade with long, quick strokes and very light pressure to slowly build the color and create nice gradations. The wood grain will add interesting lines and striations.
8. Create the final details.
With a light heat setting, use the tip and edge of the pen to make interesting patterns.
9. Apply a finish.
like to brush on several coats of water-based varnish, sanding lightly between coats with 400-grit sandpaper. Spray varnish is an easy alternative. Most birdhouses available in craft stores are made from basswood, so they are best kept indoors and enjoyed as home décor.
Wood Burning a Birdhouse: Materials & Tools
MATERIALS:
- Premade wooden birdhouse
- Sandpaper: 220- and 400-grit
- Tack cloth
- Graphite paper
- Varnish
- Scrap of wood
TOOLS:
- Pyrography machine and pens or tips, such as Razertip: .8mm ball stylus, 1.5mm ball stylus, medium/small spear shader, medium spear shader
- Pencil: 2B or #2-type
- Eraser
- Utility knife
The author used these products for the project. Substitute your choice of brands, tools, and materials as desired.
Other Pyrography Titles
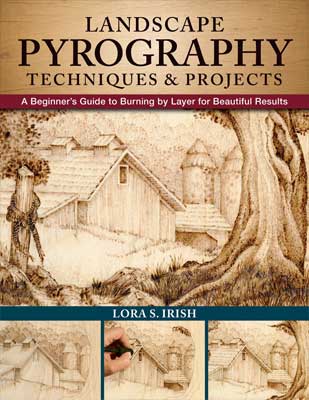
Landscape Pyrography Techniques & Projects
Create realistic landscape pyrography burnings with this comprehensive guide. Discover easy-to-learn methods for working in layers to obtain stunning results, along with 4 practice projects, a step-by-step Mail Pouch Tobacco-style barn project, and dozens of ready-to-use patterns with finished examples.
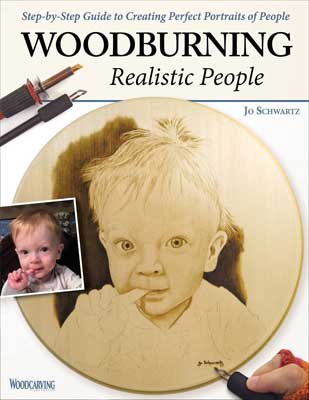
Woodburning Realistic People
Turning a photograph of a loved one into a realistic pyrography pattern is easier than you think! Discover the art of portrait burning, and start creating perfect likenesses of your favorite people in wood.
Get Exclusive Email Offers And Receive 15% OFF On Your First Book Order!
About the Author
Sheila Rayyan lives on the island of Martha’s Vineyard off the coast of Massachusetts. She and her husband both make their living as artists. In addition to pyrography, Sheila does ceramics, drawing, sculpture, and dances with a local belly dance troupe. Someday she wishes to learn how to play the bagpipes. See more of her work at www.motherspoon.com.
Recent Comments