


Top 10 Wood Burning Tips & Tricks
Wood burning art hacks that will make your pyrography sessions easier
If you’ve ever wanted to learn how to wood burn or are a seasoned pyrographer, below are 10 essential wood burning tips for any level to keep bookmarked.
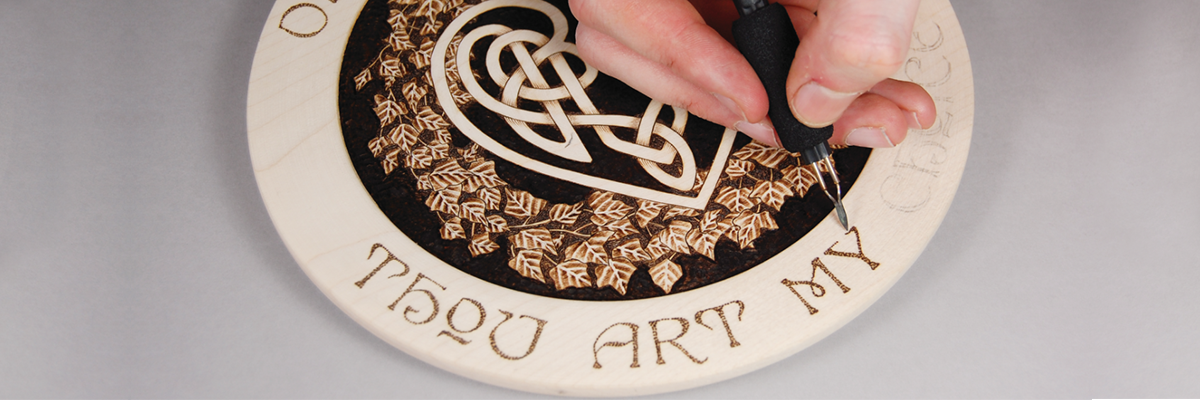
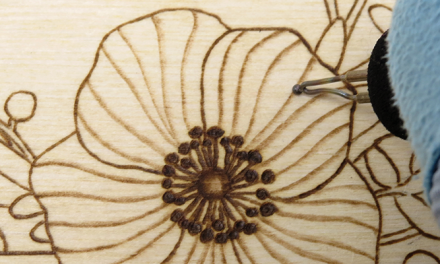
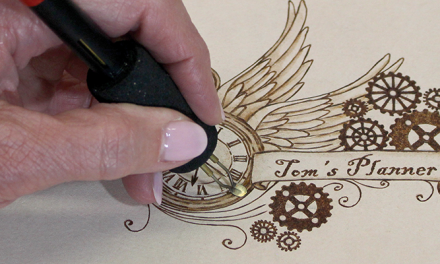
Pyrography is the art of creating simple line designs, highly detailed renderings, and finely shaded and shadowed drawings using a hot-tipped pen. As the electrically heated pen is pulled across the surface of the chosen medium, the tip literally burns the medium to create varying tonal value lines. The most common and familiar medium used in pyrography is wood, which is where the oft-used term “woodburning” comes from, although pyrography is done on many other media as well, such as paper, leather, and gourds. The pattern of lines and shading strokes that you use in your pyrography work determines the art style of the finished piece. Any pattern can be worked in any art style or in a combination of styles. (Lora Irish, Landscape Pyrography Techniques & Projects)
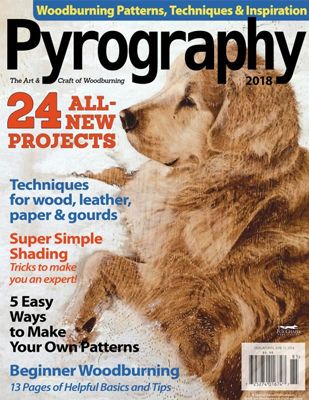
Pyrography Magazine
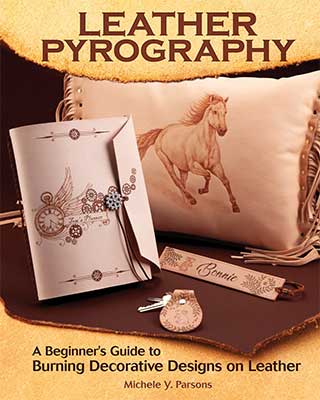
Leather Pyrography
For absolute beginners or passionate wood burners that are curious to work on a new medium, this book by pyrography teacher Michele Y. Parsons is a must-have, detailed guide to leather pyrography. Containing six projects .
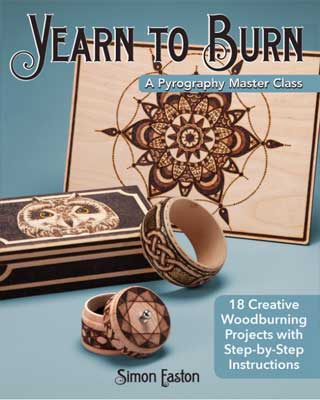
Yearn to Burn: A Pyrography Master Class
Take your woodburning art to the next level by taking a masterclass with award-winning pyrographer Simon Easton! This inspired sequel to Learn to Burn offers the opportunity to advance your skills with guidance from a master craftsman. Nineteen new projects.
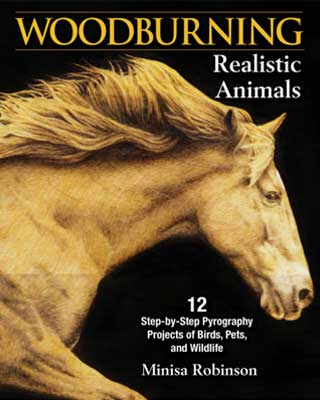
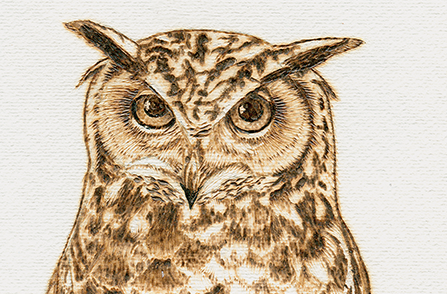
Woodburning Realistic Animals
Woodburning Realistic Animals shows how to create amazingly lifelike portraits of domestic animals and wildlife with 12 step-by-step projects plus skill-building tutorials for creating realistic eyes, short fur, long fur, manes, and whiskers.
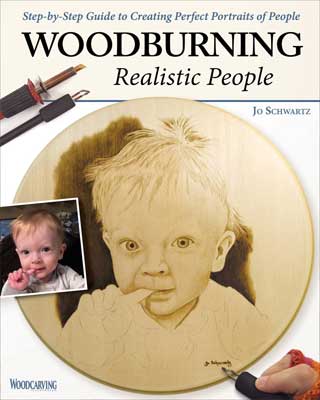
Woodburning Realistic People
Turning a photograph of a loved one into a realistic pyrography pattern is easier than you think! Discover the art of portrait burning, and start creating perfect likenesses of your favorite people in wood.
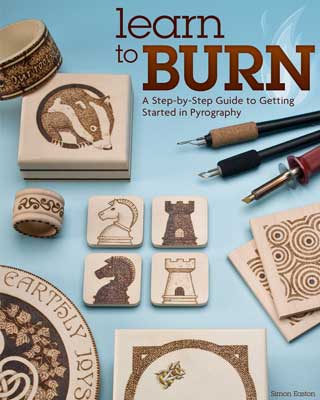
Learn to Burn
This easy-to-use guidebook offers 14 step-by-step projects for making decorative gifts, illustrated with clear how-to photographs. Each pyro project can be completed using ready-made materials that are easy to find at your local craft store.
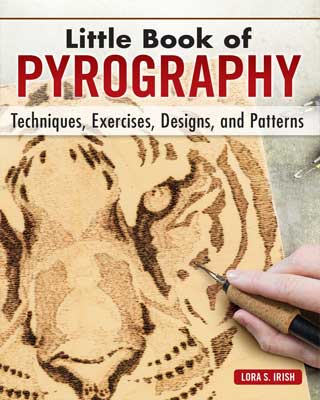
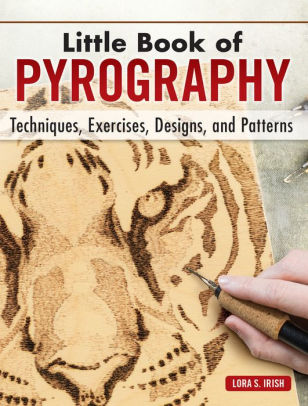
Little Book of Pyrography
This handsome hardcover gift book makes woodburning easy by walking beginners through all the basics of materials, tools, and techniques. Seven skill-building pyrography projects provide step-by-step exercises in using temperature, time, layering, and texturing to create artistic tonal values.
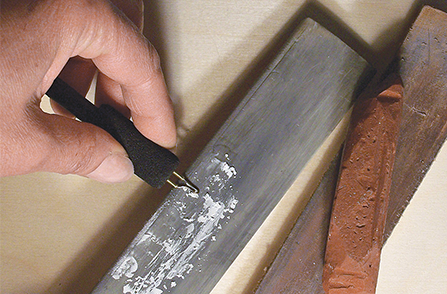
1. Keep your tips clean.
Over time carbon builds up on the wood burning tool tips (or nibs), interfering with your burn. Use a sharpening strop or fine-grit sandpaper attached to a flat board to remove the carbon and polish the tip. (Source: Lora S. Irish, Pyrography 2018)
2. Remove your pattern easily.
Sometimes graphite paper can be hard to remove. Try charcoal paper, such as Mona Lisa Charcopaper, to transfer your wood burning pattern onto the blank. It doesn’t smear and can be removed with a damp cloth or cotton swab. (Source: Deb Shell, Custer, Wis., Pyrography 2018)
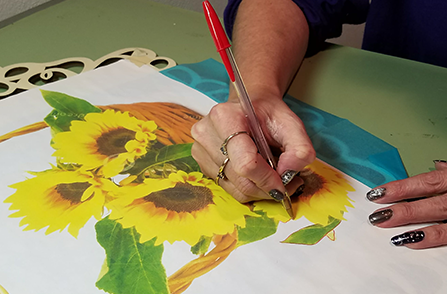
3. Fix your Mistakes.
We all make them. Instead of trying to sand out the mistake, which can leave a smudged area (Photo A), use a razor blade or hobby knife to totally scratch away the mistake. (Source: Sue Walter, Pyrography 2012)
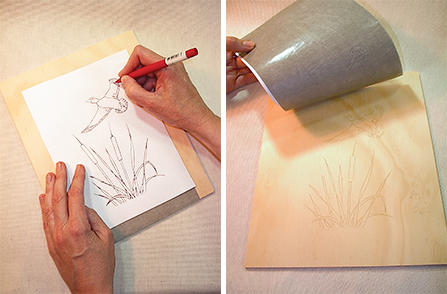
4. Prep before you burn.
We know you’re excited to get started, but a bit of prep work before you fire up the burner will go a long way. Sand the wood with progressively finer grits of sandpaper up to 400-grit. Tape the top of the pattern securely to the blank, slip graphite paper under the pattern, and use a colored pen to trace the pattern onto the blank. (Source: Sue Walters, Pyrography 2018)
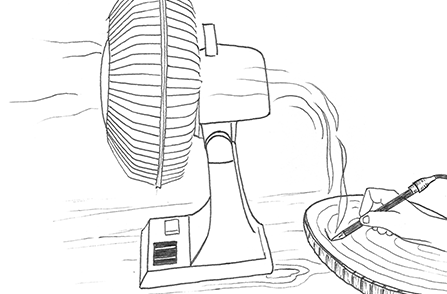
5. Protect your lungs.
It sounds like common sense to be cautious when you’re using a heated wood burning tool, but it’s easy to get so absorbed in your work that you forget you’re holding a dangerous object. Burning wood creates smoke. Set up a small desk fan blowing away from you to draw smoke away from you. (Sue Walters, Pyrography 2014)
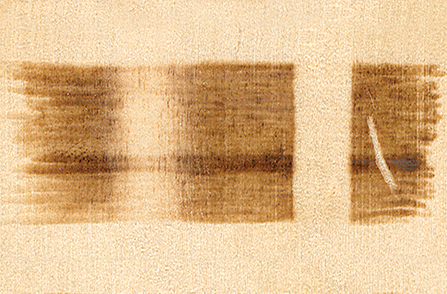
6. Burn Paper.
Don’t try this with copy paper, but you can create a beautiful sepia-toned image using rag paper or heavyweight watercolor paper. (Source: Sue Walters, Pyrography 2012).
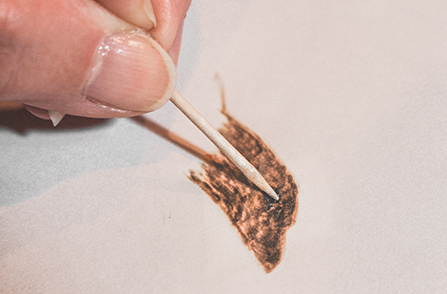
7. Repair a hole if you burned through paper.
If you’re used to burning on wood, it’s easy to burn through paper if you’re not careful. All’s not lost though—you can repair a small hole with this simple procedure. (Source: Michele Parsons, Pyrography 2018)
- Tape a small piece of paper over the hole from the back.
- Touch up your design on the front of the patch.
- Add a drop of clear-drying glue to the front and spread it with a toothpick; remove the excess glue with a razor blade. Allow the glue to dry thoroughly.
- Flip the paper over and carefully remove the tape. Hold the paper patch firmly with the razor blade and tear off the excess as close to the repaired hole as possible.
8. Burn on Leather.
Don’t try this with your leather jacket! Most soft leather is chromium tanned and will release toxic chemicals if you burn it. Stick with vegetable-tanned leather, which usually feels stiffer, to keep your lungs safe. (Source: Sue Walters, Pyrography 2012)
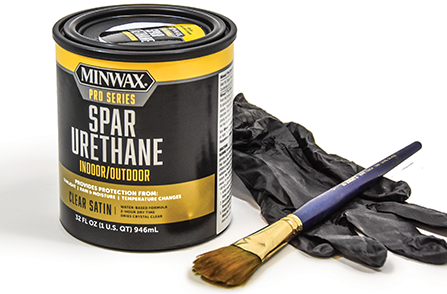
9. Shield your burns from fading.
Don’t let the sun fade your artwork. Keep your woodburned pieces out of direct sunlight, and apply a UV blocking finish, like spar varnish, to keep the sun from bleaching your burning (and the wood itself). (Source: Lora Irish, Pyrography 2018)
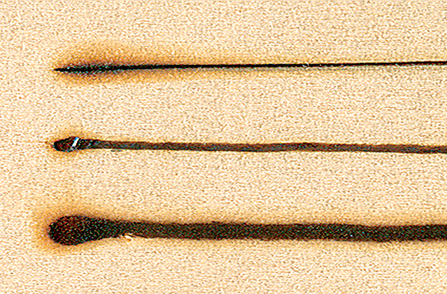
10. Keep away the dreaded blobs.
When you’re starting out, it’s hard to get consistent lines. If you hesitate at all, you’re going to get a blob. It takes practice to keep your pen moving, but it will be worth it in the end. (Source: Sue Walters, Pyrography 2012).
New Pyrography Books
Little Book of Pyrography, Gift Edition
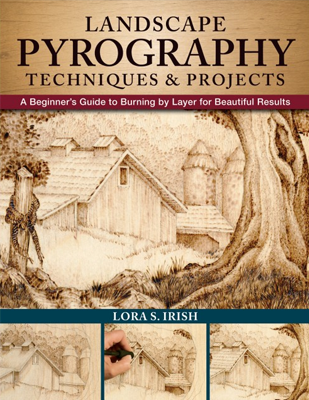
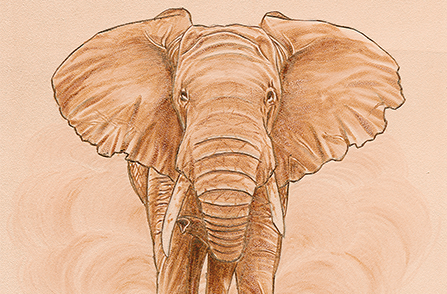
Landscape Pyrography Techniques & Projects
Get Exclusive Email Offers And Receive 15% OFF On Your First Book Order!
About the Author
Robert Triplett has been carving for most of his life. He retired from the U.S. Army after twenty-five years of service and later worked as a safety engineer at electrical power plants. Born and raised in Bedford County, Pa., Robert lives in Hummelstown, Pa.
Recent Comments