


10 Wood Burning tips for beginners
Pyrography Woodburning Basics by Minisa Robinson, Author of Woodburning Projects and Patterns for Beginners
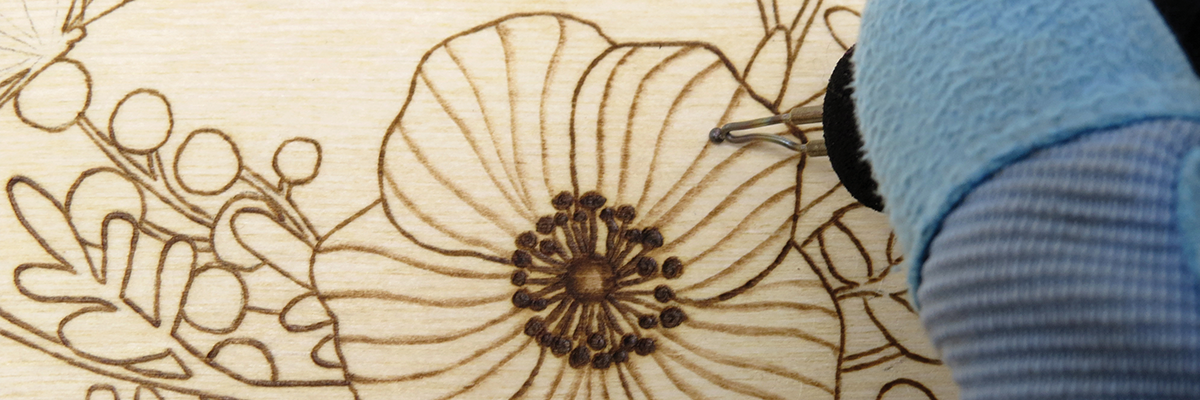
Pyrography is an ancient art form where a hot tool is used to burn images onto wood, paper, gourds, leather, and other fire-friendly materials. It’s more commonly known as woodburning because wood is often the medium of choice for the art form, and advancements in technology afford artists with various quality tools such as electric woodburning pens. If you’re just breaking into wood burning or you have been doing it for years, below are 10 tips every pyrographer should know.
This article is an excerpt from Minisa’s book, Woodburning Projects and Patterns for Beginners. Minisa’s book will ignite your artistic senses and show you the art of wood burning. Pyrography can be added to most species of unfinished wood, which opens a world of creative opportunities. The projects in her book also include the option for color, so the possibilities are endless!
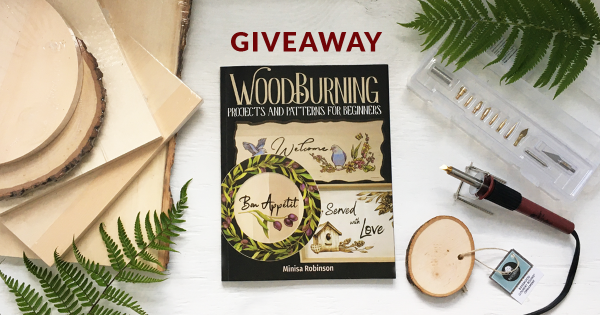
Win a copy of Woodburning Projects & Patterns for Beginners!
Enter to win a Beginner’s Woodburning Giveaway featuring Walnut Hollow’s Creative Versa Tool, wood blanks, and a copy of the NEW Woodburning Projects & Patterns for Beginners Book!
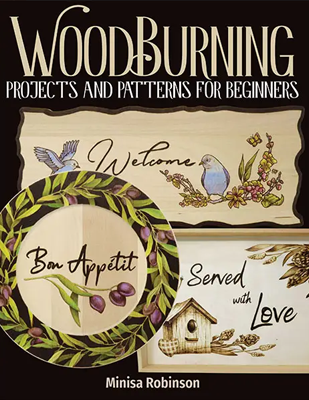
WOodburning Projects and Patterns for Beginners
The perfect place to start a hobby in pyrography! Featuring a complete overview and introduction to woodburning, you’ll understand the tools, supplies, and safety precautions involved in this unique art. Learn basic techniques to then complete step-by-step projects – patterns included – for frames, boxes, ornaments, and coasters, as well as how to avoid and fix mistakes, and seal and finish each project.

Yearn to Burn: A Pyrography Master Class
Take your woodburning art to the next level by taking a masterclass with award-winning pyrographer Simon Easton! This inspired sequel to Learn to Burn offers the opportunity to advance your skills with guidance from a master craftsman. Nineteen new projects with clear instructions and step-by-step photographs fit a wide variety of occasions and decors.
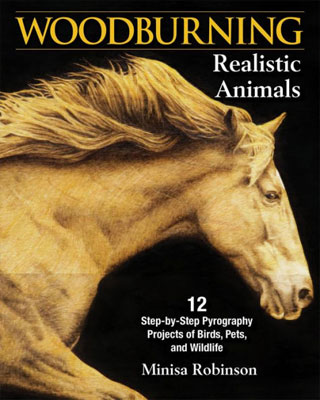
Woodburning Realistic Animals
Woodburning Realistic Animals shows how to create amazingly lifelike portraits of domestic animals and wildlife with 12 step-by-step projects plus skill-building tutorials for creating realistic eyes, short fur, long fur, manes, and whiskers.
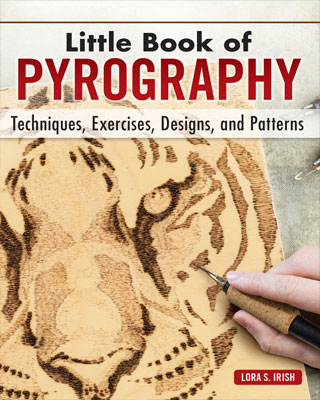
Little Book of Pyrography
This handsome hardcover gift book makes woodburning easy by walking beginners through all the basics of materials, tools, and techniques. Seven skill-building pyrography projects provide step-by-step exercises in using temperature, time, layering, and texturing to create artistic tonal values.
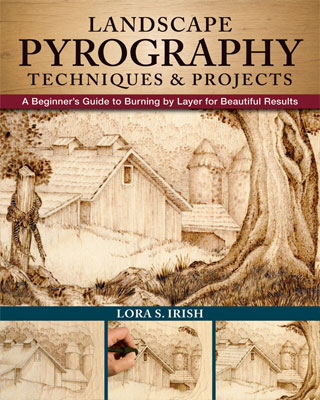
Landscape Pyrography Techniques & Projects
Create realistic landscape pyrography burnings with this comprehensive guide. Discover easy-to-learn methods for working in layers to obtain stunning results, along with 4 practice projects, a step-by-step Mail Pouch Tobacco-style barn project, and dozens of ready-to-use patterns with finished examples.
10 WOOD BURNING IDEAS FOR THE BEGINNER

Keep a Scrap Piece of Wood Handy.
It’s helpful to keep a scrap piece of wood nearby while woodburning. This allows you to test your current
temperature settings before using the burner on a project. Sometimes your burner might be turned up too high and it burns a dark spot immediately upon contact with the wood, which can be very frustrating. Instead, create a quick test burn on your scrap wood to dial in the temperature. You can also use that scrap wood to experiment with different points or techniques before using them on your project

Be careful not to burn too hot, too fast.
While it’s tempting to turn the temperature dial to maximum, this can easily damage the surface of the wood, especially when using pen and nib burners such as the Razertip. Burning too hot will also produce “overburn” and can create excessive carbon buildup on the points. Also, if your burner is digging into the wood, much like a farmer’s plow, then you’re using too much heat or pressing too hard.

Always use light pressure when woodburning.
Most wood will compress or dent somewhat when you burn across it; however, if you press down really hard when burning, you can bend or break the point and/or burner. “Float” the point across the surface of the wood lightly, moving slowly and burning with heat instead of pressure.y.

Learn to burn the wood grain.
If you’re burning on a piece of wood with a heavy grain, then it can make it difficult to burn a straight line. When holding the burner straight up and down, the point wants to sink down into the wood fibers, and these rings or lines can make the point jump to the side. Holding the burner at a flatter angle can help.

Practice your shading.
The keys to smooth shading are:
• Gentle transitions on and off the wood
• Use a light touch
• Burn multiple layers
• Blend, blend, blend

Protect your work from sunlight.
Wood burning art can be quite sensitive to the harmful
effects of the sun, so it’s helpful to apply a UV protectant.
Even with a UV protectant, I encourage artists and customers to hang their woodburning art away from direct sunlight. Some clear-coating products are advertised for “exterior” use and will help to protect the wood; however, most woodburnings can fade significantly if placed in direct sunlight.

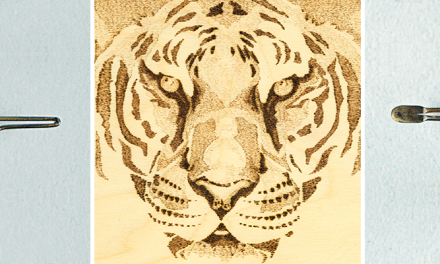
Always use pliers to change our solid points.
NEVER change our points when the burner is hot! You can
damage the threads or break the points and burner. Always
wait until completely cool before switching out points.

If you plan to add color, try to avoid burning too dark.
The heat from woodburning will burnish and seal off the wood fibers, which can make it difficult to add color. If you plan on adding color to a pyrography, try to avoid burning it too dark. In the image to the right, I burned a test gradient on basswood, then applied different mediums over the top. As you can see, the darkest areas accept little to no pigment.

Use Sand Paper for Mistakes.
Even when being careful, mistakes happen sometimes. Sandpaper is a great way to “erase” mistakes or accidental burn marks. Try to use a fine-grit sandpaper if possible so you don’t get large scratches on the wood surface. Remember that the lighter mistakes are easier to sand off, and you may need to do a lot of sanding to remove the darker burn marks.

Remove Carbon Build Up.
One of the best ways to remove carbon from a point is to gently rub the point on a fine, wire mesh. In this example, I’m using a tea strainer. This method allows you to remove the carbon while you work without stressing the point with extreme temperatures or delaying progress by turning the burner off.
Get Exclusive Email Offers And Receive 15% OFF On Your First Book Order!
Recent Comments