how To Wood Burn Animal Eyes
By Sue Walters, Pyrography workbook
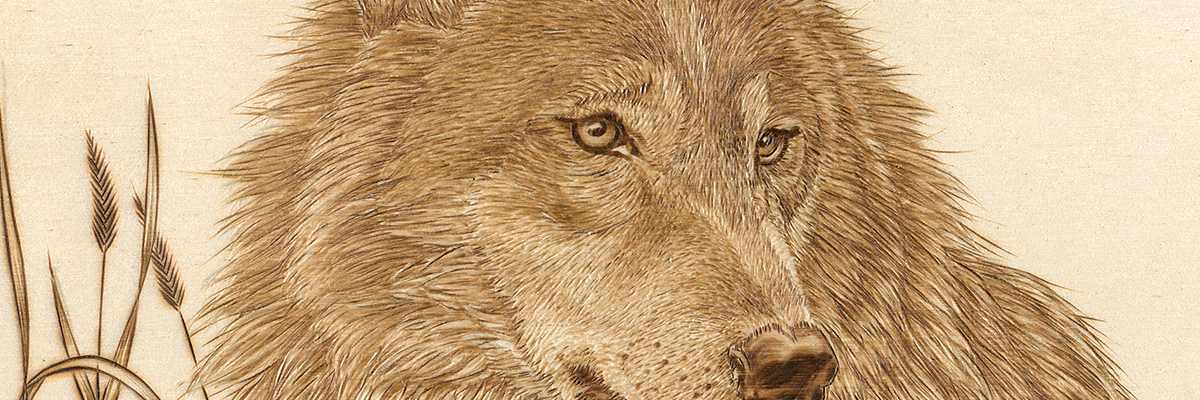
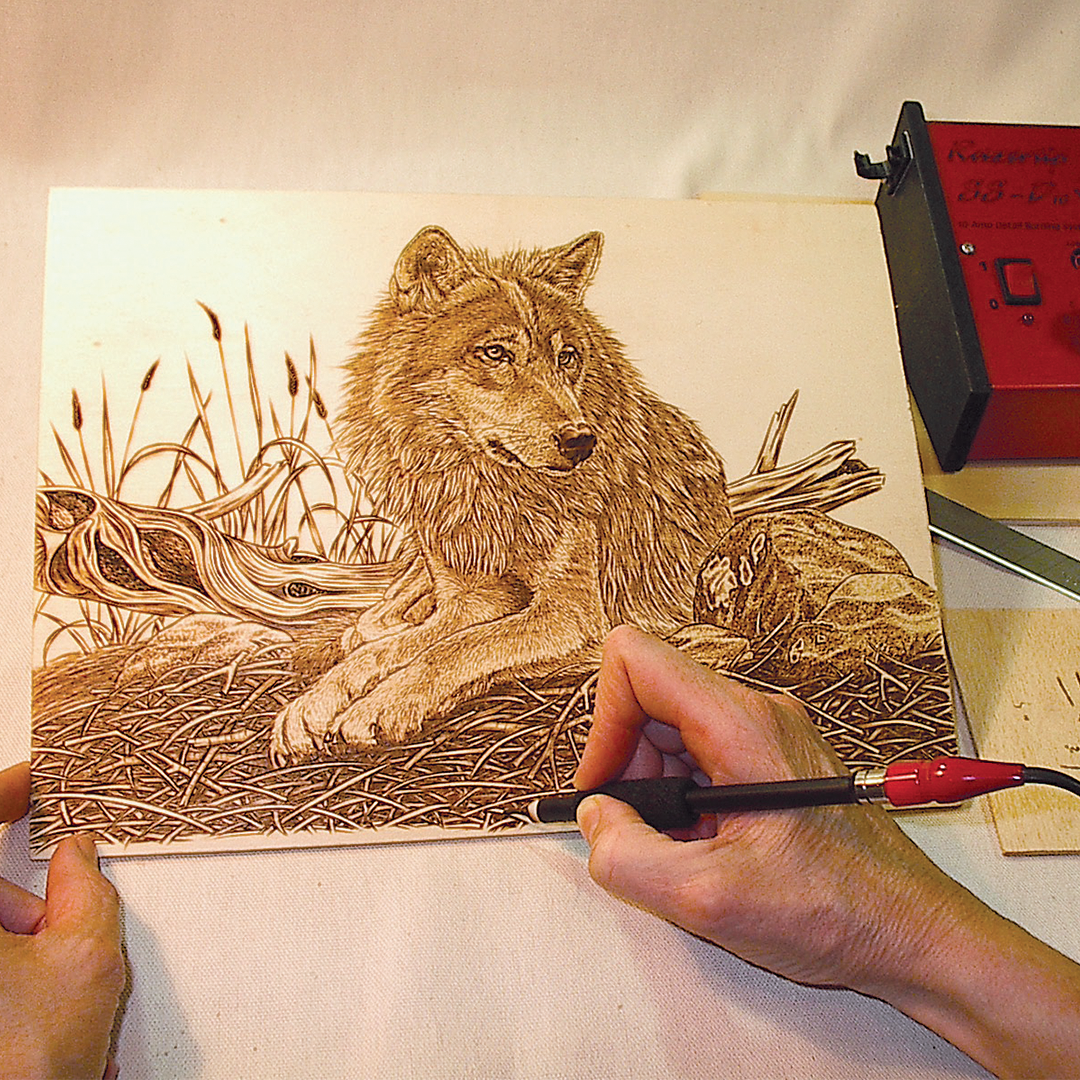
In its most basic form, the appeal of pyrography lies in its rustic and natural beauty. In its most complex form, the combination of texture and drawing can create pictures that appear almost lifelike. The eyes are the window to the soul and the first step in creating realistic burns. Eyes are the most important part to connect the viewer to your artwork. Using a wolf as my subject, you can follow along during my eye burning process below. Check out my Pyrography Workbook for the entire wolf project from start to finish.
There are four main components to building eyes: outlining, filling black, blushing the iris, and adding the highlight. Below I will show you in detail how an eye is formed. In your projects, however, the eyes may be a lot smaller. In this case, the four basic components are also used to make a small eye, but burned in a simplified way.
Learn to Burn
A step-by-step guide to getting started in pyrography with 14 projects for making decorative gifts.
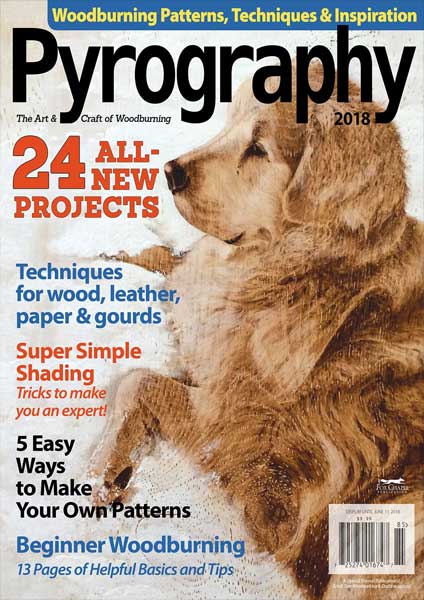
Pyrography Magazine
This issue of Pyrography offers 24 all-new woodburning projects and patterns from leading woodburning artists, with tips and techniques for burning wood, leather, paper and gourds
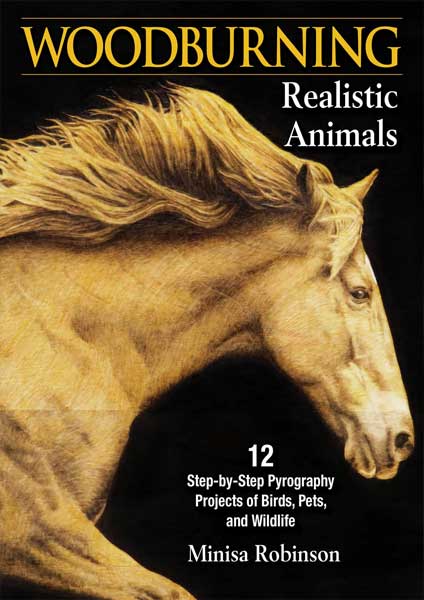
woodburning realistic Animals
Woodburning Realistic Animals shows how to create amazingly lifelike portraits of domestic animals and wildlife with 12 step-by-step projects plus skill-building tutorials for creating realistic eyes, short fur, long fur, manes, and whiskers.
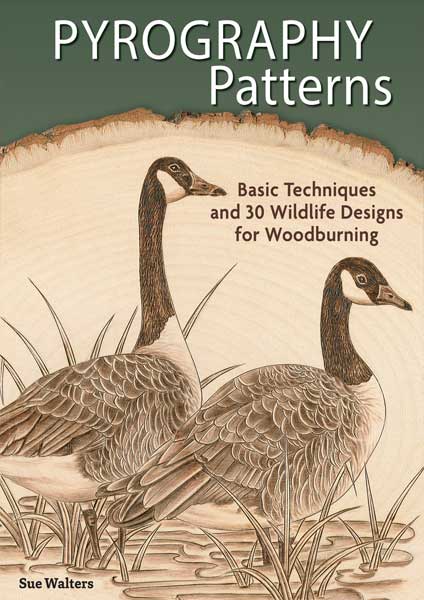
Pyrography patterns
Award-winning pyrography artist Sue Walters offers 30 dynamic North American wildlife patterns to use in woodburning projects.
pyrography tutorial: How to wood burn eyes
1. Outline the eye with a skew.
Outline the eye with a skew to create its sharp, solid edge. A skew can be difficult to turn in a tight circle, so you may want to use a writing nib to burn the pupil and iris. To burn a neat circle, try working in short strokes, overlapping the end of the previously burnt line and extending it a little farther on the next stroke. Turn your board to work the nib toward yourself. I used a writing nib to burn the very top and bottom lines of the eyelids. This gives me a softer line, making it easier to blend the hair when it is added.
2. Use the shader.
All of the very darkest parts are now burned. I like to use a shader for large eyes. A shader gives me the smoothness I’m looking for. If the eye is too small, a writing nib is a better choice. You can highlight the eye by scratching the highlight out after all of the stages are complete. I often prefer scratching the highlight out after completion because it allows me to apply an even, burned coverage over the pupil and iris without having to work around the highlight.
3. Fill in the dark areas.
The other dark areas are now filled in using the shader, but the color is slightly lighter than the original black sections. Note that the middle of the lower eyelid is actually slightly lighter, fading away to dark at the edges. This gives the impression of light hitting a raised, curved area.
4. Fill in the Iris.
Fill in the iris using a shader while avoiding the highlight. Try to curve your strokes to follow the roundness of the eye if possible. Here, you will see that I’ve colored the patches of the iris slightly lighter than the rest. You can either do this now or gently scrape this away later. This adds a touch of
realism, because eyes catch the light at different angles and are rarely one flat color. I have also added a touch of color to the tear duct and burned a blush of darkness across the top of the eyeball to indicate a shadow falling on it from the top eyelid.
5. Fill in Surrounding Features.
The above stage completes the eye itself. It looks a little alien-like, so I have filled out the surrounding area using the soft, short hair method. This method can be found on page 82 of my book, Pyrography Workbook. Here I have completed all of the levels of the tonal undercoat. Note how my strokes have followed the actual direction of the hair to be placed on top. Even without the hair texture, this creates a believable effect.
6. Fill in the dark areas.
The hair is now overlaid using a writing nib. Be sure to
start the hair strokes in the dark areas of the eyelids and pull the hair out from this area. This marries the hair and the eyelid together in a seamless blend. The inset shows a close-up of the small eye on the project wolf. Even though it has been simplified, the eye still has the four basic components: outline, black fill, colored iris, and highlight.
Which Wood Burning Pen is Right for you?
Ready to become a pyrographer? Here’s a crash course in choosing the right wood burning pen from Michele Parsons, Author of the Quick-Start Woodburning Guide.
10 Wood Burning Tips For Beginners
If you’re just breaking into wood burning or you have been doing it for years, below are 10 tips every pyrographer should know.
10 Pyrography Gift Ideas
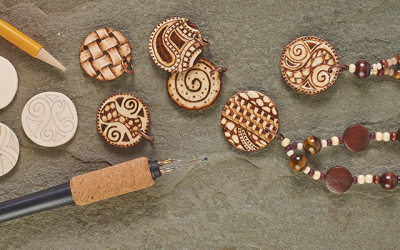
Whether you’re on the hunt for a holiday gift or another special occasion, homemade gifts are always thoughtful. Put your woodburning talents to use and handcraft something meaningful. For inspiration, we gathered 10 one-of-a-kind pyrography ideas to wow your loved ones that won’t break the bank or take hours to complete.
Get Exclusive Email Offers And Receive 15% OFF On Your First Book Order!




Recent Comments