


6 Woodburning Tips for Creating Realistic Animals
By Minisa Robinson, Woodburning Realistic Animals
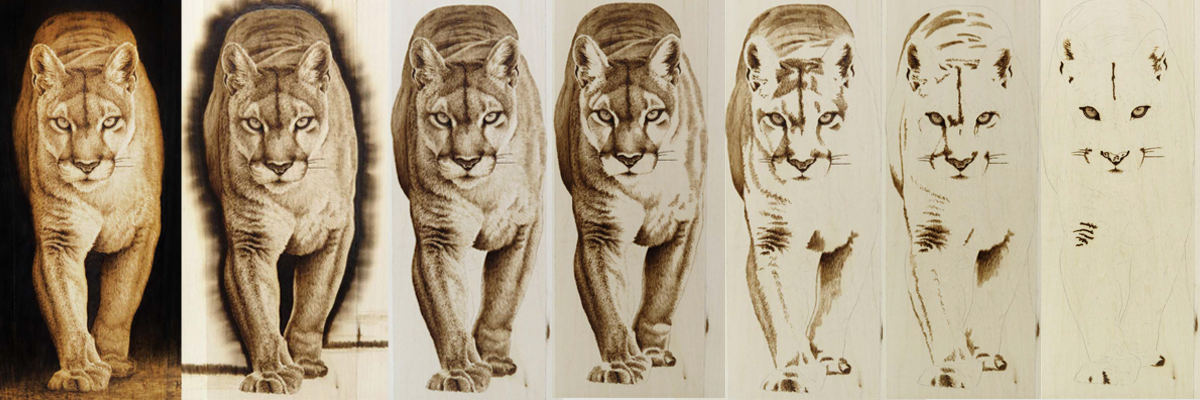
I love the challenge of burning large pieces. Adding small details to a large piece is the fun part . . . However, the tough part is staying motivated when burning that much surface area. It’s easy to become overwhelmed! I try to focus on completing one area at a time, instead of bouncing around from one place to another. It allows me to see more progress, more quickly. But there are times when I get “burned out” on a particular area and will switch to a different part of the piece for a rejuvenating change of pace. Scroll down for six tips to common pyrography challenges to make your animal burns look so real they might just jump out of their wood canvases.
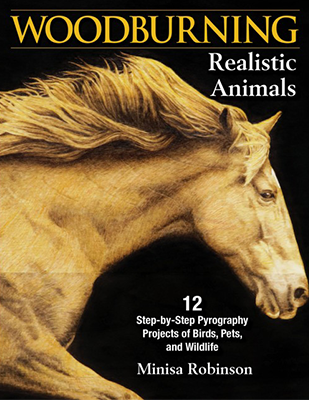
Woodburning Realistic Animals
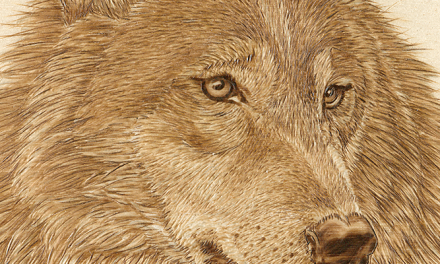
Learn to burn amazing life-like portraits of wild animals! From zebras and owls to lions and butterflies, create stunning animal portraits.
- Written by Minisa Robinson, an award-winning pyrography artist, instructor, and contributor to Pyrography Magazine
- Complete 12 skill-building tutorials for woodburning realistic eyes, fur, manes, whiskers, and more
- Each project includes step-by-step instructions, hand-drawn patterns, and photo references
- Includes tips and advice on working with photos, and turning them into patterns to transfer onto wood
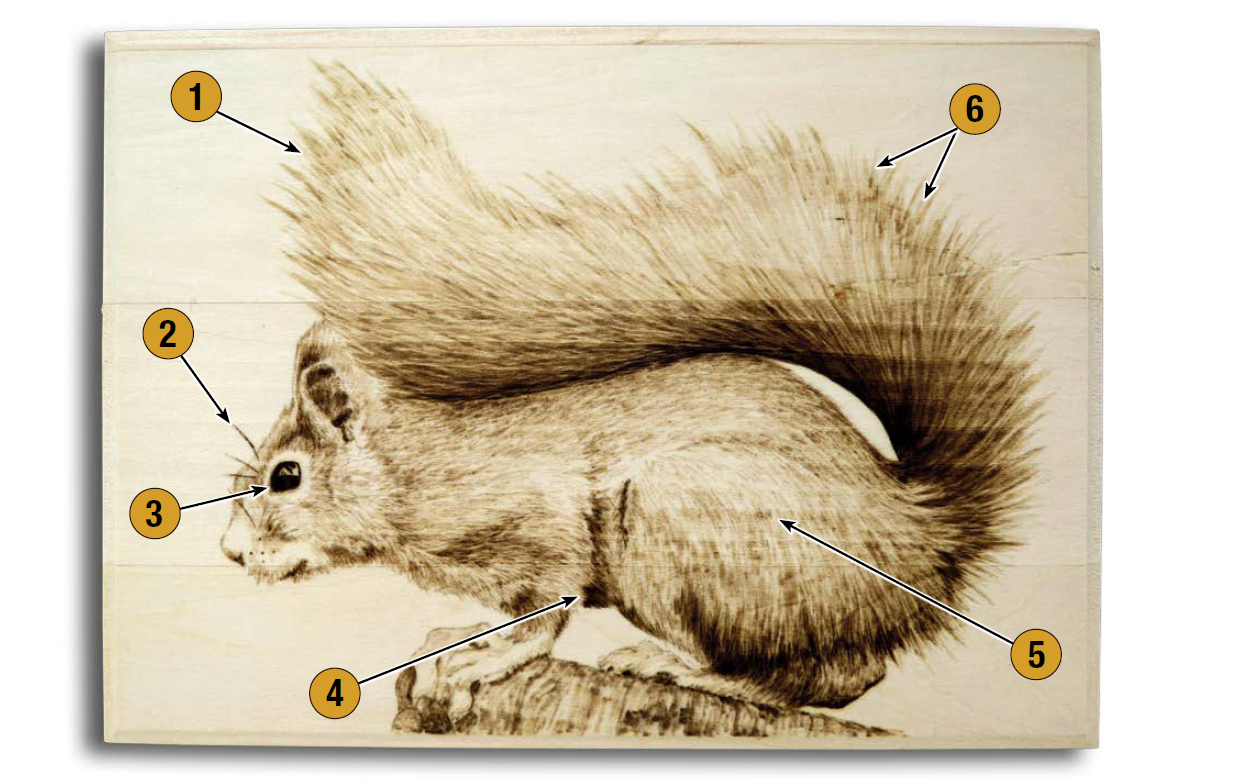
1. Soft outlines and edges. Allow your subject to have lighter edges and softer outlines. This gives an animal a more realistic appearance and helps it look more natural in its environment. It can be tempting to begin your project by burning a dark outline on all of your transfer lines. However, this creates unrealistic and harsh edges that aren’t usually found in wildlife.
2. Use lower temperatures as appropriate. By turning down the woodburner you can create delicate lines that appear natural. This also allows you to shade by burning layers of fur and gives you much more control when burning lighter areas. Using the hottest setting on a woodburner can easily scorch and damage the surface of the wood. This also creates a ghosting image of “over-burn.”
3. Burn darks using layers. Take your time and buildup solid black areas using layers. This helps to prevent damaging the wood as well as accidental “over-burn.” Burning an area of solid black very quickly can lead to “over-burn” or damaged wood.
4. Use soft edges and shading on key features. Instead of using harsh outlines, try to create the key features using layers of shading. Remember that darker tones usually look deeper or farther away, while lighter tones seem closer to the viewer. Avoid
burning key features such as eyes, noses, ears, legs, etc. with solid, dark lines.
5. Create fur strokes with slightly random strokes. Fur tends to follow a consistent path, however, each hair is slightly different so allow the fur strokes to be slightly irregular. If each fur stroke is exactly parallel to ones around it then the fur will look odd. Burning fur strokes can be tedious at times, but try to avoid blocking in large areas of fur with consistent or solid strokes. Try not to “march” your burner across the wood by creating rows of fur strokes.
6. Lifting the burner with each stroke. Avoid creating “stop spots” by setting the burner onto the wood gently and then lifting the burner off the wood after each stroke. These spots easily appear if you don’t lift the burner with each stroke, or when changing stroke direction.
More Pyrography Books

Yearn To Burn
Award-winning pyrographer Simon Easton comes his latest book, Yearn to Burn! An inspired sequel to the best-selling book, Learn to Burn, with 18 new projects containing step-by-step instructions and photography. “Simon’s latest book will supply you with a wide variety of projects, plus fun and useful tips that old and new burners can use. I cannot wait to burn my own variations of his ideas!” – Jo Schwartz, author of Woodburning Realistic People
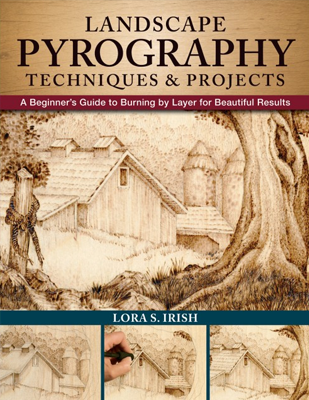
Landscape Pyrography Techniques & Projects
Learn to create realistic landscape pyrography burnings with this comprehensive guide from Lora S. Irish! Inside you will find 4 practice projects to help you learn a wide range of pyro techniques and effects, step-by-step capstone project for a rustic Advertising Barn, and dozens of ready-to-use patterns for landscape scenes, a complete guide to supplies, and in-depth tips and techniques from a master pyrography artist. Learn how to create practice boards for pen tip strokes, texture fills, landscape features, and architectural elements.
Get Exclusive Email Offers And Receive 15% OFF On Your First Book Order!

Recent Comments