


SSW SUBSCRIPTION
Get Scroll Saw Woodworking & Crafts Magazine delivered to your door 4 times a year.
Scroll Saw Technique Finishing
Create a custom look for your intarsia
by mixing your own pigments
By Jerry Mifflin
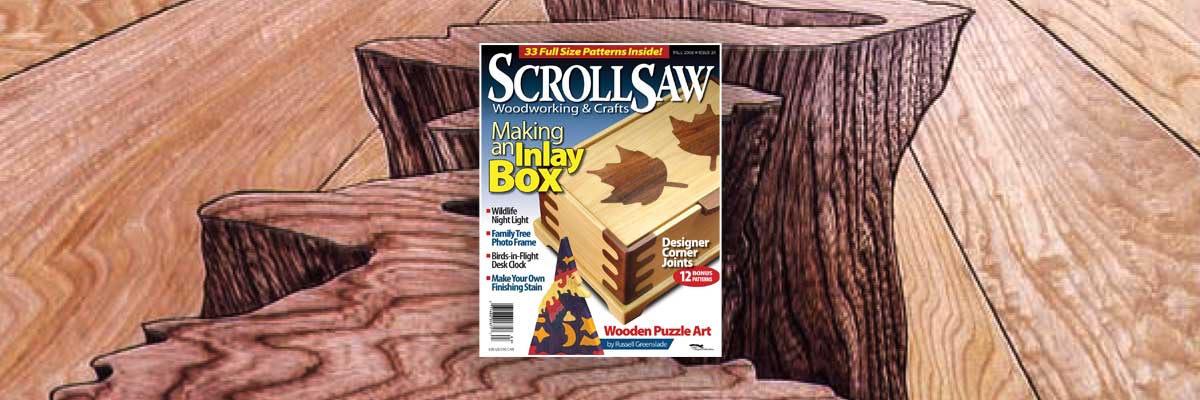
ARTICLE ORIGINALLY FROM Scroll Saw Woodworking & Crafts FALL 2006 Issue 24
Many artists use different colors of wood and grain direction to create their intarsia pieces. I’ve used this style of intarsia with great success. As an artist, I’m always looking for new ways to make my work stand out from the rest, so I started mixing my own colors of stain.
Caution: Don’t leave the stain on too heavy, or you’ll have adhesion problems with the finish.
~ Jerry Mifflin
Look at photos or paintings to get ideas for the best colors and shades to use. Mix the color and use a small brush or piece of paper towel to apply the stain to a piece of scrap. Wipe off the excess stain, always wiping in the same direction as the grain. Th e longer the stain sets before it is wiped off , the more it will soak in, and the deeper the color will be. Experiment to achieve different effects—wipe it off almost completely for a faint tone or leave it slightly wet for a heavier tone.
Caution: Don’t leave the stain on too heavy, or you’ll have adhesion problems with the fi nish. To create a shadow for an object, re-stain over the first coat using a fairly dry, small fan brush. Be sure to follow the instructions and precautions for specific brands of stain.
The Sandflower design can be made in two ways. I used a contour style for the hope chest front. Th e panel style demonstrated in this article is ideal for a tabletop or lid inset. Sand the parts first using 180-grit sandpaper, then finish sanding with 220-grit sandpaper.
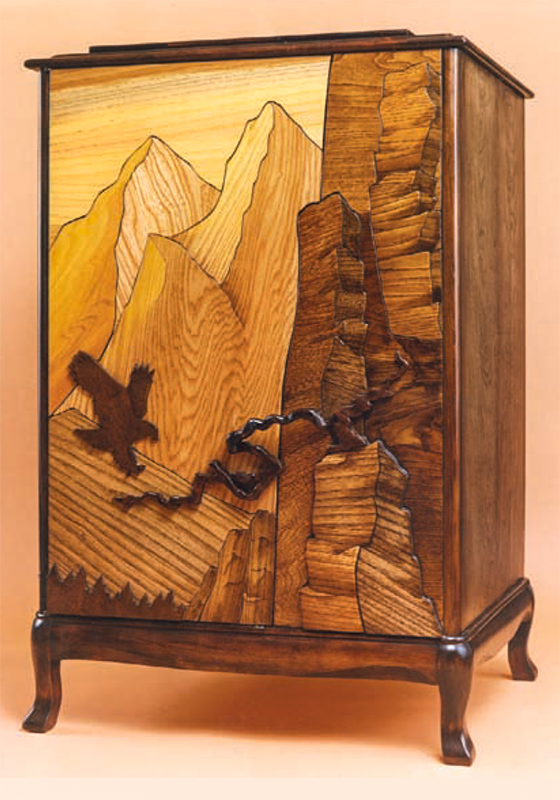
FLYING HOME
is a liquor cabinet with one door.
This is a flat panel-style intarsia with overlays at three levels. The woods in the panel are birch and ash. The door pull is carved walnut.
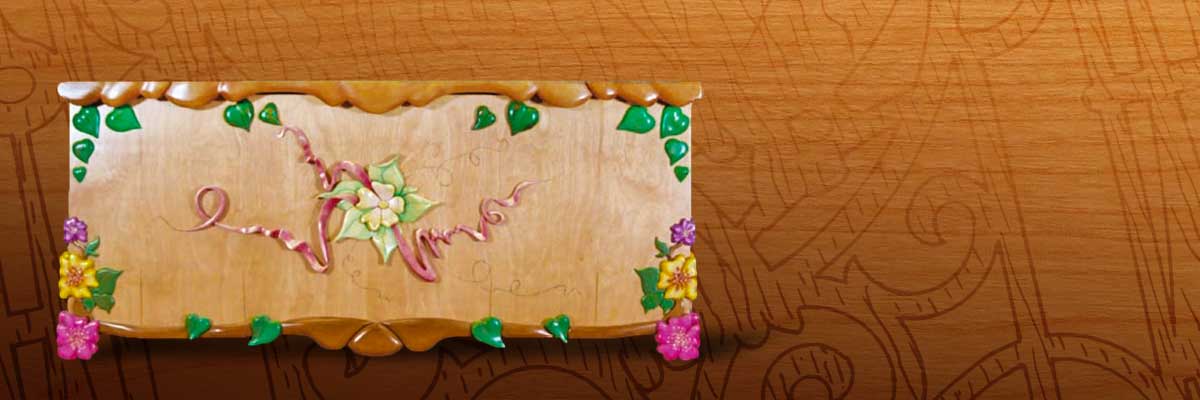
The SANDFLOWER HOPE CHEST:
The front panel of the hope chest features the contour-style intarsia of the same design used on the lid.
The SANDFLOWER HOPE CHEST: Intarsia Staining Project
1. Mix the stain color to be very light, not intense.
Add a drop of yellow colorant to a small amount of stain base and mix well. Wear disposable gloves to protect your hands from the stain. Tear a paper towel into four small pieces to use to wipe on the stain or use a 1″ sponge brush.
2. Test the color by wiping the stain on your scrap piece.
When dry, spray some finish on the stained test piece to see if you like it. If it’s too dark, add more clear stain base—if too light add more colorant until you are happy with it. If you like a chalky, pastel look, add very small amounts of white colorant.
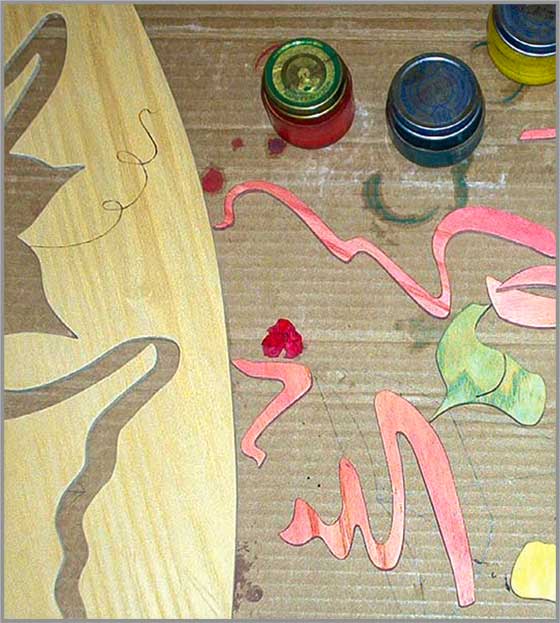
3. Stain the intarsia pieces.
Place the cut and sanded pieces on some cardboard, and set the surrounding board aside. Stain the flower yellow, the leaves green, and the ribbon red. Set aside to dry.
4. Detail the surrounding board.
Use a woodburning tool to create the swirling vines. Burn the detail before you stain the wood so that you can sand off the ridges made from the burn. I put a light stain on my surrounding board, but it also looks good left natural.
5. Add highlights to the flower parts.
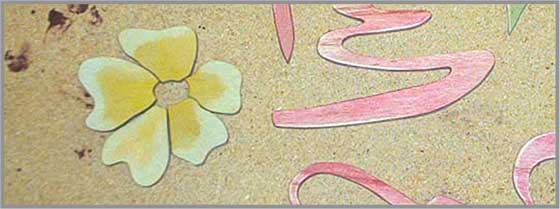
Adding and removing stain color adds the illusion of shape and depth. Tear a sheet of 220-grit sandpaper in half, and then fold it in thirds to make it easier to handle. Layout all the stained pieces grouped together to make the picture. Visualize light coming from the upper left side of the picture. How would the light strike the parts if they were real? The higher parts are where you need to sand. Sand the stain in those spots down to bare wood. If you’re using ash, these spots will look white. You can leave these spots unstained, or you can stain or paint these highlights a light color. This highlight, as seen in the lead picture, looks raised, but is actually fl at. Study the photo of the finished project carefully so you can see where to sand. Do this with each piece, being careful where you sand. If you sand in the wrong spot, just re-stain that part.
Sources of color stains
A limited selection of color stains are available at paint or hardware stores. You may want to mix your own colors to get a greater range.
You can mix store bought color stains together, or make your own color starting with a clear base stain. I use M.L. Campbells Woodsong II clear base stain and add their 844 colorants. Check with the paint store in your area to find what colorant to use for the stains they sell. Universal colorants are available in small tubes for less than $2.
Fill small containers, such as baby food jars, half full of the clear stain base. Add drops of colorant and mix well; repeat until you have the right color. Try the stain on a scrap of the same wood you’ll be using. If you want it brighter, add more colorant. If you want it lighter, add some clear stain base. For pastel colors add drops of white colorant.
6. Add highlights around the petals.
Use white stain. You’ll need to use about five times more colorant in this mix than with the other colors. Take a small, blunt-end brush and dip it in the stain. Then tap the brush on a paper towel to get most of the stain out. Apply the stain by pouncing the brush like you are doing a stencil painting (hold the brush vertical, and tap it up and down gently), continuing to add white around the outside of the flower petals. You don’t want a heavy puddle of stain, but just a light covering. Allow the pieces to dry.
7. Glue down the surrounding board to the backer board.
Take each of the flower parts and glue them into position on the backer board. Hold these parts in place with a ¼”-thick, cover sheet of plywood. Put something heavy on the cover sheet to hold it fl at until the glue is dry.
8. Apply your finish of choice.
I build furniture, so I use a compressor and cup gun to spray catalyzed lacquer for a furniture-grade finish. If you don’t have access to a compressor and spray gun, use spray cans of finish to complete your project. Apply two coats and sand it with 320-grit sandpaper, being careful not to sand through the finish into the stain. Then apply two more coats with the spray can. If you’re using a spray gun and lacquer, apply one coat, sand, and then apply two more coats of finish. If you brush on your finish, use caution, it will pull off some of the stain.
The SANDFLOWER HOPE CHEST: Materials & Tools
Materials:
- ¼ ” ash plywood
- Clear stain base
- Compatible colorant
- Small jars with lids (to mix stains in)
- Sandpaper, 180, 220, and 320 grits
- Paper towels
- Spray can of lacquer or polyurethane
- Titebond glue
Tools:
- Wood burning tool
- Stencil brush
- Artist fan brush

Other Wood Carving Titles

Creating Wooden Boxes on the Scroll Saw
Uniting form and function without complicated joinery or the need for a shop full of tools this crafting guide offers step-by-step instructions and patterns for 26 unique keepsake boxes, made exclusively with the scroll saw.
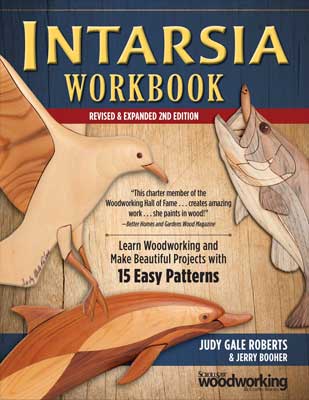
Intarsia Workbook, Revised & Expanded 2nd Edition
Master intarsia, the art of making picture mosaics in wood, with 15 skill-building projects that can be completed in just a weekend.
Get Exclusive Email Offers And Receive 15% OFF On Your First Book Order!
About the Author
Jerry lives in Lake in the Hills, IL. Check out his web site at JerryMifflinWoodcarving.com.


Recent Comments