


Bullet Journal your Way to Organization
8 Steps to Get Bullet Journaling (with examples!)
You have a handwritten to-do list, sticky notes scattered across your desk at home and work, reminders and notes on your iPhone, work calendar alerts, a whiteboard with your grocery notes on the refrigerator, Alexa yelling at you, and your FitBit reminding you to stop your busy life to run. Feeling overwhelmed yet?
Bullet journaling, aka dot journals or grid notebooks, might be the solution for you to consolidate everything in one place. Before you think it’s a place where ideas go to die, bullet journaling will bring you back to basics before the days of technology and encourage you to write down your thoughts all in one place. Consider it a customizable management system to record the past, organize the present, and plan the future. Let this space be your time to be both creative and productive.
Bullet journals all have a basic recipe (below) to give you loose guidelines on how to set up your notebook. It can be your calendar, to-do list, fitness tracker, shopping list, diary, or all of above. There are no boundaries. You can make them as detailed or minimalist as you need.
What you need to get started:
- A journal of your choice (dots or grids make it easier)
- A ruler
- A pen (or a rainbow of pen colors)
- Optional stickers or stencils for fun
Step 1: Index
Create your index. On the first page, you’re going to want to create a list of page numbers for finding the interior page content easily. We suggest you leave space on two pages. Every time you add a new page or section, be sure to number each page and record the page number here.
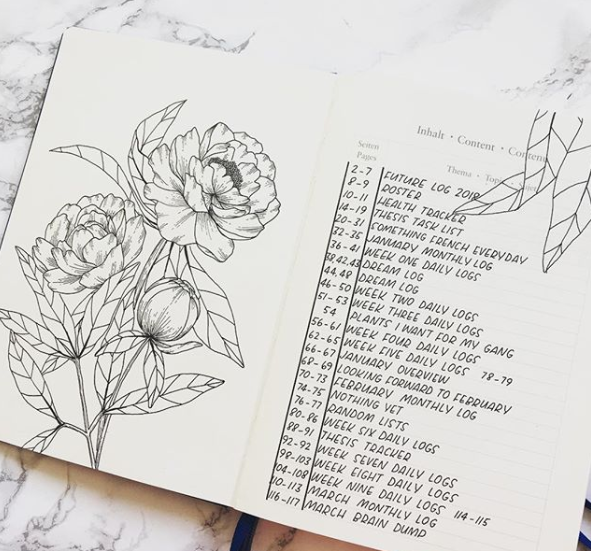
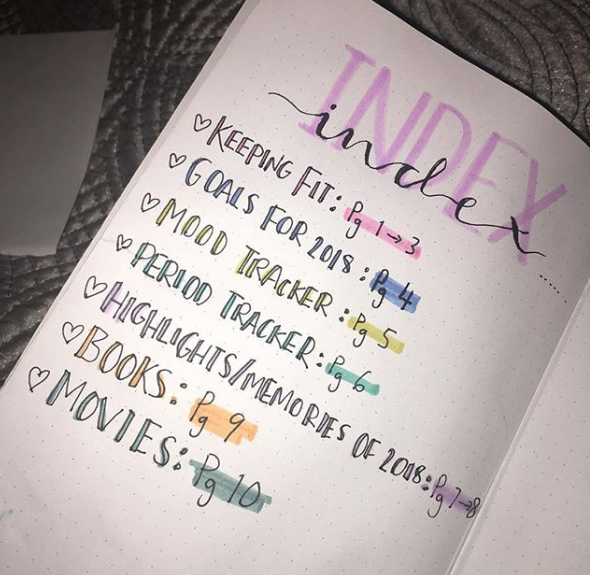
(Images by bullet_bec and artsy.es)
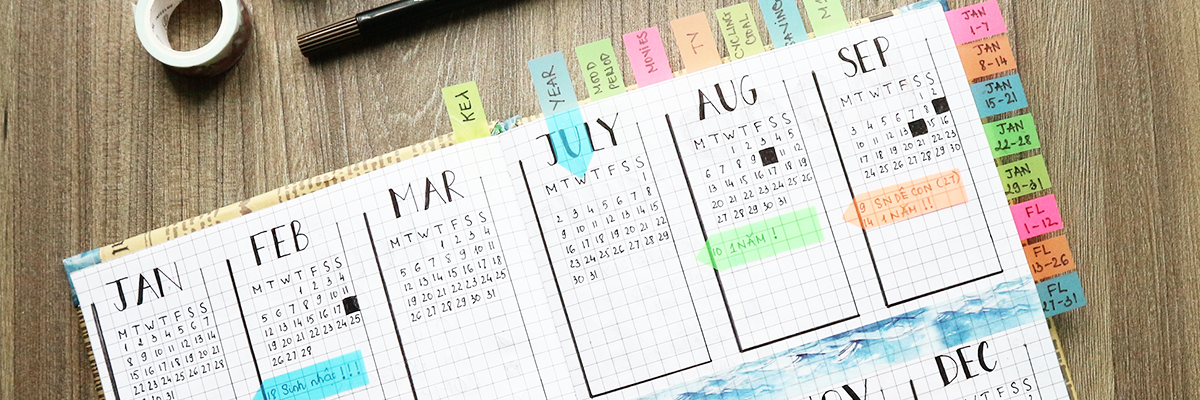
Step 2: Future Log
The next couple of pages should be your Future Log. This is where you want to record all of your important dates, goals, or events for the entire year. Have fun with this! You can put it in a format that best suits your needs like a calendar or list format. Don’t forget to add these pages to your index!
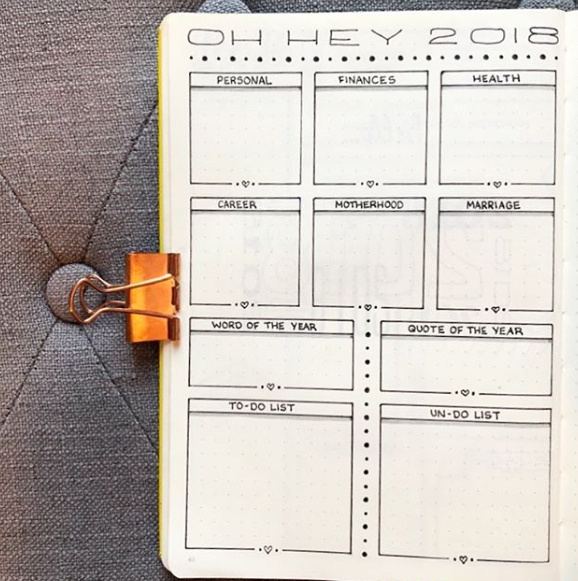
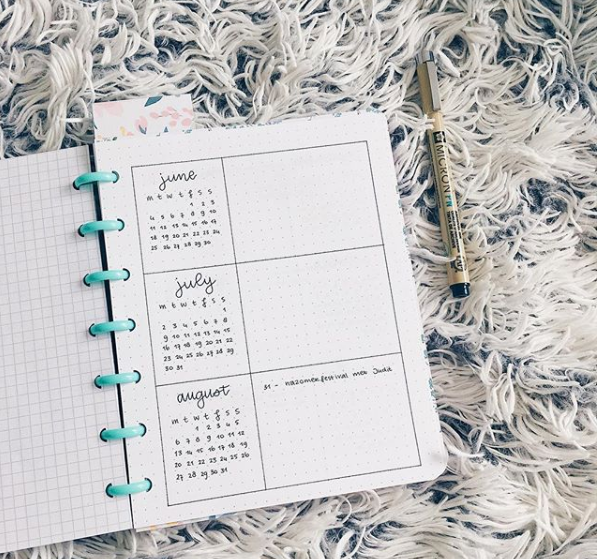
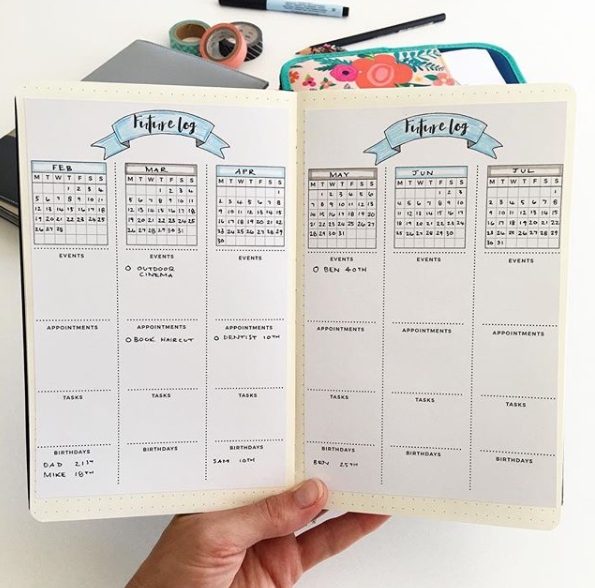
(Images by LilianLetters, PlansThatBlossom, and SpaceandQuiet)
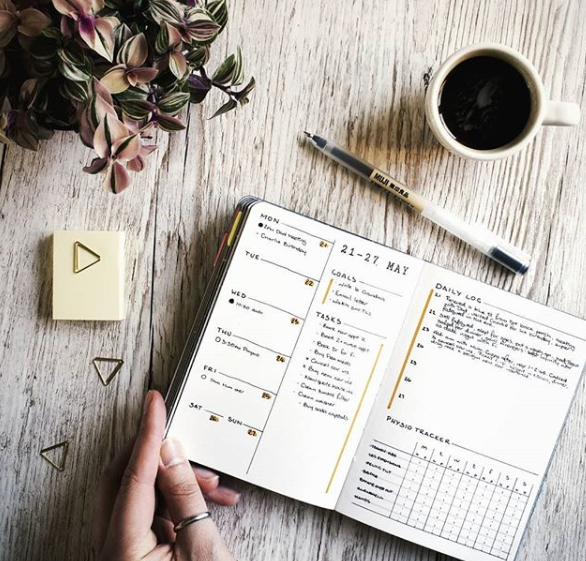
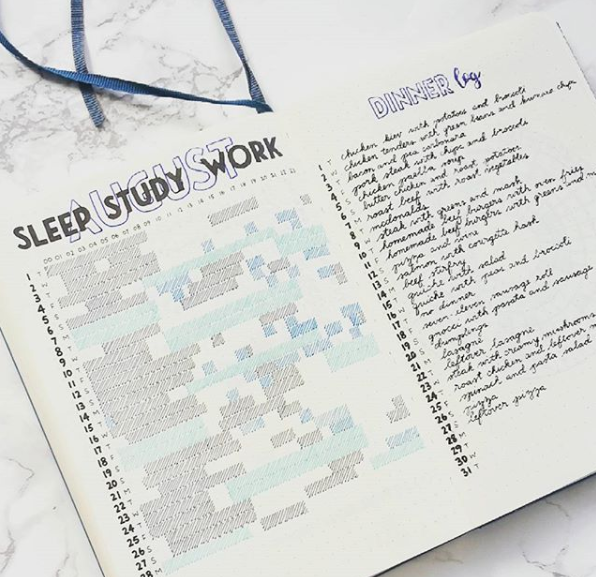
Step 3: Monthly Log
Next up is your Monthly Log. Most people tend to use a spread for one month. One side can be your calendar view and the other side is your task and goals list. Calendars can be organized in a traditional block format or in a list format (examples below). You can make a Key Page if you’re planning on using symbols to organize your tasks. By using Keys, you can use bullets for things you want to accomplish, open circles for date-related entries, a dash for quick notes or thoughts, cross out a complete task, or arrows if you move the “to do” item to another date.
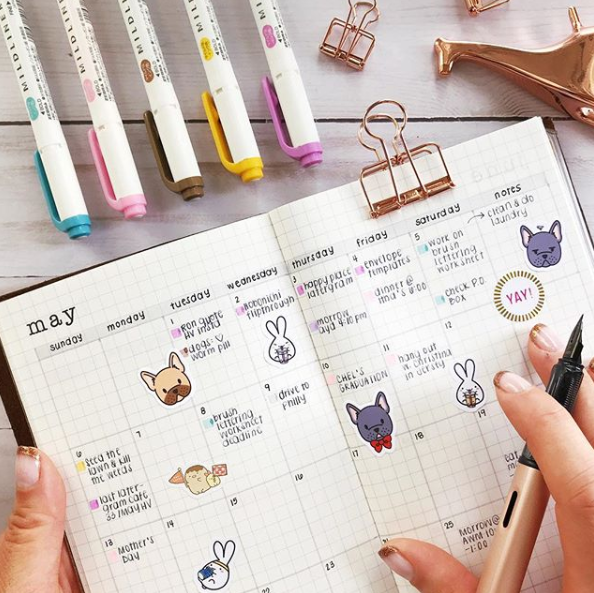
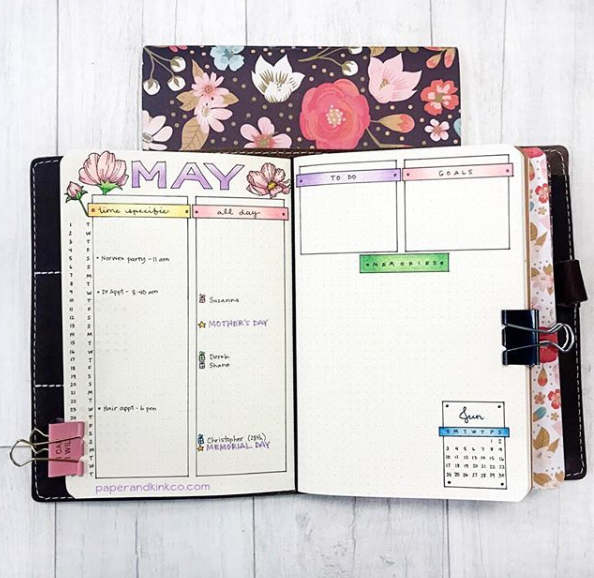
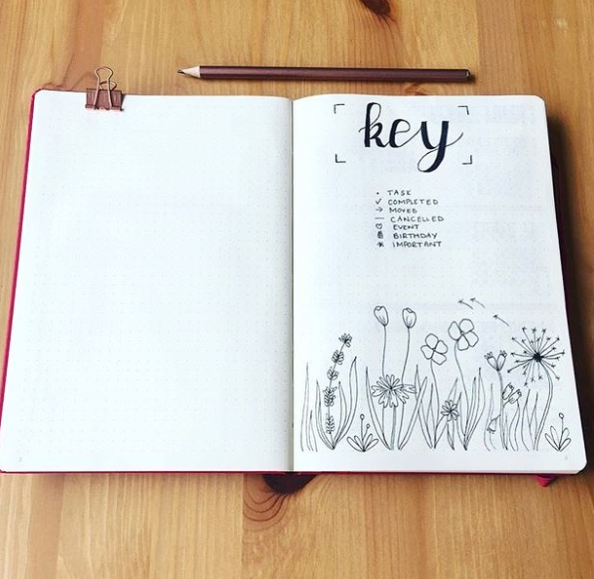
(Images by SaricaStudio, PaperandInkCo.Heidi and bujo_fay73)
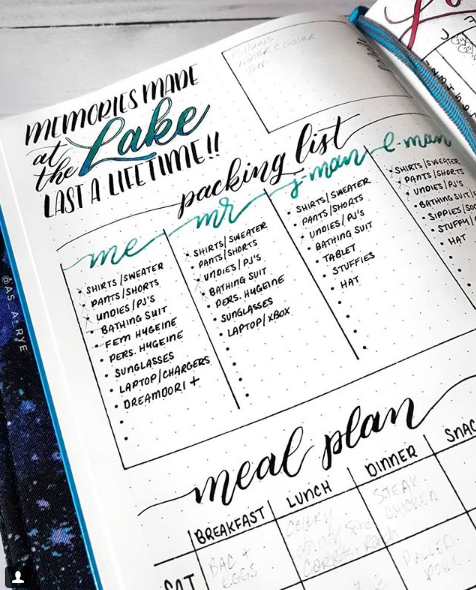
Step 4: Daily Log
If you’re really into planning, you might want to try a Daily Log in addition to the Monthly Log. This is where you can rapid log your notes or tasks for each day. Put each day of the week on your spread with a line for the date like the example shown below. Add graphics, stickers, or doodles to make it your own.
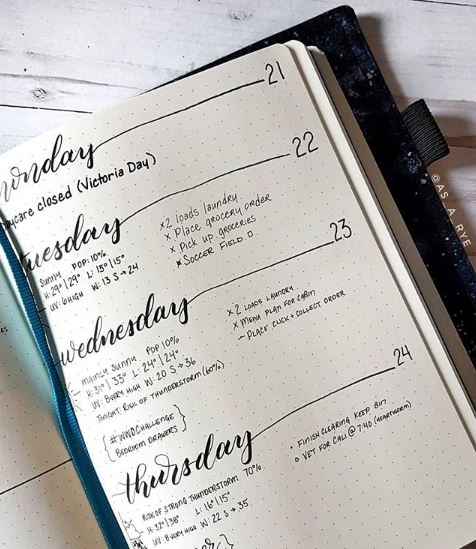
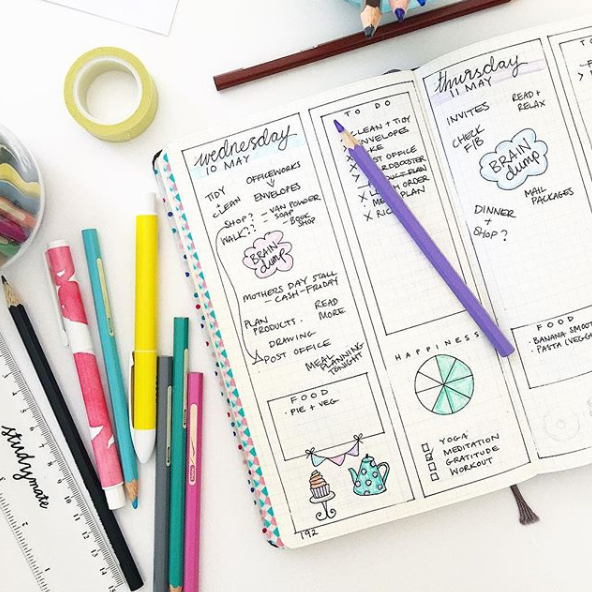
(Images by BooksofNotes, As_A_Rye, and SpaceandQuiet)
Step 5: Collections
If you love lists, this is a section you’ll want to pay attention to. This is where you organize your notes or thoughts that are related to a common theme. For example a list of books or movies you want to read, recipes or restaurants to try, a gratitude or bucket list, birthdays, etc.
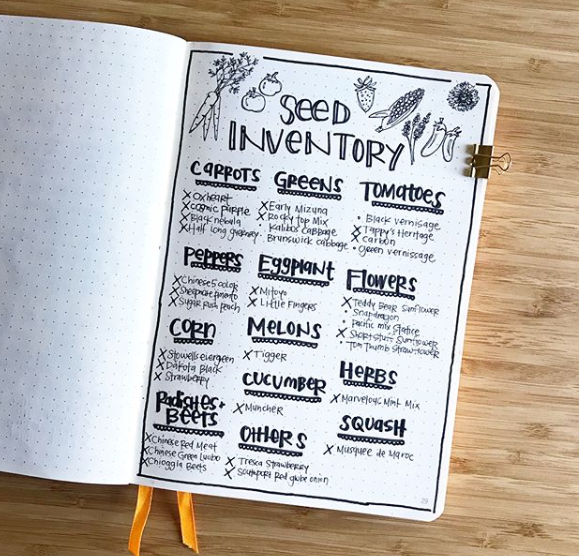
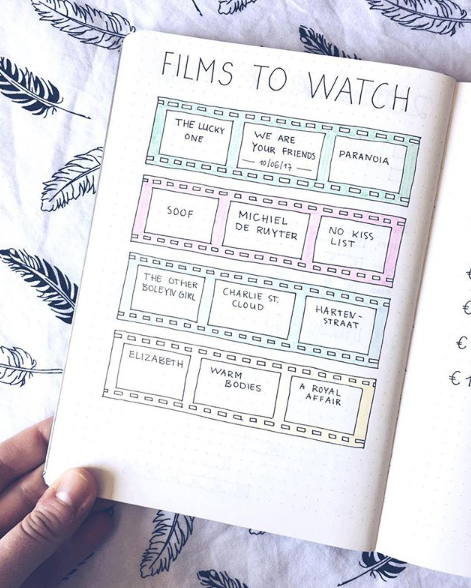
(Image by Disheveled.Doodles, Lilian.Letters, and As_A_Rye)
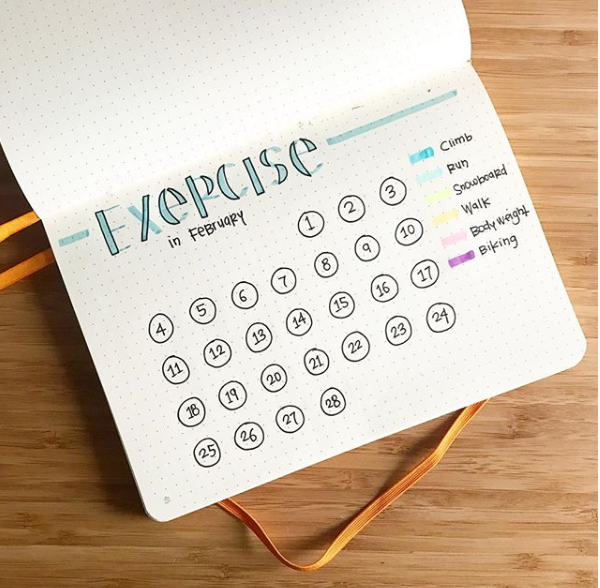
Step 6: Habit Trackers
If you need a visual to get you motivated towards your goals, add a Habit Tracker. Set goals such as drinking 8 glasses of water a day, exercise on a routine, or read job reference material on a schedule. Then track your progress in a weekly format like the examples shown below. You can also track this beside the Monthly Log as a way to see everything at a glance. The great thing about a bullet journal is that you can customize it any way you want!
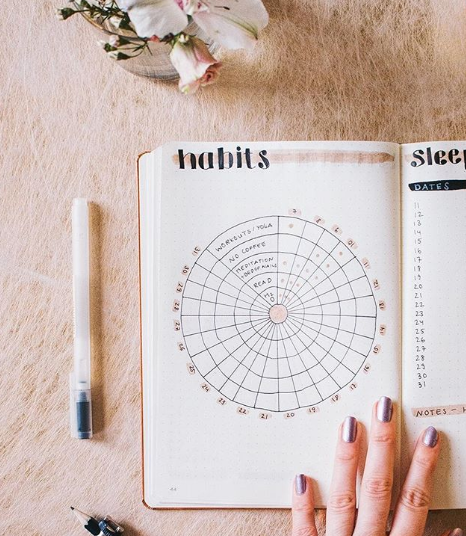
(Images by TeaandCreate, bullet_bec,and Disheveled.Doodles)
Customize each section to fit what’s in your heart. Each section in the steps above can be organized entirely different depending on how you like to see your content. Don’t get stuck up on the examples. Search for more layout ideas on places like Pinterest or Instagram (click the image credit links for more examples). If you’re finding that bullet journal makes your head spin and stresses you out, be sure to keep it simple and pair it down sections then add pages when it becomes a habit. The main purpose of a bullet journal is to learn from yourself as the months and weeks go on and change up the templates that are not working.
“Forget about what you see online. It’s not about how it looks; it’s about how it feels, and, most importantly, how it works for you.” – Ryder Caroll, Creator of the Bullet Journal
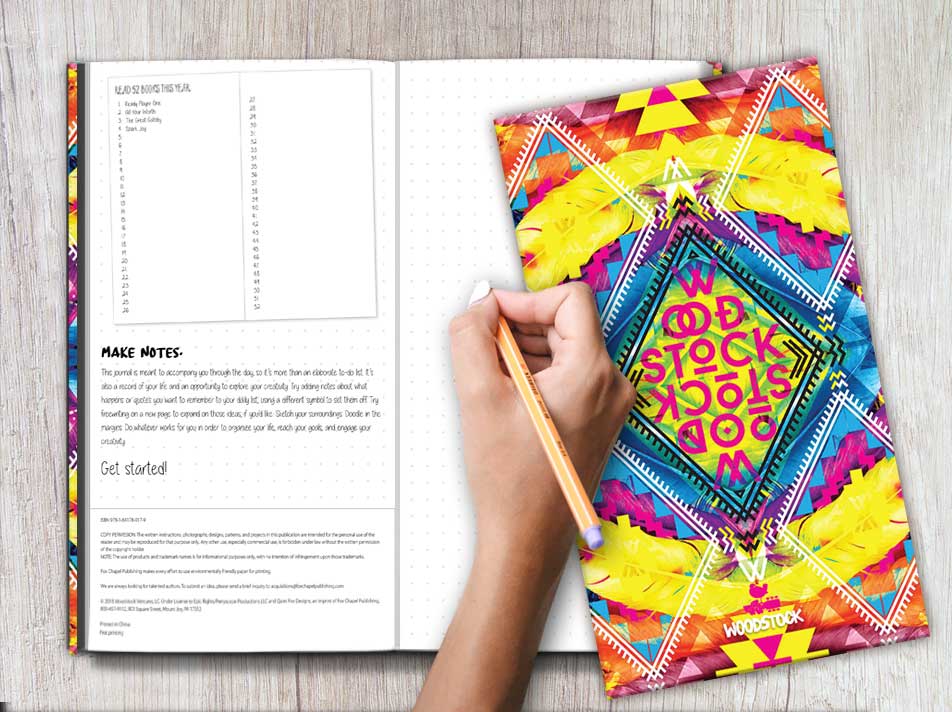
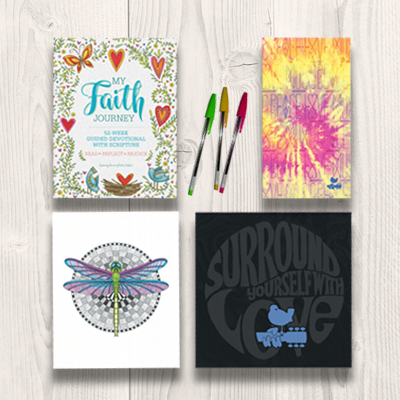
Quiet Fox Journals
Take a journey and connect your creativity with Quiet Fox Journals. From Woodstock themed and coloring page journals to faith journals and guided journals, our journals have something for everyone! Journals range from blank spreads, lined pages, and dot grids ideal for bullet journaling and doodling. Each journal is inspired by creative artists and authors who will guide you on your personal exploration.
Get Exclusive Email Offers And Receive 15% OFF On Your First Book Order!


Recent Comments