


Top 10 Wood Carving Tips & Tricks
WOOD CARVING TIPS THAT WILL MAKE YOUR CARVING SESSIONS EASIER
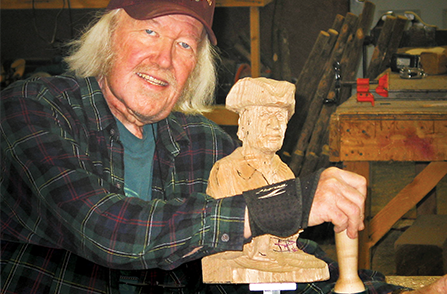
Wood carving is a rewarding, creative craft that doesn’t require a lot of equipment, of course, unless you love to collect tools. All you need is a piece of wood and a carving knife to get started. If you’ve ever wanted to learn how to carve wood or are a seasoned woodcarver, below are 10 essential woodcarving tips for any level to keep bookmarked.
The tips below are brought to you by the team at Woodcarving Illustrated Magazine. This quarterly publication for both subscribers and newsstand readers includes features on innovative carvers, step-by-step projects with pullout patterns, inspirational galleries, and techniques brought to you by expert level carvers and reviews of the newest and most useful tools. Click here to learn more!
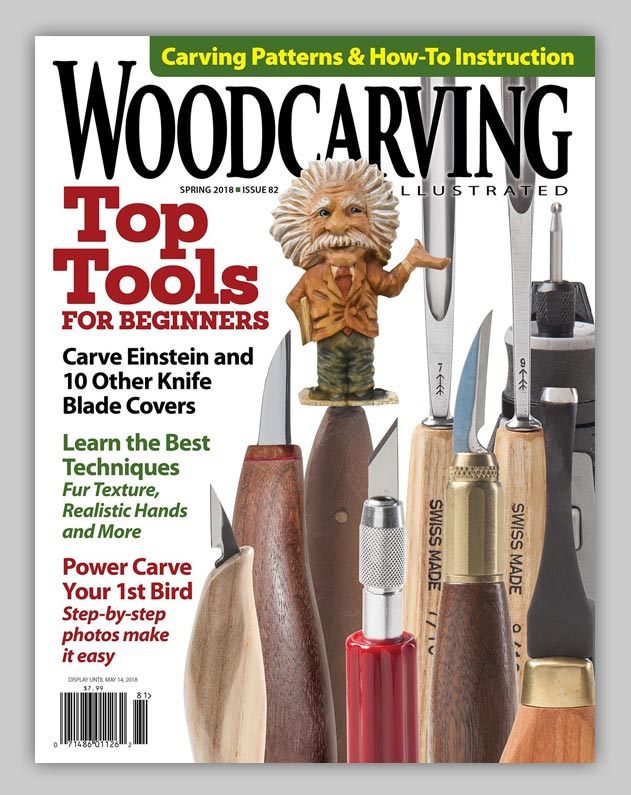
Woodcarving Illustrated Magazine
10 Wood Carving Tips & Tricks
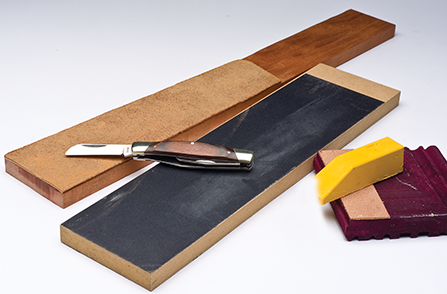
1. Learn to Sharpen.
Even if you plan to power carve, you should at least strop your reciprocating tool gouges, chisels, and V-tools. Even disposable blades, such as X-Acto or Warren blades, cut better if they’ve been stropped. (Source: Bob Duncan, Woodcarving Illustrated Magazine’s Technical Editor)
2. Know the location of the sharp edge.
Know the location of the sharp edge (or spinning bit) and where it could go. Not only do you not want any of your (or anyone else’s) body parts near them, this knowledge will improve your carving. If you’re always aware of the location of the cutting edge of the tool, especially the tip, you’ll make more deliberate cuts, and your carving will turn out better. (Source: Floyd Rhadigan, 2016 Woodcarving Illustrated Magazine’s Woodcarver of the Year)
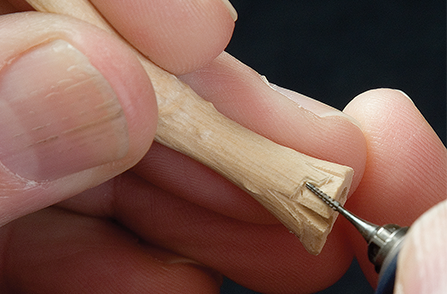
3. Take away wood.
Woodcarving is a take-away medium; it’s difficult to take too much off. As you go in deeper, you can change the shape of the piece even more. It looks better and better until you run out of wood. (Source: John Burke, 2009 Woodcarving Illustrated Magazine’s Woodcarver of the year, WCI 48, Fall 2009)
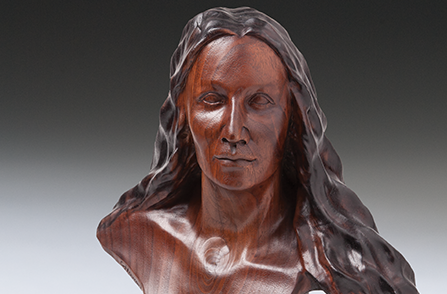
4. Learn proportions.
Your face is a right angle. If you center the tip of your nose in the inside corner of a square, the arms of the square will rest on your cheekbones. (Source: 2011 Vic Hood, Woodcarving Illustrated Magazine Woodcarver of the Year, WCI 56 Fall 2011)
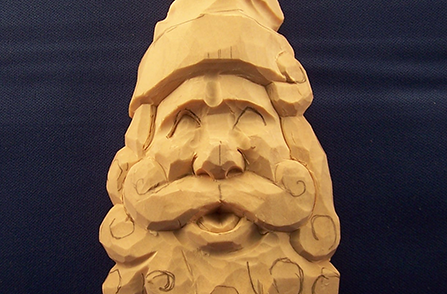
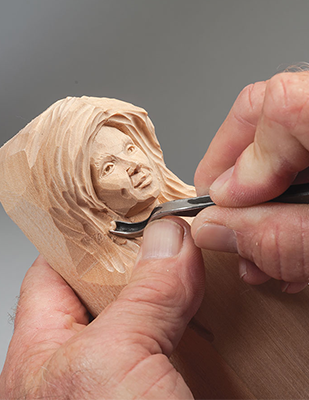
5. Carve eyes.
The inside corners of the eye are the deepest part of the face. (Source: Mark Akers, Woodcarving Illustrated Magazine 85, Holiday 2018)
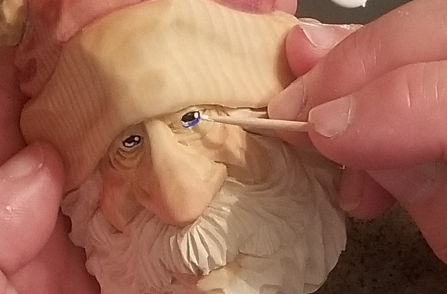
6. Add highlights.
Use a toothpick or stylus to make perfectly round dots of paint for buttons, the highlight dots of eyes, or anything else that should be round. (Source: Carol Leavy Woodcarving Illustrated Magazine 85, Holiday 2018)
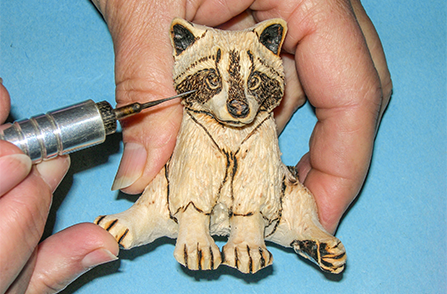
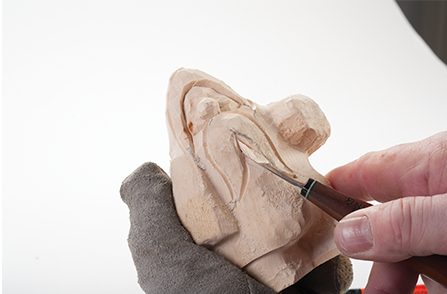
7. Wood burn to add texture.
Use a wood burning tool to add fur texture to speed up your carving. (Source: Desiree Hajny, 2003 Woodcarving Illustrated Woodcarver of the Year, WCI 84, Fall 2018)
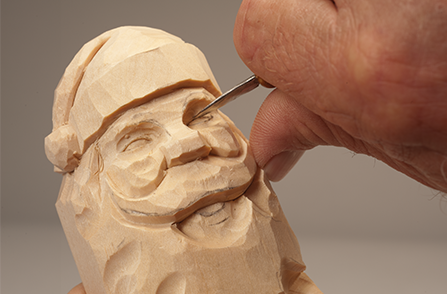
8. Line up your eyes.
If you’re right-handed, complete the carving’s right eye—the left eye as you look at it—first. That way you can see the eye to match it as you carve the left eye. Reverse the order if you’re left-handed. (Source: Harold Enlow, Carving Faces Workbook)
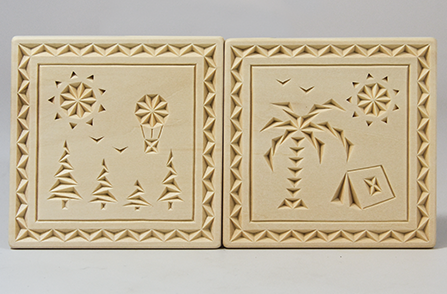
9. Make the largest chip cut first.
When chip carving, in general, carve the largest chips first. Make the first cut on a new chip away from the last one made (on the previous chip). (Source: Wayne Barton, 2005 Woodcarving Illustrated Woodcarver of the Year, WCI 66, Spring 2014)
10. Hold a power carving tool properly.
Hold small projects in your hand when power carving. Normal breathing causes the hands to independently move uncontrollably. Hold the power carver the same as a pencil and extend a finger from one hand to touch the other. Now, when one hand moves, the other moves with it for coordinated control. (Source: Kenny Vermillion, Power Carving Manual)
New Wood Carving Books
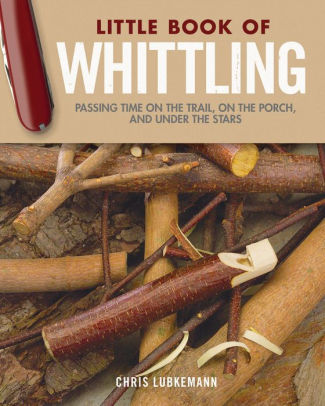
Little Book of Whittling
Little Book of Whittling Gift Edition is perfect for on the go or a stocking stuffer! Inside the book you will find 18 projects, including knives, forks, birds, animals, trees, and flowers. Chapters detail the proper whittling tools and materials, including the best wood for carving, and how to start projects by selecting and safely sharpening the best knife for each project.
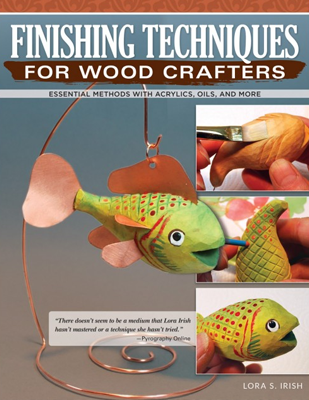
Finishing Techniques for Wood Crafters
Finishing Techniques for Wood Crafters takes you through all the basics of painting and staining any woodcarving, pyrography, or gourd project. Sample projects throughout the book demonstrate specific techniques-like applying a vintage finish to a chip carved fish; creating realistic skin tones on a wood spirit cane topper; enhancing a Celtic knot dragon with an interesting stone effect; and more. Once you master these artistic techniques you can mix and match them on any project.


When will the new issue of Pyrography be out?