


Learning to Carve with Study Sticks
9 Tips for Carving Faces with Study Sticks by Harold Enlow
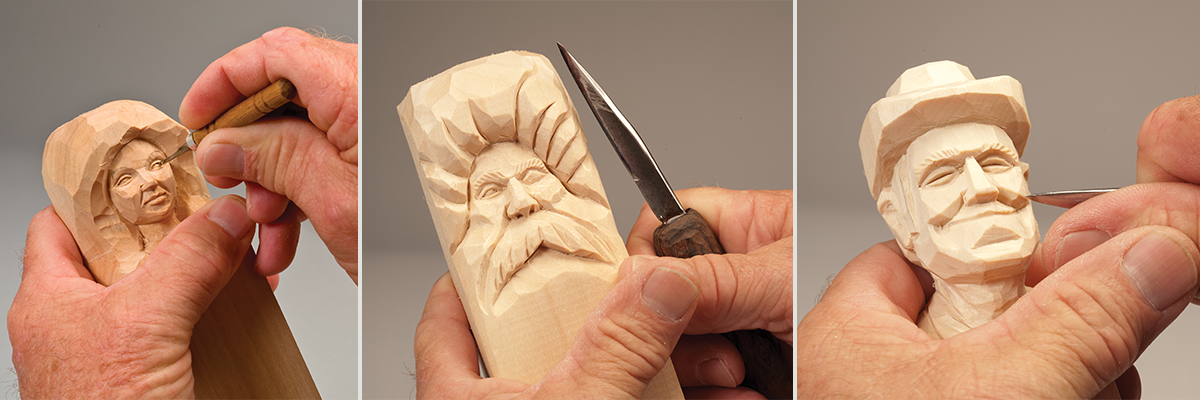
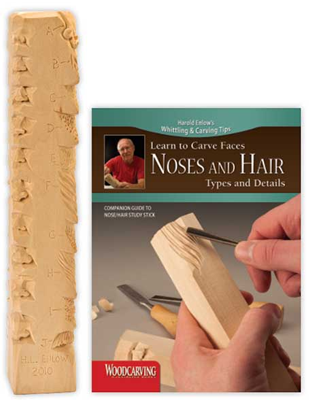
Back and better than before, Harold Enlow’s Study Sticks are now made from high-quality, hand-cast resin with a natural wood stain! Study sticks are a great resource to have on hand when you’re carving a face. Master facial proportions and balance, from realistic faces to exaggerated expression caricatures, with study sticks as your reference. Below are 9 tips for carving faces from Harold Enlow’s study stick kits.
“If you have a good study stick, you can follow along and soon you have a completed carving. Now you know how to do one kind of face. You know the cuts you have to make, where you have to make them, and the order in which to make them. Now you the foundation that you can expand and change. You’ll learn a lot without all the angst and a lot faster than by going the trial and error route without a study stick.” – MackTheKnife, Woodcarving Illustrated Magazine, Forum Member.
Why are the carvings on the corner of the stick and not the flat part?
Believe it or not, the face sits at a 90-degree angle. To prove this theory, hold your hands so that the fingers touch at the end of your nose with palms touching the cheeks, the angle between the hands is about 90 degrees. Flat faces are a common problem for beginners, by carving on the corner you learn that the face has a variety of depth.
Enter to win a study stick kit!
A lucky winner will recieve 4 study sticks, valued at $100! Contest ends April 30, 2020. Click here for details!
9 TIPS on how to carve faces by Harold Enlow
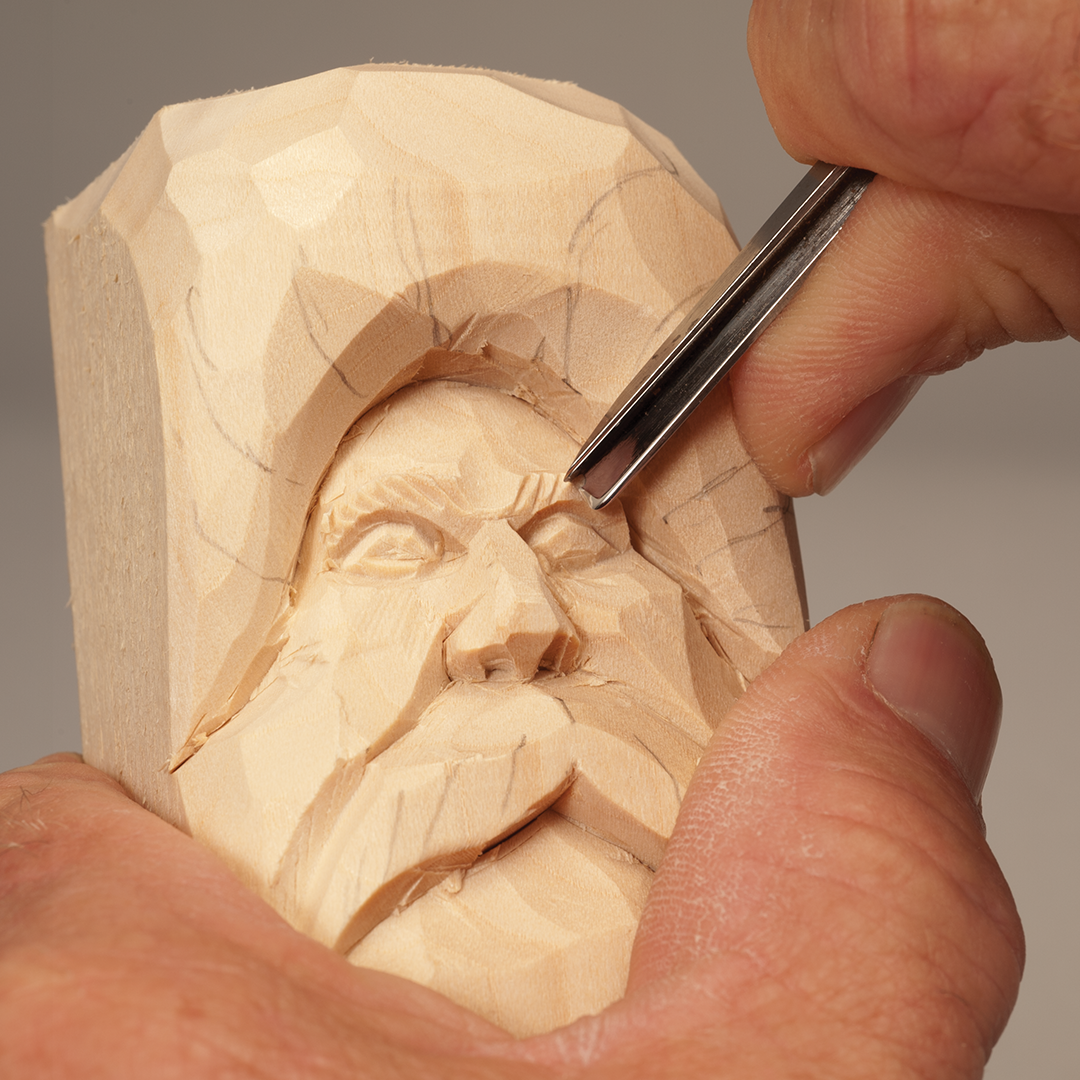
EYEBROWS CARVING
Eyebrows decide the mood. When carving the eye, you often rough in the shape of the eyebrow. The shape of the face can change based on the eyebrows. – Learn to Carve Eyes & Lips
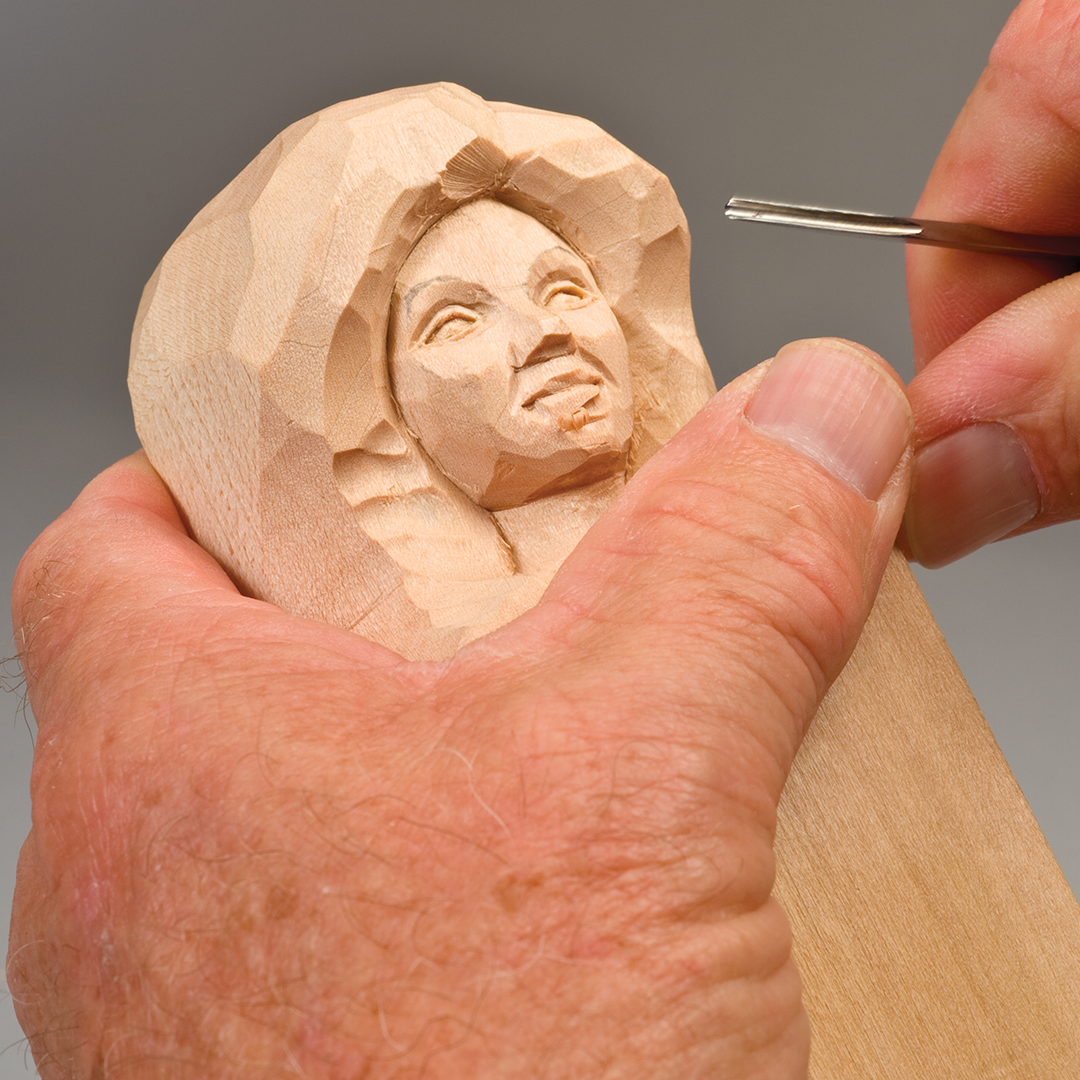
DELICATE FEATURE CARVING
Since women’s features tend to be more delicate, it’s important to clean up your carving. Nothing spoils the illusion of a beautiful woman’s face more than large rough cuts. Make many small cuts rather than a few large cuts. – Learn to Carve a Female Face
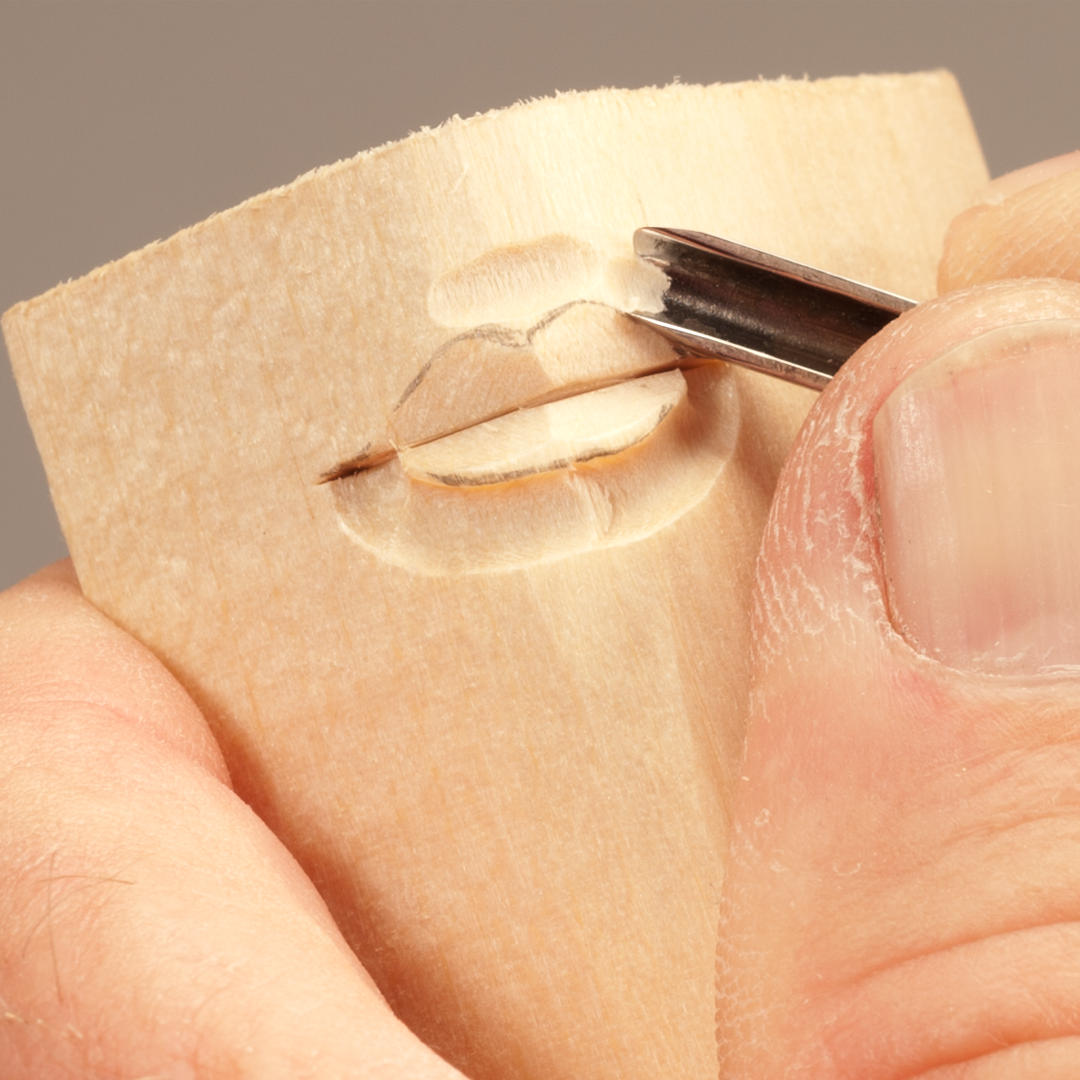
LIP CARVING
Carve above the upper lip and under the lower lip with a 3mm veiner. The upper lip is slightly pointed and the lower lip is more rounded cuts. – Learn to Carve Eyes & Lips
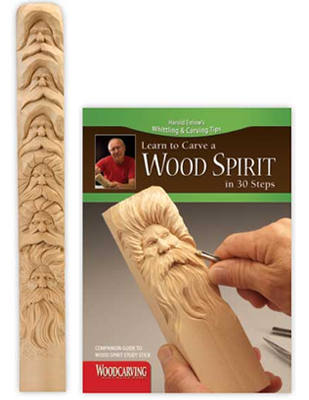
Woodspirit Study Stick
Acclaimed carver and instructor Lora S. Irish takes you through every element of the relief carving process and shows you the easy way to learn.
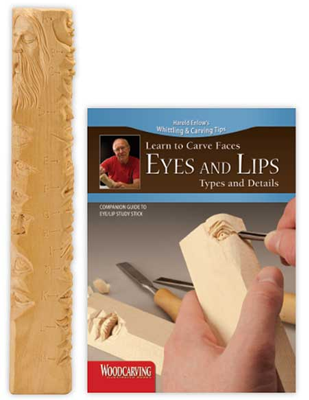
LEARN TO CARVE EYES & LIPS
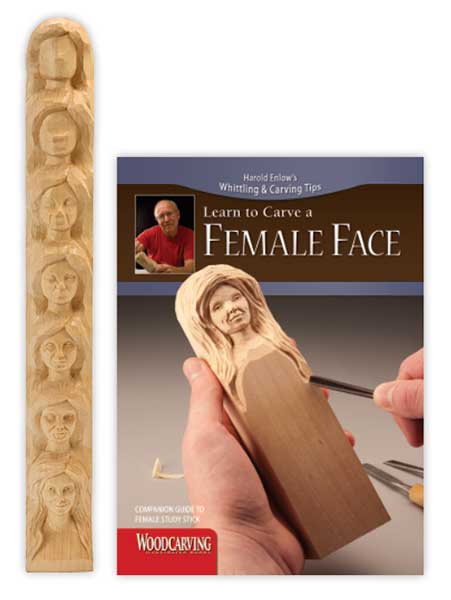
LEARN TO CARVE THE FEMALE FACE
LEARN TO CARVE NOSE & HAIR
A treasure trove of small and beautiful patterns, in two detailed varieties: a line drawing for transferring and a shaded variety for illustrating depth and shadow.
EAR CARVING
The tragus is the little flap of skin sticking out of the ear near the face. Stop-cut around the tragus with a carving knife and cut up to the stop cut so the tragus sticks out. – Learn to Carve the Basic Ear
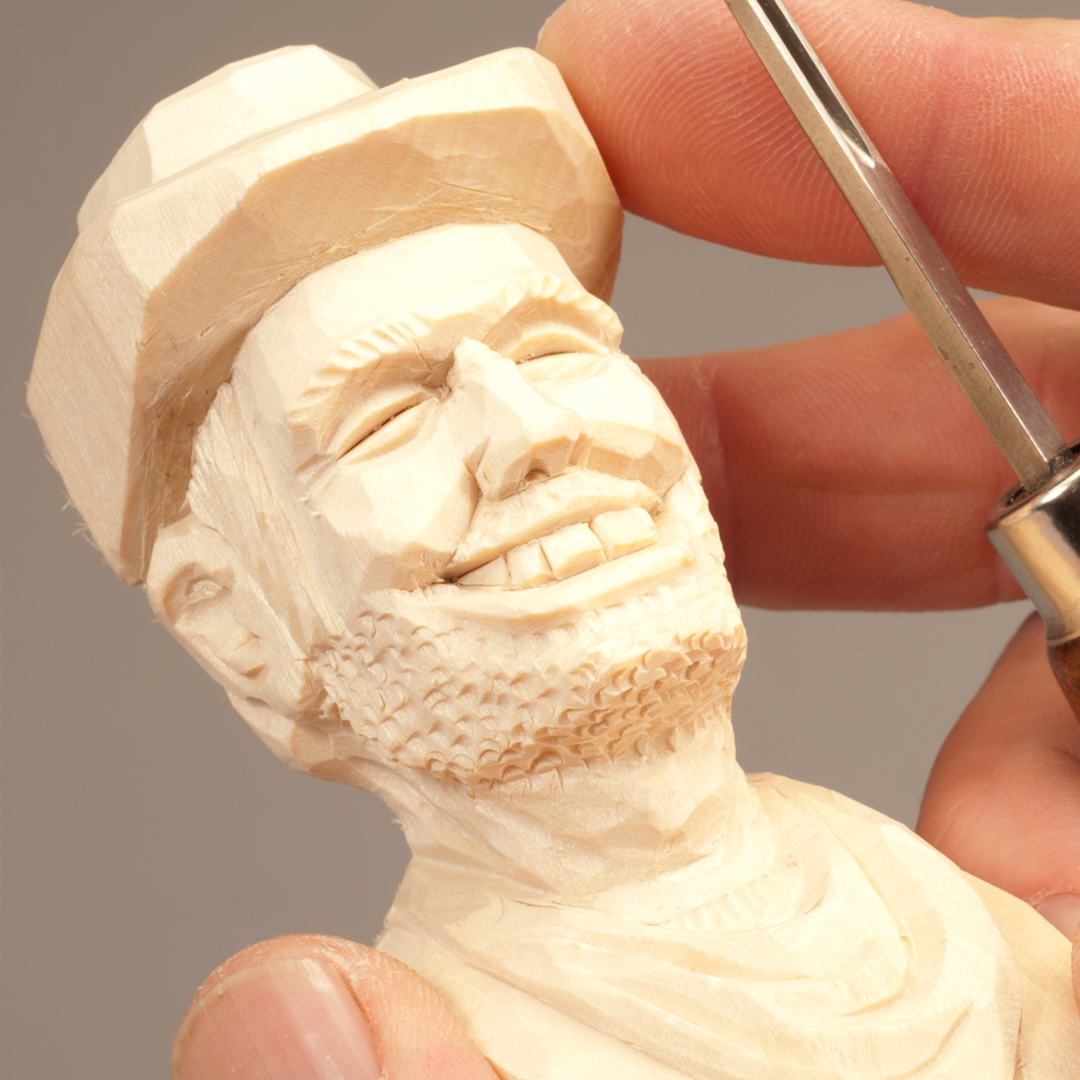
Caricature Carving
As with most caricatures, the success of the carving depends on a blend of realistic and exaggerated features. Most good caricature artists realize that you need to know how to create a realistic face in order to do a good caricature. It doesn’t take much to turn a realistic carving into a caricature. On this cowboy, the ears are a little oversized and the teeth are slightly larger than normal. Both of these features give the carving a fun and happy look. – Learn to Carve a Cowboy
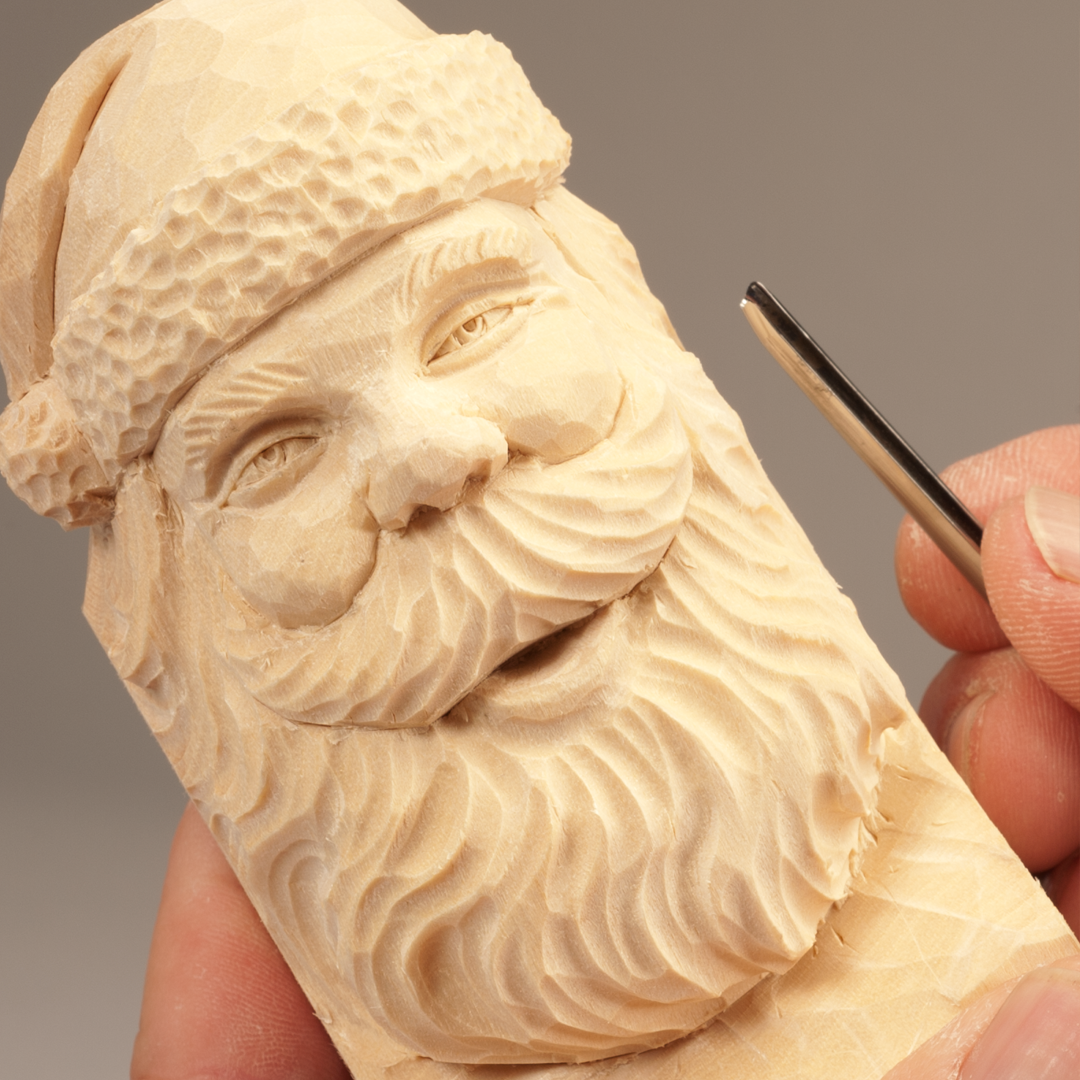
BEARD CARVING
Carve the beard. Carve a series of curved lines using a 3mm veiner. Carve flowing texture between the locks of hair created earlier. Use the same process to carve the sideburns and visible hair. – Learn to Carve Santas
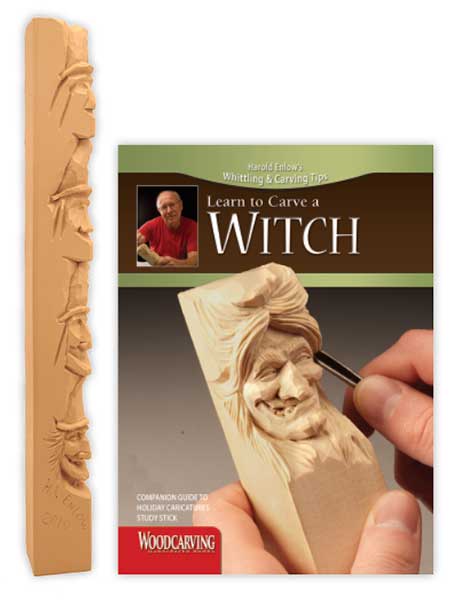
LEARN TO CARVE A WITCH
Acclaimed carver and instructor Lora S. Irish takes you through every element of the relief carving process and shows you the easy way to learn.
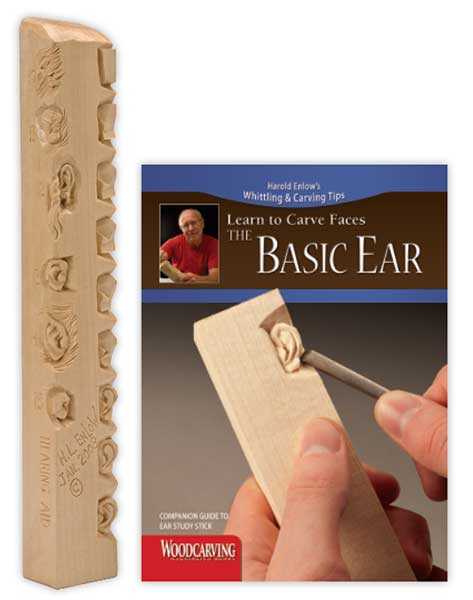
LEARN TO THE BASIC EAR
Within the pages of this convenient source, woodworkers will learn the art of relief carving, which gives the illusion of depth, through projects on wild creatures.
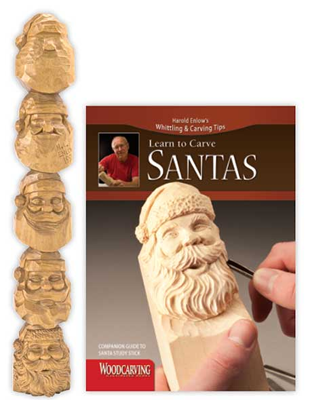
LEARN TO CARVE SANTAS
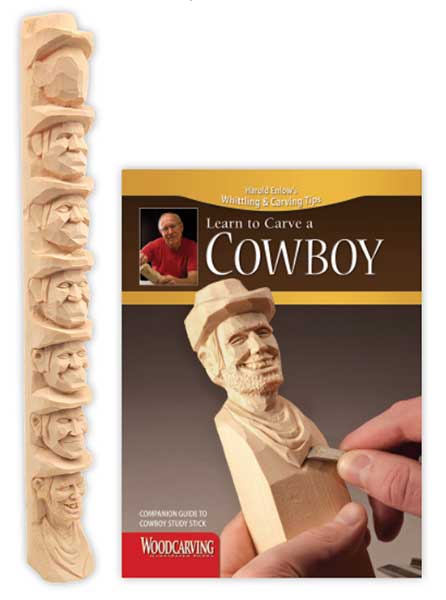
LEARN TO CARVE A COWBOY
A treasure trove of small and beautiful patterns, in two detailed varieties: a line drawing for transferring and a shaded variety for illustrating depth and shadow.
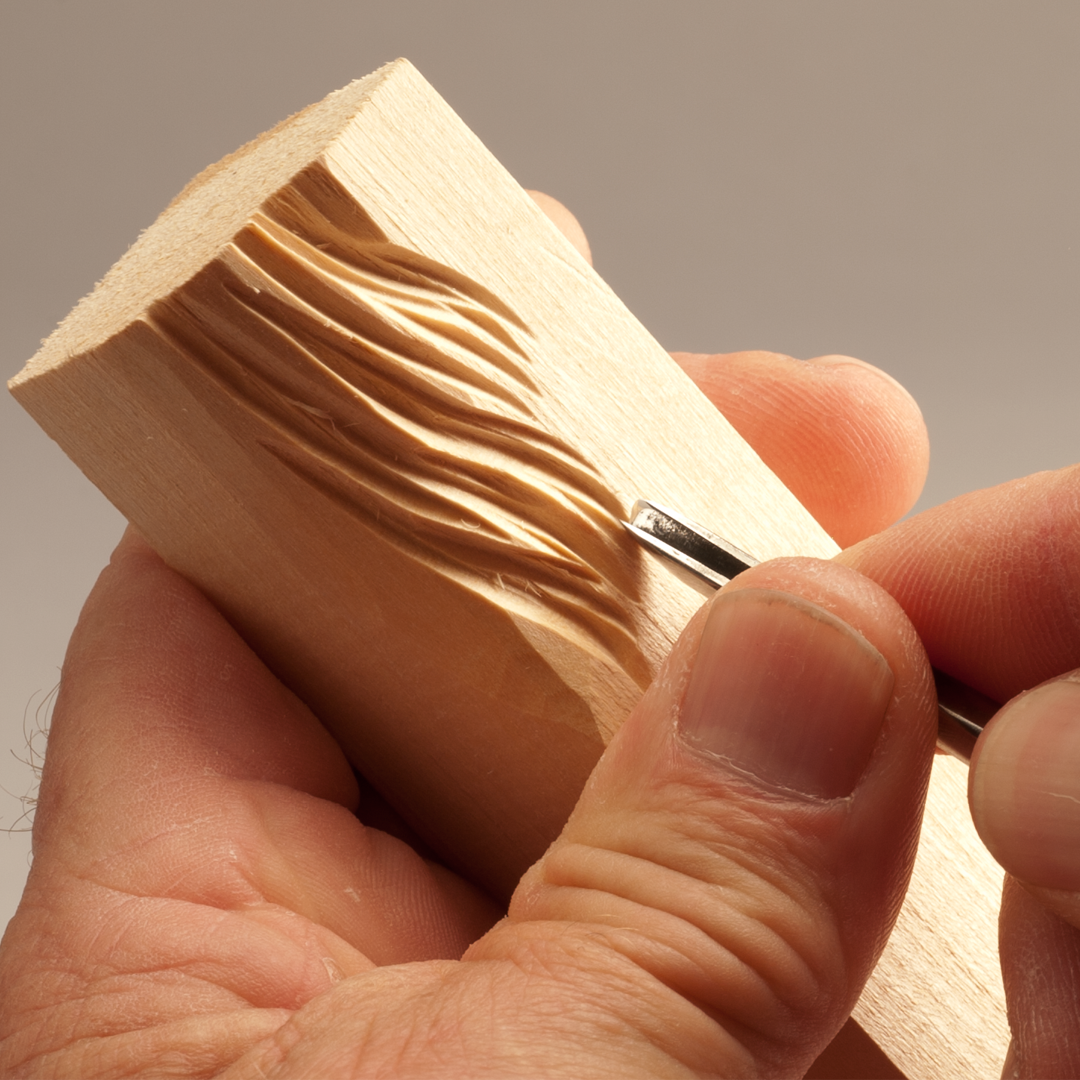
Hair CARVING
Carve the hair. For a man’s hair, carve a series of curved lines with a 1/8″ V-tool. Use a small veiner to carve a woman’s hair. Make sure there are no straight lines. Straight lines look too static. Eliminate flat spots by carving between two nearby hairs wherever there is a flat spot. Deepen some cuts to create more shadow. – Learn to Carve Noses & Hair

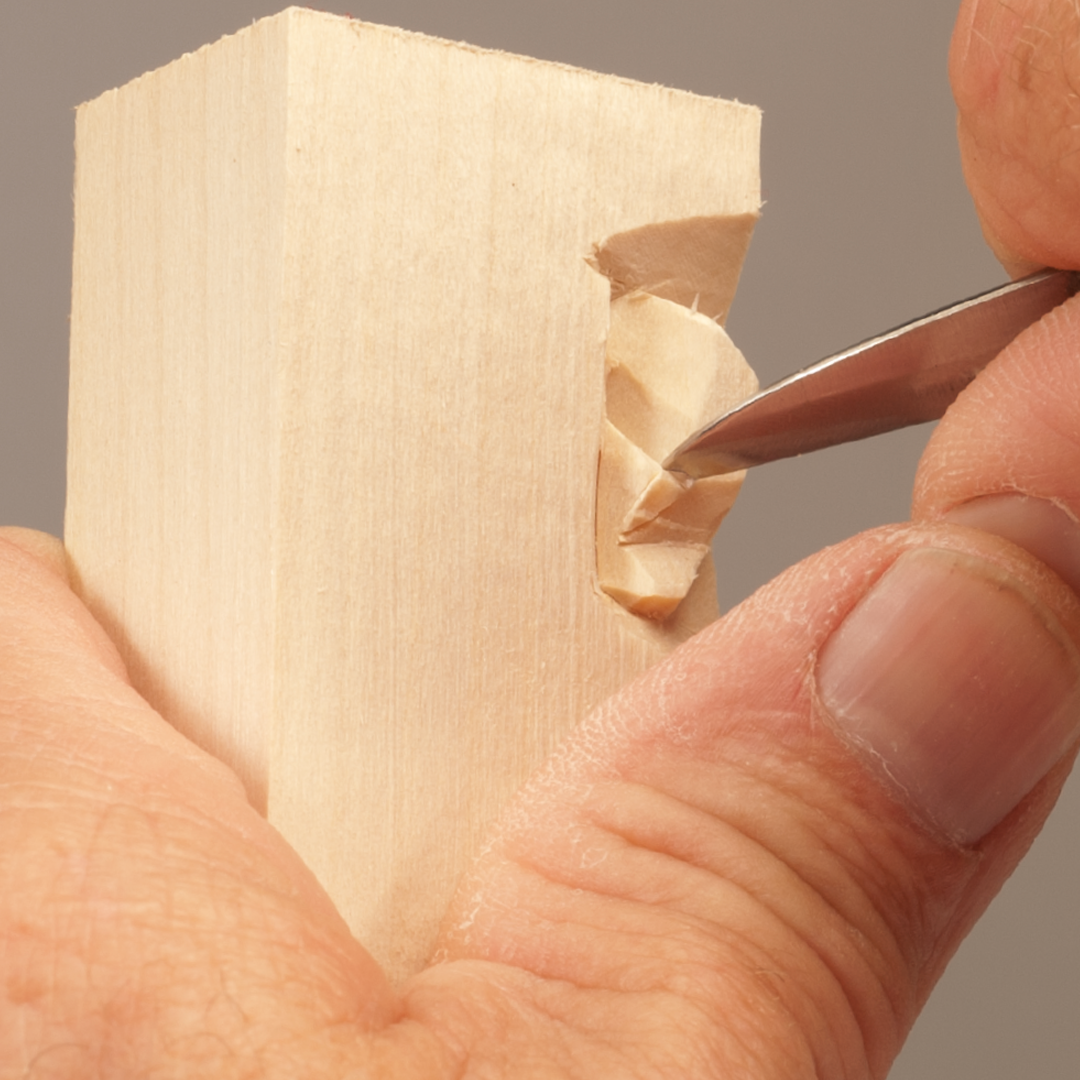
NOSE CARVING
Separate the nose from the cheeks. Stop-cut along the side of the nose and cut up to the stop cut to separate the nose from the cheeks. Half of the nose sticks out from the face and the other half of the nose is in the plane of the face. – Learn to Carve Noses & Hair
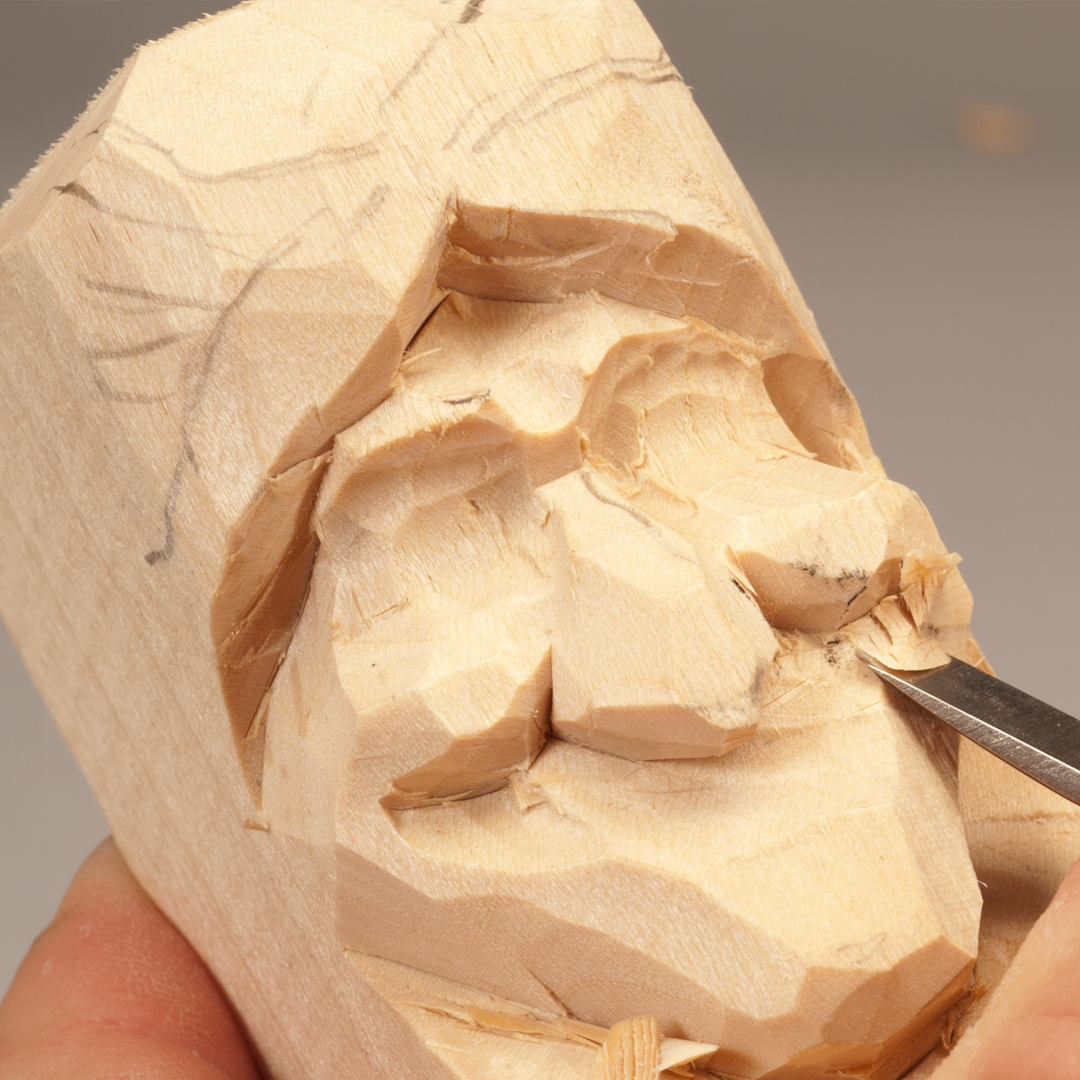
CHEEK BONE CARVING
Accent the cheeks. Remove more wood from the area under the cheeks with a 3/8″ #3 gouge to make the cheeks stick out more. The larger the cheeks, the more smiley the face looks. – Learn to Carve a Witch
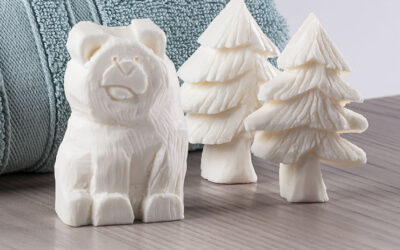
Carving: Soap Edition – Carve A Rustic Bear With Free Pattern
These fun and charming patterns will bring the rustic charm of a mountain-nestled cabin to your city dwelling or your country home. Not sure if wood carving is for you? Soap carving is a great introductory step towards whittling wood for beginners. Try your...

Master the Art of Nordic-style Carving
Guided by noted carvers, Frank and Balder Egholm you'll master the art of one of the most historic and traditional carving styles. This online-only exclusive title is filled with rustic, yet functional projects from utensils to decorative and functional pieces that...
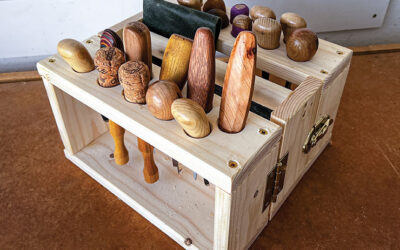
Easy Workshop Organization Projects
Making a Basic Caddy to Hold All Your Tools By Casey Foster Spring is upon us! There's no better time to clean out your workshop and implement new organization techniques to keep your work area looking tidy all year round. Below is a tool caddy project by Casey...
Get Exclusive Email Offers And Receive 15% OFF On Your First Book Order!
Recent Comments