


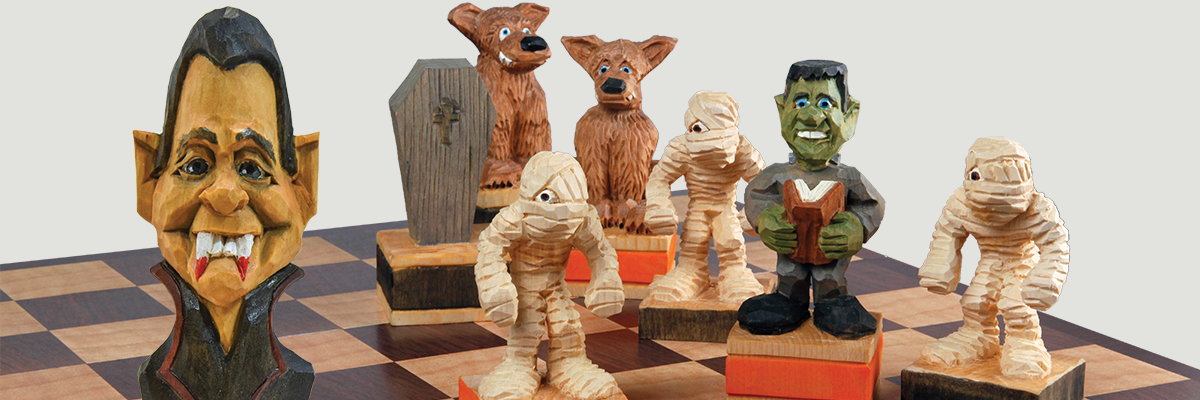
HALLOWEEN WOOD CARVING PATTERN & PROJECT
A regular contributor of Woodcarving Illustrated Magazine, Dwayne Gosnell has been making caricatures for over 14 years. In February 2020, he was inducted into the Caricature Carvers of America. He is president of the Catawba Valley Woodcarvers and teaches classes around the United States. While he’s a master caricature carver, he came from humble beginnings.
Dwayne’s first experiences with wood carving resulted in two visits to the emergency room before a local woodworking shop worker suggested he visited the Catawba Valley Woodcarvers. Fast-forward more than a decade, Dwayne is now sharing what he’s learned in his first two book series, Woodcarving a Halloween Chess Set and Woodcarving a Christmas Chess Set!
Here’s a preview of his tutorial style with this Dracula caricature wood carving and free pattern below.
By Dwayne Gosnell, CARVING CLASSIC HALLOWEEN CHARACTERS
As a child, I would often plan a Halloween costume for weeks in advance, and for many years Dracula was my character of choice. I’d read volumes and volumes on the lore behind this fascinating (and fearsome) character! Now, as an adult, I still have a soft spot for the Count—and when the cooler weather hits, he becomes a carving staple for me once again.
Getting Started
Cut your blank vertically in half from corner to corner; use a band saw. This will result in two
long triangles, one of which you can save for a future project. Photocopy the pattern, cut it
out, and fold down the centerline. Trace the pattern onto one of the blanks, making sure
the grain runs vertically from head to chest. (This gives more support to delicate areas,
such as the nose.) The center of Dracula’s face will correspond exactly with the corner
of your blank. Cut around the perimeter of the pattern with a band saw; I use a 1/4″ (6mm)-wide blade with 6 teeth-per-inch (TPI). If you don’t have a band saw, you can use a coping saw or scroll saw. Save the paper pattern for future use. Make sure all your tools are sharp, and
periodically stretch your hands and wrists while carving.
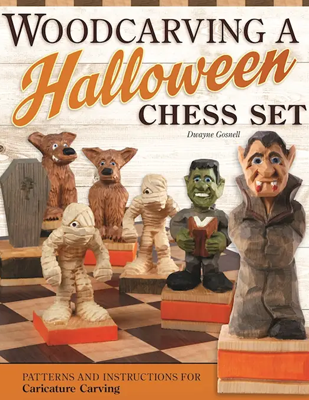
Woodcarving a Halloween Chess Set
Carve one incredibly creepy masterpiece project! Perfect for both beginner and advanced woodcarvers, this guide includes simple caricature carving techniques and step-by-step instructions for each Halloween-themed chess piece. Also, check out the holiday version, Woodcarving a Christmas Chess Set.
Materials & Tools:
• Basswood, 2″ square: 6″, cut vertically in half
• Pencil or marker
• Acrylic paints, such as Plaid Apple Barrel: black, bright red, grey, white; such as FolkArt: metallic black, midnight blue
• Water-based stain, such as Minwax: tinted honeycomb
• Boiled linseed oil
• Water-based polyurethane, such as Deft
• Band saw with blade: 1/4″ (6mm) wide
• Knife
• V-tools, 45°: 1/8″ (3mm), 1/4″ (6mm)
• V-tool, 90°: 1/2″ (13mm)
• #9 gouge: 1/4″ (6mm)
• Hair dryer (optional)
The author used these products for the project. Substitute your choice of brands, tools, and materials as desired.
Wood Carving Dracula – Step by Step

1. Mark the Nose & Chin.
Holding the pattern over the surface of the blank, cut small triangles under the nose and chin, and mark the lines with a pencil. Use a knife. Remove the chip from the neck and chest area. Make a stop cut below the nose and carve up to it to form the mouth and chin area. Then determine how big you’d like the nose to be and where the hair will lie. Use the same stop and relief cuts to establish what will later be the eye sockets and bottom of Dracula’s widow’s peak.

2. Draw the reference lines.
Include the centerlines, hair, nose, and smile lines. Then carve along the pencil lines with a 1/2″ (13mm) 90° V-tool. I use the larger V-tool on its side to shape the face and forehead instead of switching back and forth between tools. Make deep cuts along the hairline to separate the hair from the forehead; if you need to make several passes, that’s okay. Shape the ears to give them a flat, pointed look; use the same tool. Make sure all cuts near the nose are angled away from the tip and not straight in; otherwise, you will snap the nose off. Note: When making cuts, carve upward in the areas above the eyes and downward in the areas below.

3. PLot Details & DefinE eyebrows.
Draw reference lines for the upper brow, upper eye area,
teeth, and clothing with a pencil. Redraw the centerline. Carve
grooves above the brow line and upper eyelid area with a 1/4″ (6mm) #9 gouge. Make sure that you carve the inside (nose
side) deeper so the grooves aren’t the same depth across. Add nostril holes, pushing them straight into the sides of the carving and not upward into the nose. Clean up all cuts with a knife.

4. SEPERATE THE TEETH & ADD DEPTH.
Then separate the collar from the coat. Use a 1/4″ (6mm) 45° V-tool turned on its side. Add shadow and depth to the
smile. Use the knife to cut a triangle on either side of the mouth.

5. Shape the Hair.
Use the knife to add waves and movement as desired. Remove all hard lines from the carving, and round and soften the forehead and nose.

6. Cut the Upper Eye Lid Crease.
Use the 1/4″ (6mm) 45° V-tool. Angle the V-tool upward, away from the eye, and cut deeper into the wood on the nose side, rounding the eyes. Redraw the eye lines, if desired. Then rough in the exposed eyeball; use the same tool.

7. Gently shape the eyes.
Use the knife. You want a nice, round area to paint, not a flat, football shape. Remove a small amount of wood at a time.
8. Carve the Eye bags.
Use the 1/4″ (6mm) 45° V-tool. Then detail the ears, following the ear angles straight in to refine their points. Cut in to add a
slight ridge on the upper part of each ear, running in from the point to the hair

11. Add the final details.
Make a line around the collar area and refine the teeth; use a 1/8″ (3mm) 45° V-tool. Clean up all remaining chips and fuzzies
with the knife. Then add some stop cuts around the clothing areas to keep the paint from running later.
More Wood Carving Titles
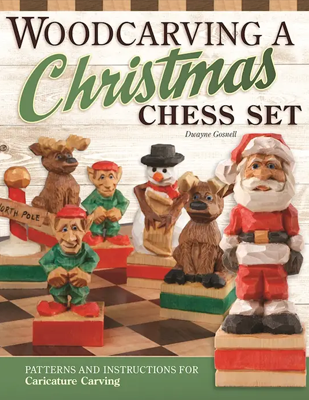
Woodcarving a Christmas Chess Set
It’s the most wonderful game of chess ever! Perfect for both beginner and advanced woodcarvers, this guide includes simple caricature carving techniques and step-by-step instructions for each piece. With 6 full-size patterns, you’ll carve reindeer knights, Mrs. Claus as Queen, Santa Claus as King, and more!
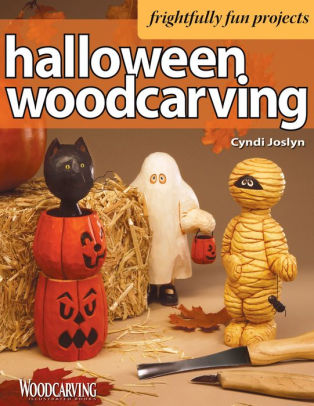
Frightfully Fun Projects
A treat for any woodcarver! As a follow up to Easy Woodcarving, this book offers 10 original and detailed patterns and the expert instruction to carve whimsical Halloween-inspired characters including a mummy, witch, black cat, ghost and more.
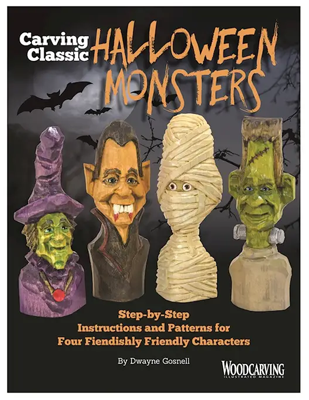
Instructions for Four Fiendishly Characters
Challenge your carving skills as Halloween creeps near! Author and award-winning caricature carver Dwayne Gosnell will skillfully teach you how to carve, paint, and finish 4 classic monsters, including Dracula, Frankenstein, a witch, and a mummy.
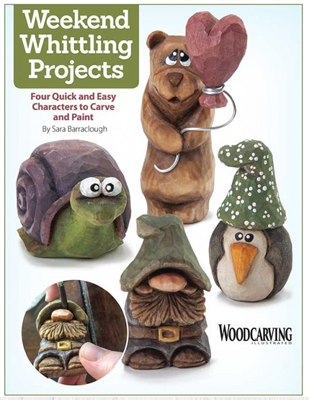
Four quick & Easy characters to carve & Paint
Learn to whittle four little friends! Featuring step-by-step instructions, coordinating photography, and full-size patterns for a snail, bear, troll, and penguin, author and talented woodcarver Sara Barraclough will guide you through each adorable whittling project.
Get Exclusive Email Offers And Receive 15% OFF On Your First Book Order!

Recent Comments