


Carve this “Whale of a Tale” Simple Soap Carving
By Janet Bolyard in the Complete Guide to Soap Carving: Tools, Techniques, and Tips
Soap carving is a great way to introduce children on how to carve wood. It is also an economical way of finding out if you like carving enough to graduate to a whittling knife, gouge, and wood. You can create your own soap carving tools from sharpened popsicle sticks.
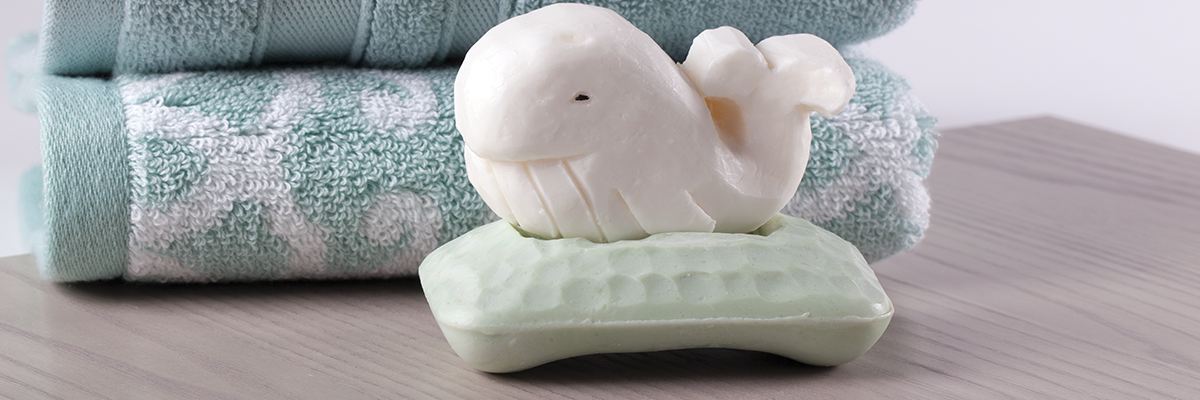
The Whale of a Tale project is fun to learn this soap carving technique, yes, but the real fun happens in the bathtub. Oh, the adventures that the whale’s creator will share! Not only is this happy whale fun at bath time, it can also be ready for action near a sink to clean dirty hands. The whale can be carved into the reverse side for a soap-on-a-rope project. Carved in the round, as here, it can be set upright on its own base of Irish Spring ocean waves. This project takes about 30 minutes to complete.
What you need:
• 1 Ivory bar, 1 Irish Spring bar for base (optional)
• Template
• Marking tool of choice
• Carving popsicle stick knife
• Small popsicle stick gouge
• Large popsicle stick gouge
• V-tool popsicle stick
• 2 brushes, water
Complete Guide to Soap Carving
“Whale of a Tale” Soap Carving Step by Step
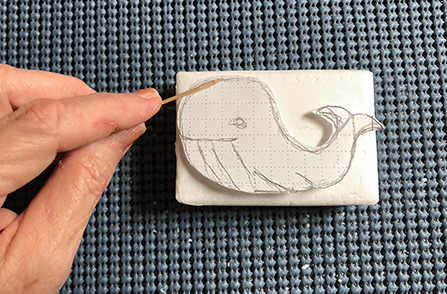
1. Prep the Soap.
Center your template and outline with your marking tool of choice.
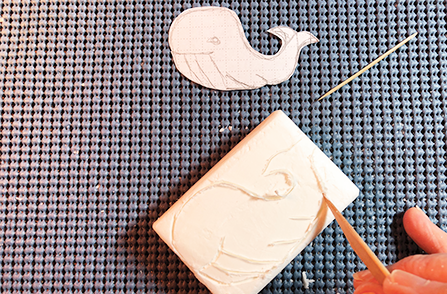
2. Trace the pattern.
Use a detail knife to make stop cuts.
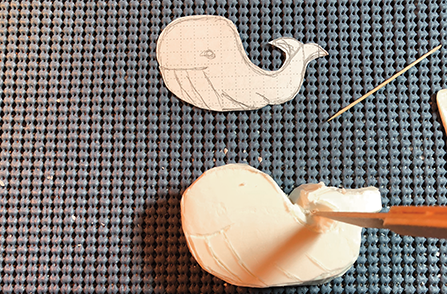
3. Leave extra.
Leave extra soap around the tail to decrease the chances of the tail breaking off during carving.
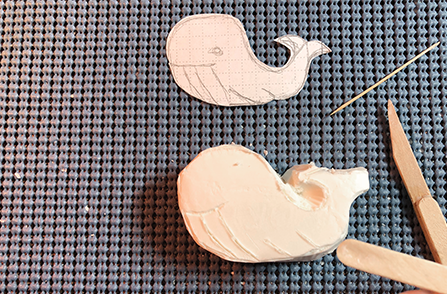
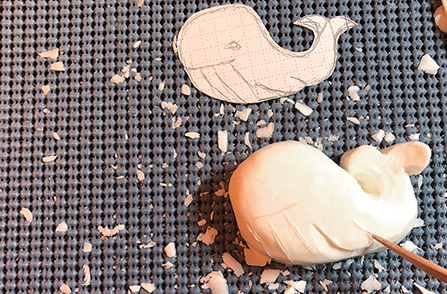
4. Shape the whale.
Using a small gouge, carve the area between the tail and the body. Then scoop out soap until you can peek through.
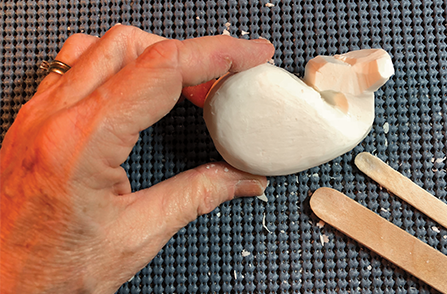
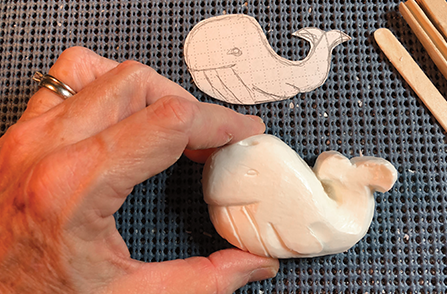
5. Add curves and movement.
I wanted my tail to have movement. Using a small gouge, I added concavity to the end of the tail. This gives the tail more dimension—more natural looking than a flat tail. Note how I’m supporting the backside of the tail while I carve. This prevents the tail from breaking.
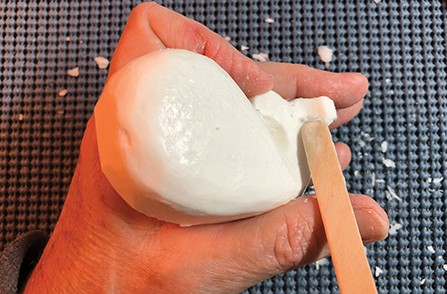
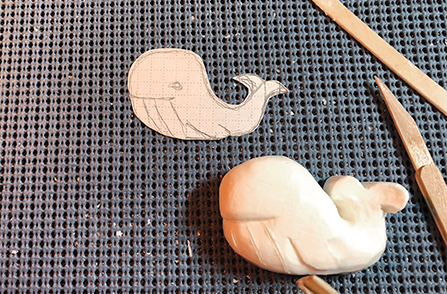
6. Smooth the texture.
Use all your tools to smooth and clean every part of the carving before you begin detailing.
7. Add details.
Using a detail knife, mark out the mouth and the underbelly lines. You can make a V-cut with a detail knife, especially in tight workspaces.
8. Clean it up.
Otherwise, use your V-tool where space allows. First make a stop cut, then go back over the cut with the V-tool. Not only does the stop cut serve as a helpful guide, it also helps makes your cut cleaner.
9. Finish your piece.
Dry brush, wet sand, and detail. Now you have a whale of a tale to tell!
Other Carving Titles
Little Book of Whittling
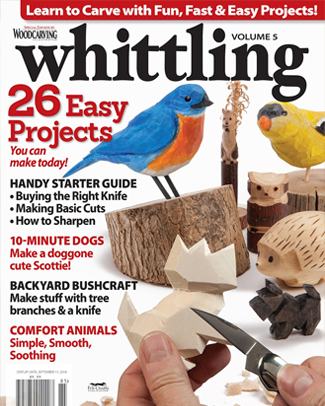
Woodcarving Illustrated Magazine Whittling Volume 5
Get Exclusive Email Offers And Receive 15% OFF On Your First Book Order!
Recent Comments