


Top 10 Scroll Saw Tips & Tricks
From the Editors of Scroll Saw Woodworking & Crafts Magazine
Scroll sawing is a rewarding skill. If you’ve ever wanted to learn how to use a scroll saw or are already a seasoned scroller, below are 10 essential scroll saw tips for any level to keep bookmarked.
The tips below are brought to you by the team at Scroll Saw Woodworking & Crafts Magazine. This quarterly publication for both subscribers and newsstand readers includes features on innovative scroll saw artists, step-by-step projects with pullout patterns, inspirational galleries, and techniques brought to you by expert level scrollers and reviews of the newest and most useful tools. Click here to learn more!


Scroll Saw Woodworking & Crafts Magazine
Top 10 Scroll Saw Tips
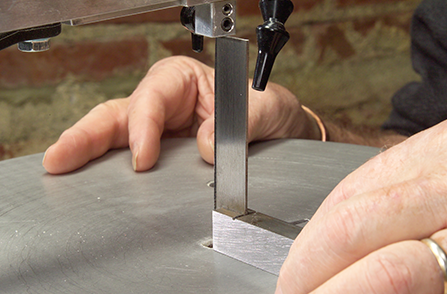
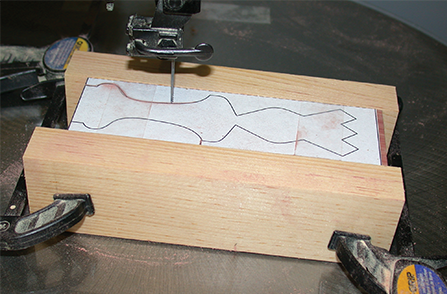
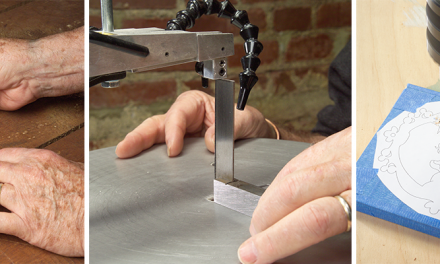
1. Make sure your blade is square with the table.
It doesn’t matter if your saw arm tilts or your table tilts. For most cuts, the blade must be at a right (90°) angle to the saw table. This is especially important when stack cutting, cutting puzzles, or compound projects. (Source: John A. Nelson, Scroll Saw Workbook)
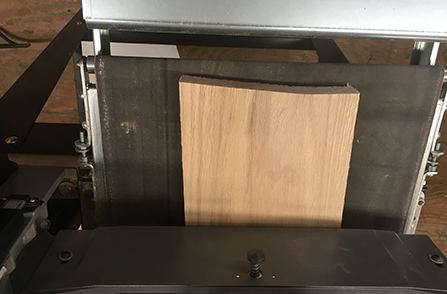
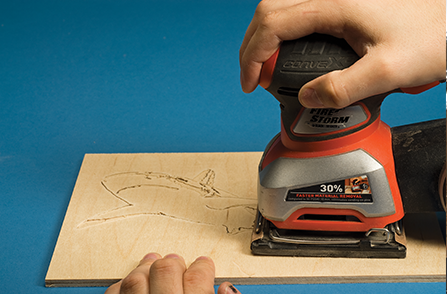
2. Sand before you cut.
The cutting process will produce some fuzz but if you do most of your sanding first, it’s easier and safer to sand for especially delicate fretwork. (Source: Bob Duncan, Technical Editor, Scroll Saw Woodworking & Crafts)
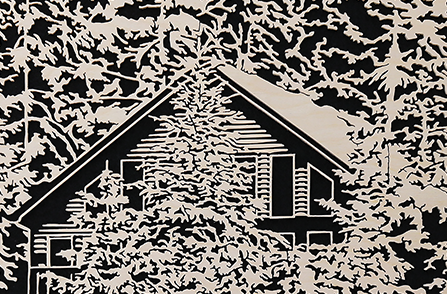
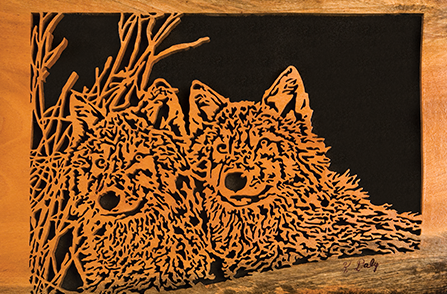
3. Replace cut pieces back in place.
When cutting portraits it’s okay to leave some of the smaller frets open, but when you have large open spaces replace the cut-out wood before you sand. This helps protect the fragile bridges. (Source: Charlie Dearing, Author, Wildlife Portraits in Wood)
4. Finish fretwork before assembling.
Mask off the glue joints with tape. Then apply the finish to the fretwork. Remove the tape, and then glue and clamp the pieces together. (Source: Rolf Beuttenmuller, Scroll Saw Woodworking & Crafts Test Cutter, Scroll Saw Woodworking & Crafts Holiday 2018, Issue 73)
5. Sand after cutting 10 frets.
The cutting process produces fuzzies on the bottom of the blank. Over time, these fuzzies will lift the blank off the saw table and skew your cuts. (Charles Hand, Scroll Saw Woodworking & Crafts Author, Scroll Saw Woodworking & Crafts Holiday 2018, Issue 73)
6. Take your time cutting thick wood.
Not only will this help your blades last longer, but it’s less likely that the wood will burn. Additionally, when you push the blank too hard into the blade, it bends the blade and can skew your cuts. (Source: Judy Peterson, author of Making Wooden Dinosaur Toys and Puzzles)
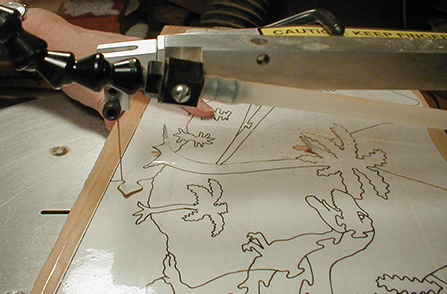
7. Apply tape to your blank to reduce burning.
Some woods, such as black cherry, burn easy. Some scrollers attach the pattern to the blank with spray adhesive and then cover the pattern with clear painters tape. Other scrollers cover the blank with blue painter’s tape and then attach the pattern to the tape. Either way, the lubricant that keeps the tape from sticking to itself greases the blade and reduces burning. (Source: Mike Moorlach, www.Mikesworkshop.com)
8. Use clamps and scrap wood to hold compound-cut blanks securely.
Since these blanks are usually slim, it can be hard to keep them flat on the saw table. I use quick-grip clamps and flat scrap wood to give the blanks more surface area to keep them flat on the table. (Source: Diana Thompson, Compound Christmas Ornaments for the Scroll Saw Revised Edition)
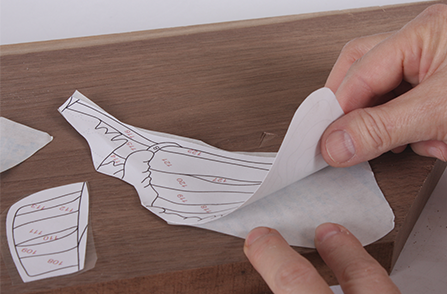
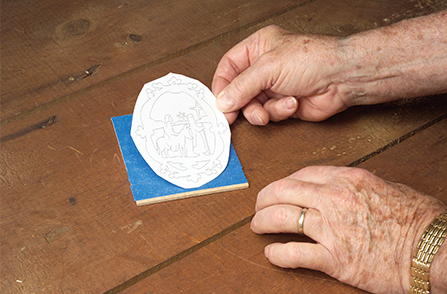
9. Use spray adhesive to attach your patterns to clear Con-Tact shelf paper.
Then cut out the patterns on the contact paper and attach them to your blanks. The shelf paper holds securely but removes easily without leaving a residue. (Source: Kathy Wise, Intarsia Woodworking Projects)
10. Drill blade-entry holes in groups.
For intricate portraits with hundreds of frets to cut, I drill the blade-entry holes in groups of 50. This averages out to about 45 minutes of cutting time and encourages me to stand and stretch for a few minutes while I cut the next group. (Source: Kevin Daly, Scroll Saw Woodworking & Crafts Spring 2008).
New Scroll Saw Pattern Booklets
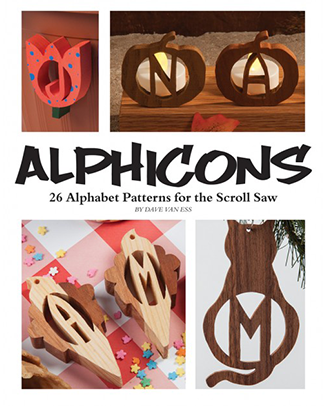
Alphicons: 26 Alphabet Patterns for Scroll Saw (Download)
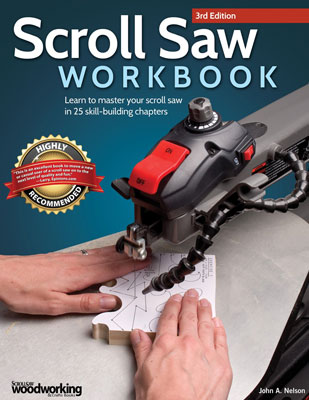
Scroll Saw Workbook, 3rd Edition
Get Exclusive Email Offers And Receive 15% OFF On Your First Book Order!
About the Author
Robert Triplett has been carving for most of his life. He retired from the U.S. Army after twenty-five years of service and later worked as a safety engineer at electrical power plants. Born and raised in Bedford County, Pa., Robert lives in Hummelstown, Pa.


Recent Comments