


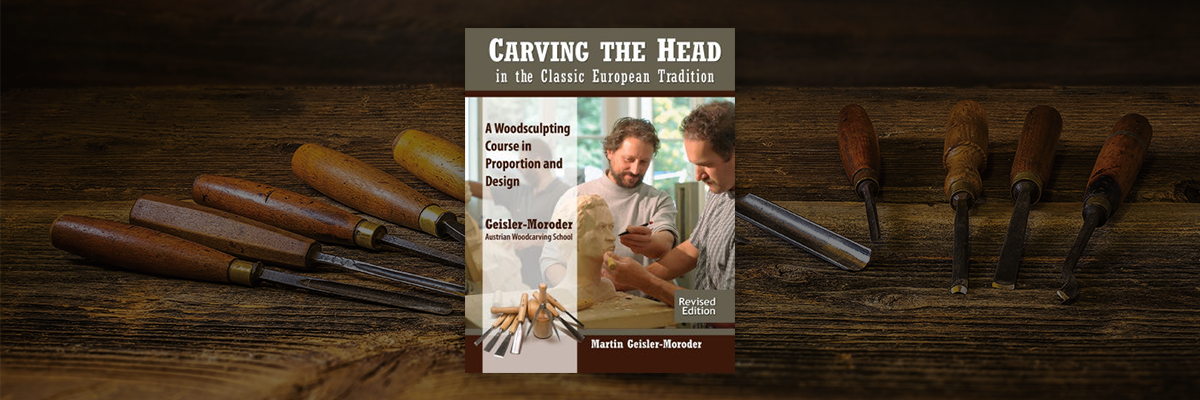
Carving the Nose: The Geisler-Moroder Way
From Carving the Head in Classic European Tradition
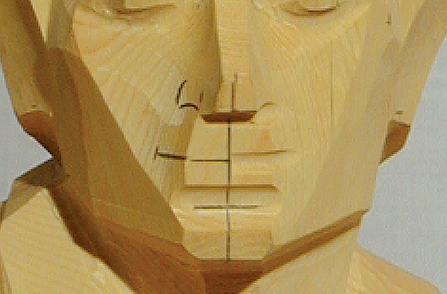
The nose is the most prominent features of the face. Common mistakes when carving a nose is placing the nose too far out of the face. At least half of the nose sits on the face. With the Geisler-Moroder Way, you can break down facial features into simplified geometric forms. Below we will explore this method with a step-by-step wood carving nose tutorial from Carving the Head in Classic European Tradition.
What is the Geisler-Moroder Way?
The tradition of woodcarving has been passed on from generation to generation in the Moroder family for over 400 years. At the beginning of the 1950s, Professor Rudolf Geisler-Moroder began to teach woodcarving to a group of young students in
Elbigenalp, Austria. This was the seed of the school that today is called the Geisler-Moroder Austrian Woodcarving School. A hallmark of the Geisler-Moroder Austrian Woodcarving School’s method is working with planes and surfaces where the carver learns to see the object of the carving as if it were composed of cubical forms. This method is called the Geisler-Moroder Way.
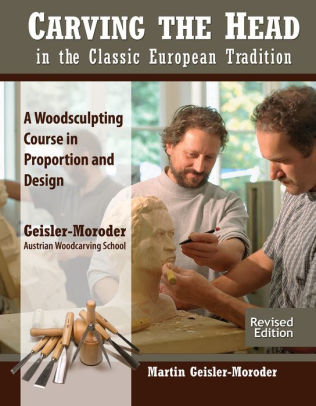
Carving the Head
Learn how to carve the face and head with using the traditional and famous system of the Tyrolean carvers. This complete wood carving course in proportion and design includes:
- Techniques for creating your own model
- Step-by-step instructions with easy-to-follow proportional drawings
- Full-color photographs demonstrating precise cuts
- Theory of proportions and explanatory sketches throughout the project
- A gallery of completed busts that illustrates finishing options
Step-by-Step: Carving the Nose
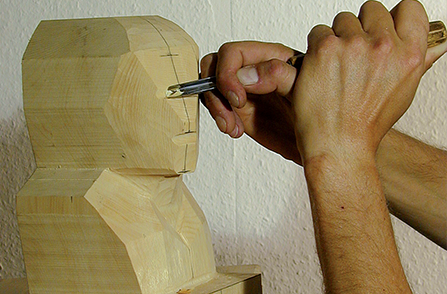
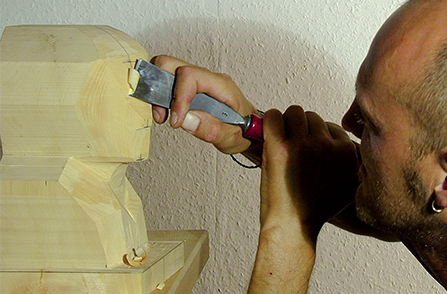
1. Form the nose.
To set the forms along the proportional lines, first gouge out wood under the nose with the #11-10 mm gouge. Repeat the same cut above the nose. Note: Aim to set a symmetrical foundation for the features.
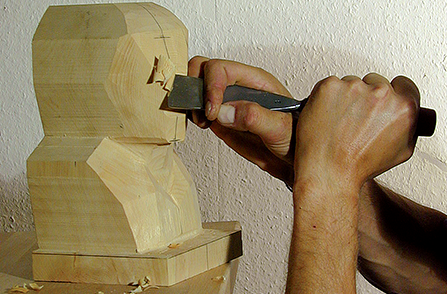
2. Blend the top of the bridge.
To blend the top of the bridge of the nose into the gouge cut above it, use the #3-40 mm gouge.
3. Lower the forehead.
Next, free the top of the nose bridge by lowering the forehead.
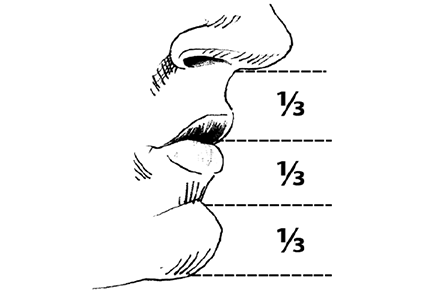
4. Know your proportions.
Now continue working on the nose area. Divide the distance between the nose and the bottom of the chin into three parts. The second line marks the place of the mouth; the third one is the hollow of the chin.
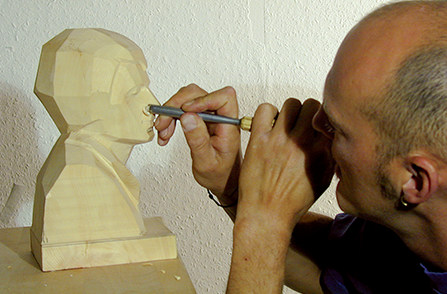
5. Detail the nose.
With a #7-10 mm gouge, shape the wing of the nose. Note: Maintaining the symmetry of the features is crucial for the harmonious appearance of the face. Take care that at least half of the nose sits “in” the face.
6. Cut the nostrils.
Using the same tool, cut gentle curves to indicate the nostrils underneath.
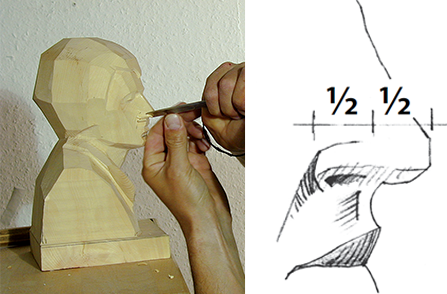
7. Finish the nose.
Cut both sides of the nose. We carved only one side of the nose first to show you the difference between the detailed nose and the nose before the cut.

8. Add your own spin on it.
Put your own “final finish” on your carving by adding things like wrinkles, sanding for a smoother look, or painting. The finish of a woodcarving face depends on the individual carver’s style and their choice of visual expression for communicating any planned messages.
New Wood Carving Books

Carving & Painting the Sea Captain
Wood carving artist and instructor Dylan Goodson. Dylan shows you how to sculpt an expressive 12-inch-tall figure in a relaxed pose with a natural balance. He explains his expert techniques for carving finely detailed faces, hands, and clothing, and provides useful advice on the wet-into-wet paint blending method. Clear instructions and more than 80 step-by-step photographs show you exactly what to do, with full-size patterns provided for 360 views.
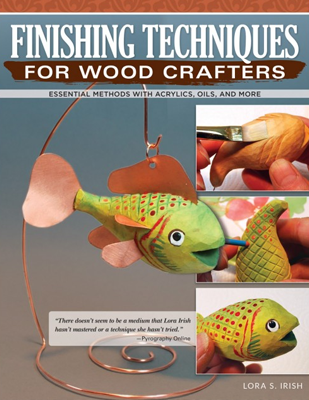
Finishing Techniques for Wood Crafters
Finishing Techniques for Wood Crafters takes you through all the basics of painting and staining any woodcarving, pyrography, or gourd project. Sample projects throughout the book demonstrate specific techniques-like applying a vintage finish to a chip carved fish; creating realistic skin tones on a wood spirit cane topper; enhancing a Celtic knot dragon with an interesting stone effect; and more. Once you master these artistic techniques you can mix and match them on any project.
Get Exclusive Email Offers And Receive 15% OFF On Your First Book Order!
About the Author
Robert Triplett has been carving for most of his life. He retired from the U.S. Army after twenty-five years of service and later worked as a safety engineer at electrical power plants. Born and raised in Bedford County, Pa., Robert lives in Hummelstown, Pa.


Recent Comments