


How to Whittle a Flat-Plane Bunny
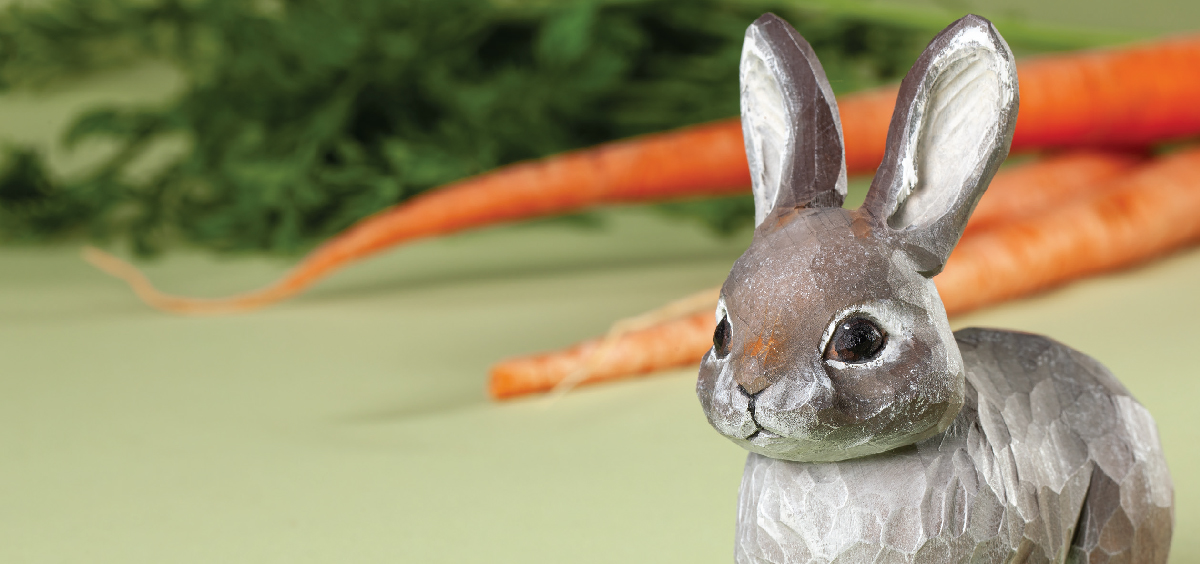
This rascally rabbit is as cute as the real thing, but won’t destroy your vegetable patch!
By James Miller, Photographs by Allison Cully
Rabbits, ubiquitous symbols of spring and good fortune, are so common in many parts of the world that they can easily be taken for granted—but I find them fascinating. These little guys are almost always on high alert due to the constant threat of predators, but their snappy movements and earthy coloration are actually great material for a carving project. I designed this one based on a local cottontail rabbit. His sitting pose serves two purposes: it shows off his cute features and positions the delicate ears and legs so the wood grain supports them.
Getting Started
Trace the front- and side-view patterns onto the blank. For this piece, orient the grain vertically from feet to ears in order to give strength to the ears. Cut the front view on a scroll saw or band saw, removing the waste entirely between the ears but leaving tabs of wood between the other cuts instead of cutting all the way through. Then cut the side view, removing the waste completely. Gently break off the wood surrounding the front-view pattern.
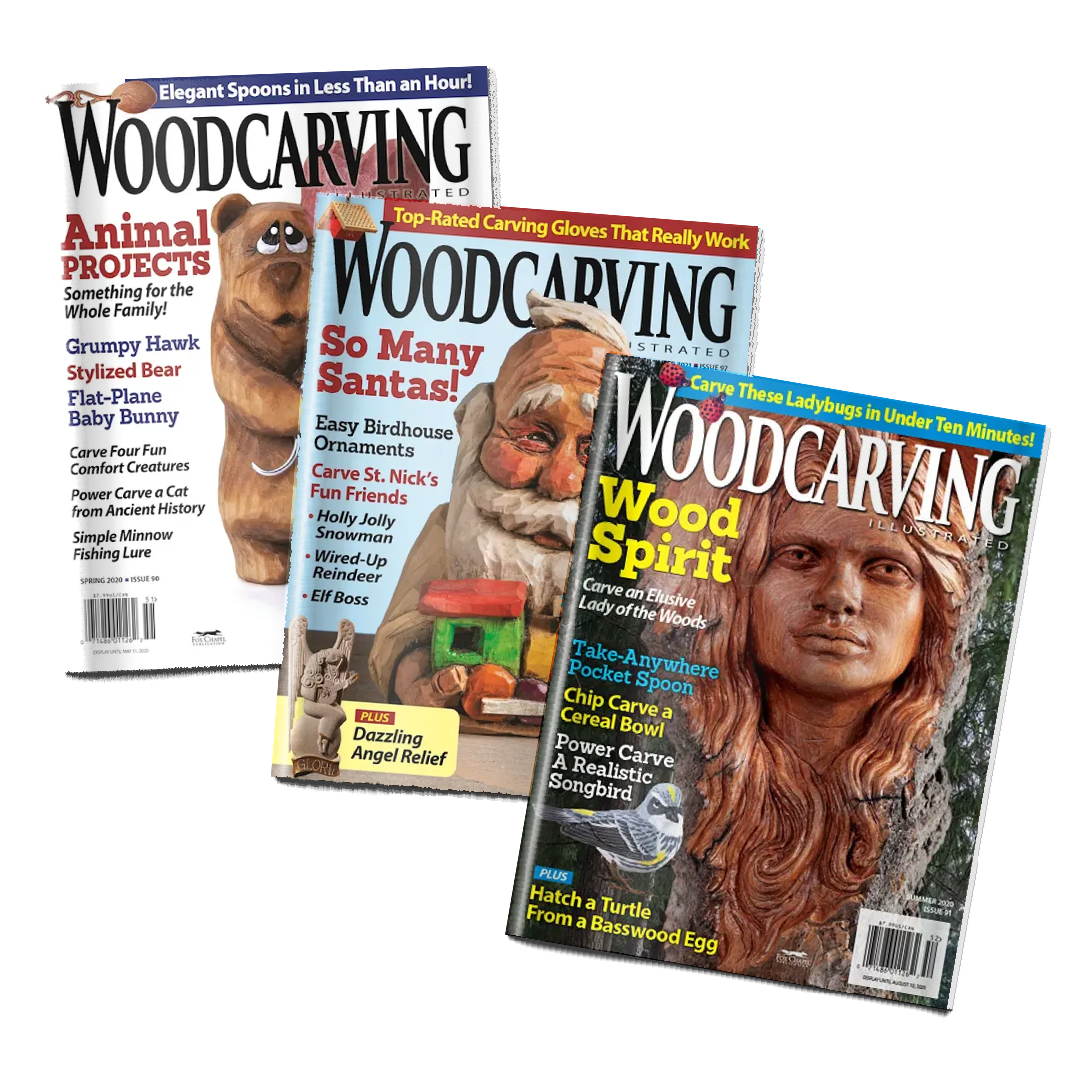
Subscribe to Woodcarving Illustrated Magazine
SAVE 22% off the cover price on a 1 Year Subscription (4 Issues)
Each quarterly issue (digital or print) is jammed with projects for all skill levels, from how to carve or whittle beginner friendly animals and whimsical characters to more advanced projects including realistic bird carvings.
Learn valuable tips and techniques that will help you master your favorite style of carving including power carving, chip carving, whittling, flat plane, low relief, or carving life-size animals with a chainsaw.
Wood Carving a Flat-Plane Bunny: Roughing Out

1. Draw the centerline and basic landmarks.
I prefer to use a pencil, but pens and markers work as well, since their marks don’t penetrate deeply into the wood. Sketch the neck, tail, and leg areas. Ignore the finer details at this stage; they will evolve as the carving progresses.

2. Round the entire carving.
Use a 2″ (51mm) blade. Remove all corners, making bold cuts that utilize both hands—one to hold the knife, and the other to hold the carving and apply force to the knife. Narrow the head with cuts starting at the chest. Then narrow the front of the chest, removing slightly more wood than you did on the rump.

3. Begin separating the major features.
Create V-shaped grooves where the head, legs, and tail meet the body, and blend those cuts into the surrounding areas. As you carve off the pencil lines, check both sides of the carving to ensure some degree of symmetry.

4. Check for blockiness.
Nothing makes a carving look more blocky than unintentional corners. From behind, the body of the rabbit should be nearly a circle or a horizontal oval. To avoid the blockiness, sweep the knife blade into and then out of the wood to create concave curves—imagine digging a shallow hole. Do this starting on the back and sides of the haunches up into the stop cut underneath the head. I created a rounded shape while maintaining angular flat planes.

5. Separate the ears and begin to shape the face.
This could be more or less work depending on how precise you were while sawing the blank. The ears should be separated by a gap around 1/4″ (6mm) wide. Draw the eyes, inner ears, and nose-and-mouth area. Sweep your knife in from the nose and out before the cheeks to create a cute, chubby appearance. Sweep your knife under the nose in the same way to make it stand out. Then round the ears.

6. Shape the inner ears.
Begin with a 3/16″ (5mm) micro gouge, such as Dockyard, and curve the ears inward. Then, starting at the base of each
ear, carve into the ear with a 1/8″ (3mm) gouge and up around the inner folds to give them a starker curve. Notice how the grooves inside the ears are most narrow toward their base.
Wood Carving a Flat-Plane Bunny: Adding the Details

7. Refine the curves and deepen all stop cuts.
Now that the ears have some detail, examine the carving as a whole to make sure that the shapes coincide well with one another. For example, after you work on the head for a bit, it will naturally shrink, which can make the rest of the body look too big. Adjust accordingly.

8. Refine the back legs.
A rabbit’s back legs are much larger than its front legs, a contrast I’ve exaggerated a bit in this project. Instead of separating the entire back leg from the body, round the front of each back paw to create the illusion of full separation.

9. Refine the front legs.
Use the 3/16″ (5mm) micro gouge. Since the front paws rest so close to one another, twist the gouge into the separation as you push it down toward the feet, being careful not to snap the legs. Feel free to leave some distinct gouge marks here, as it can add to the fluffy look of the fur.

10. Texture the fluffy chest.
To add variety and interest to the piece, apply this technique to the front of the rabbit: slide the edge of your knife into the wood. Then, while still sliding downward, rotate your wrist to create cuts that resemble gouge cuts, but are more organic and varied.

11. Carve the facial details.
With the knife, make stop cuts around the eyes, and then round the eyes into the sockets. Keep in mind that eyeballs are spherical, but we can’t see the entire sphere. Then, using the 3/16″ (5mm) micro gouge, carve a fine groove around each eye to create the eyelid area. Add the nose and mouth details with a series of simple, delicate stop cuts. Use the knife.

12. Add the cheek bulges.
Add the cheek bulges. To give the head a final bit of rabbity-ness, sweep away from the cheeks up to the back of the ears. Use the knife. Examine the head from all angles to make sure both cheeks look reasonably similar in size. The head should not look too rectangular or circular from any angle.

13. Make the final adjustments.
Look at your carving from all angles, making sure that nothing looks too blocky or out of place. In particular, make sure that the eyes look uniform, the sitting position looks comfortable (or alert, if your rabbit is feeling more wary than mine), and the ears and legs have uniform thicknesses.
TIP: Using Reference Photos
Whenever you carve an animal, especially if you haven’t carved several of them on your own, it can be helpful to refer to photographs throughout the carving process. I would not claim that this figure is realistic, but it certainly has elements of realism that I would not have been able to capture without taking a look at real rabbits first.
Wood Carving a Flat-Plane Bunny: Painting & Finishing
Prepare a wash of black acrylic paint mixed with a small amount of toffee and water until you achieve a medium gray. Paint this wash over the entire figure. With the dark base coat still wet, blend full-strength pewter gray over the entire figure. I like to use an old brush for this step to avoid a perfectly even coating.
I used photographs of rabbits for reference when deciding on additional colors. I noticed orange colorations around the legs, back, and top of the head, a white underside, white around the nose and eyes, a light off-white inside the ears, and some other faint colors. Blend white, flesh tone, and pumpkin orange into these areas on the gray. For a final bit of coat detail, apply white paint to an old brush, dry it off a bit on some newspaper, and dab it all over the figure’s back, sides, and head. To take the overall appearance up a notch, paint brown irises instead of making the eyes entirely black. Then add a tiny white dot to one corner of each eye to bring your rabbit to life; I used a toothpick.

A Little Asymmetry is Best
Perfect symmetry is not necessary, nor necessarily realistic. For example, if you were to look closely at this rabbit, you would notice that the head tips slightly to one side. I would argue that a little intentional asymmetry (even in a more or less symmetrically-posed figure) can help liven up a carving.
Materials & Tools
Materials
- Basswood, 2″ (5.1cm) thick: 3 1/2″ x 3 3/4″ (8.9cm x 9.5cm)
- Acrylic paints, such as Apple Barrel: black, brown, flesh tone, pewter gray, pumpkin
orange, toffee, white - Finish: Howard
- Feed-N-Wax
- Toothpick (for painting)
- Clean, dry rags: lint-free
Tools
- Scroll saw or band saw
- Carving knife: 2″ (51mm) blade, such as Pinewood Forge’s Harley knife
- Micro gouges, such as Dockyard: 1/8″ (3mm), 3/16″ (5mm)
- Paintbrushes: fine detail, 10mm, old
- Toothbrush
Other Wood Carving Titles
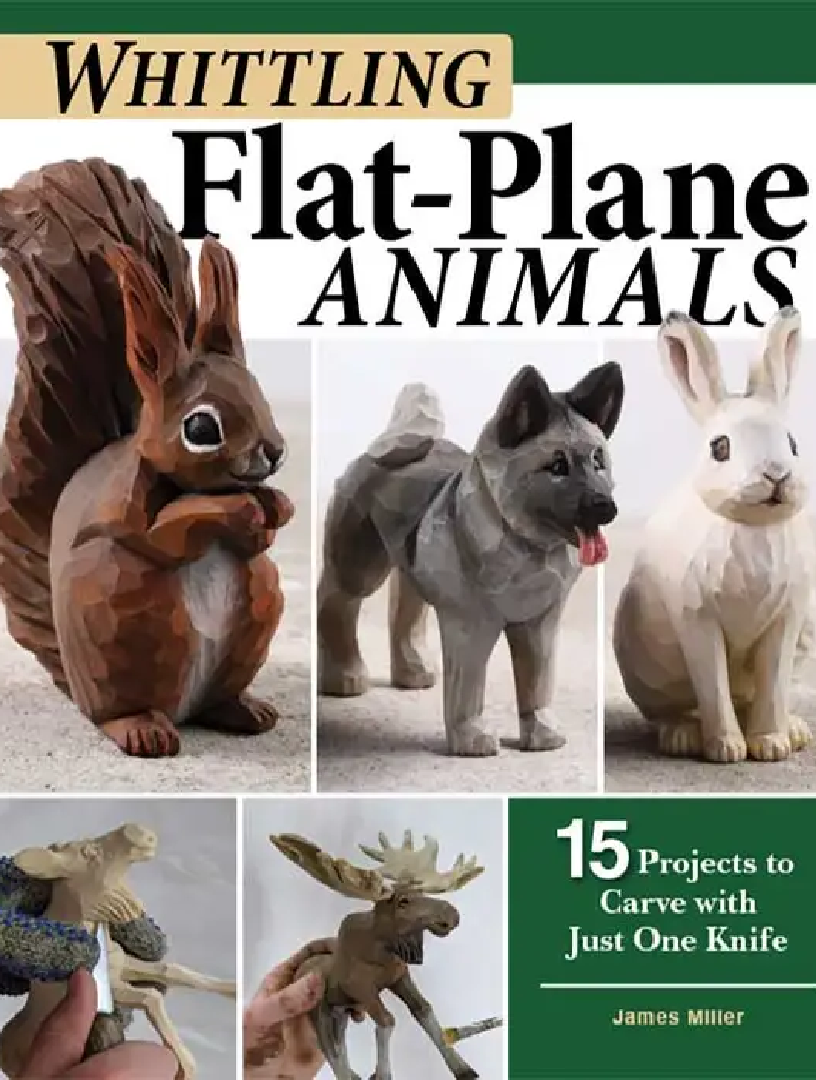
Whittling Flat-Plane Animals
The approachable method of flat-plane carving is perfect for beginners and experienced carvers alike! Featuring 15 step-by-step projects of wood animals – from hares and rams to bears and reindeer – learn classic, Scandinavian flat-plane techniques, further your skills, and discover a new favorite carving method!
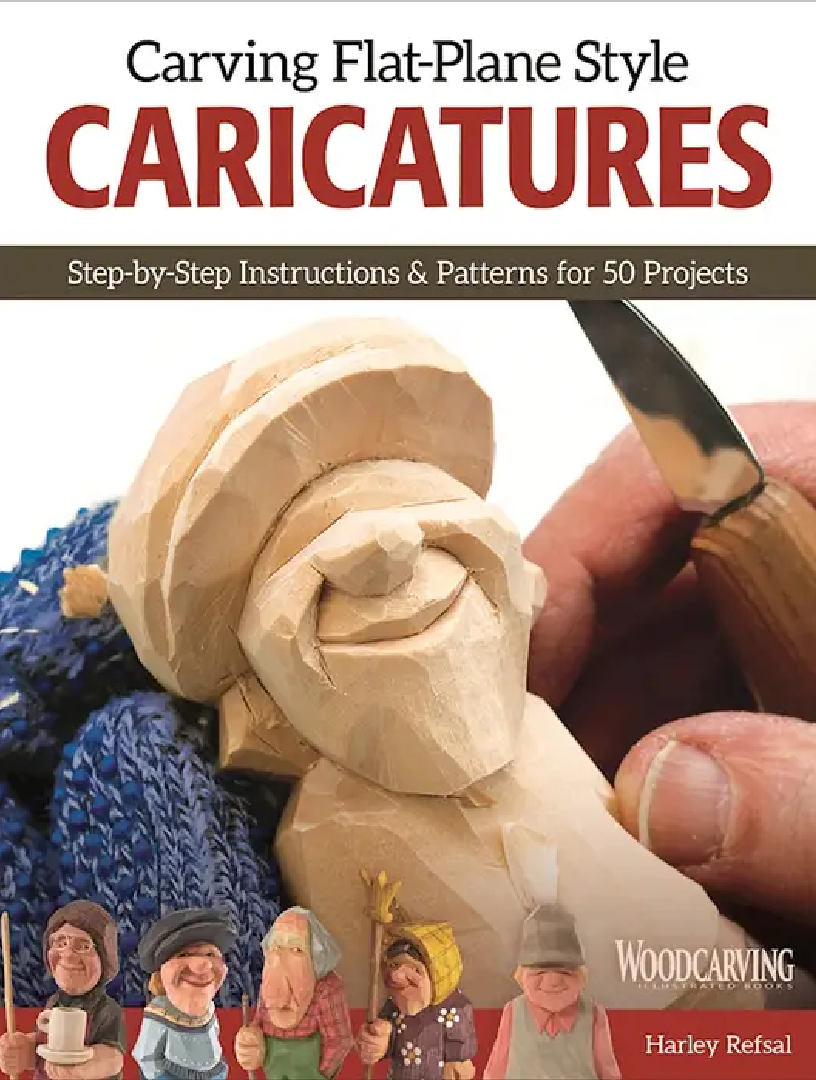
Carving Flat-Plane Style Caricatures
Carving Flat-Plane Style Caricatures presents more than 50 imaginative figure patterns for you to carve—from lumberjacks and golfers to trolls and elves. Join internationally recognized woodcarver Harley Refsal as he shows how to carve charming caricatures in the traditional flat-plane style.
Get Exclusive Email Offers And Receive 15% OFF On Your First Book Order!
Recent Comments