Carver Spotlight: Charles Banks
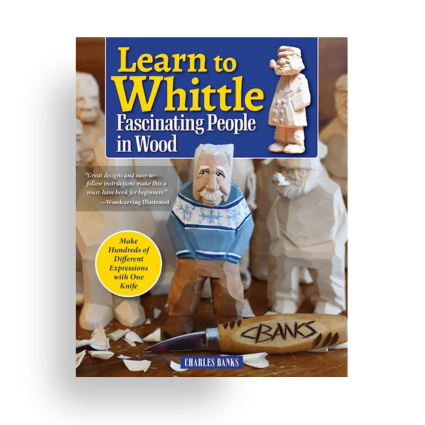
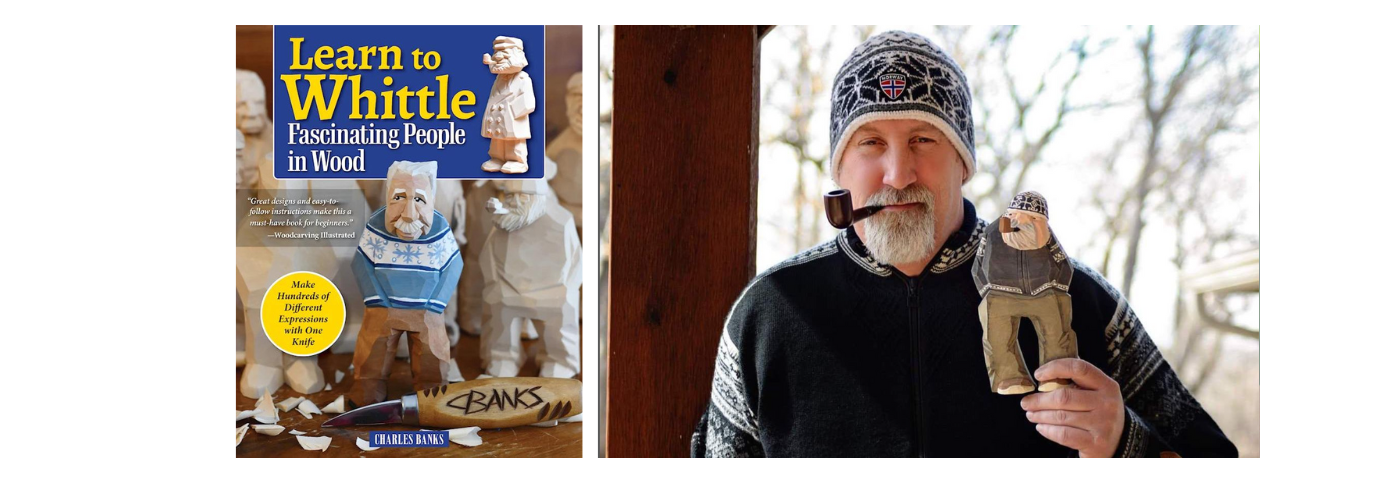
Flat-plane carving is rooted in simplicity. Expert caricature carver and author of Learn to Whittle Fascinating People in Wood, Charles Banks specializes in this technique and firmly believes in the one-knife concept.
Woodcarving Illustrated caught up with Banks to discuss 3 tips to Master Caricature Carving. If you’re a carver looking to master the art of Scandinavian Flat-Plane carving, keep reading for Banks 3 top tips.
How-To Master Flat-Plane Carving in 3 Easy Steps
As a long-time carver and carving instructor, I have experienced first hand many of the trials and tribulations one experiences when attempting to master the craft. In my many years of teaching, I’ve noticed most novice carvers try to avoid mistakes and turn one large cut into multiple small cuts. In a similar fashion, more intermediate and advanced carvers’ first inclination is to remove the machine marks on their blank. Both of these methods lead to a more chipped look on your blank. Though the “chipped look” is ideal for some projects, to achieve the simplistic style that flat-plane carving is known for, you’ll want to try to use as few cuts as possible. Keep reading to learn 3 tips to master flat-plane carving PLUS a practice exercise.
1. Envision each part of your project as its own subject
By envisioning each part of your project as its own subject it is easier to recreate your subject as accurately as possible.
2. Create Scandi-Roundness with the rule of Thirds
The reason your carving project will be more accurate is due to the rule of thirds. The rule of thirds has been used by artisans all over the world for centuries. When you approach each part of your carving project individually it helps you separate the left, middle, and, right sides, creating the infamous illusion of roundness that flat-plane caricatures are known for.
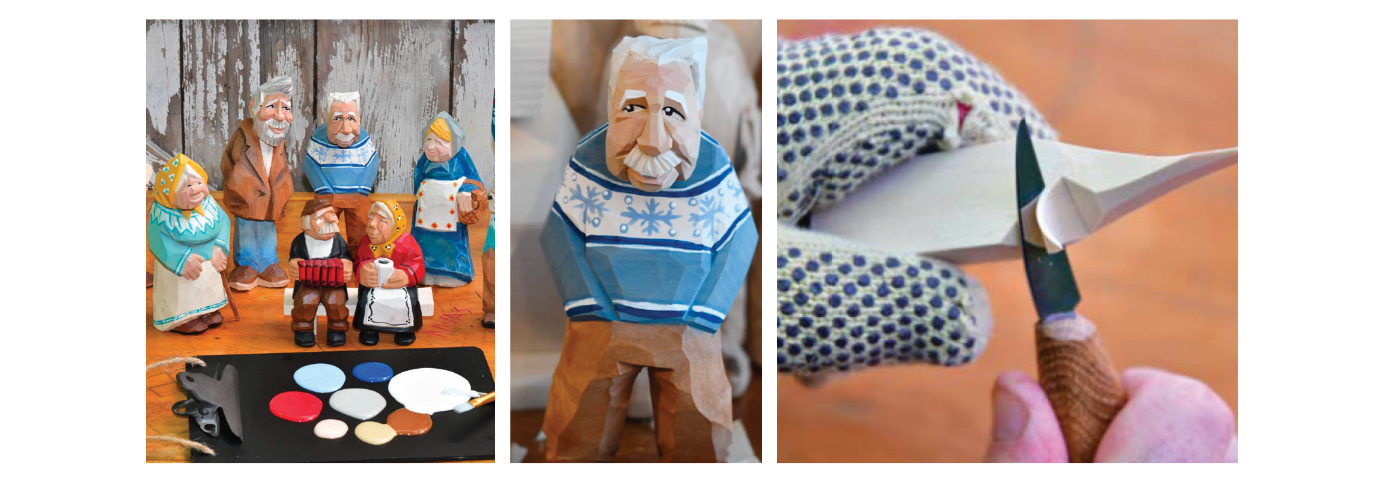
3. Don’t OVER carve
Making those large cuts may seem very daunting at first. The most recurring comment I get when teaching my caricature carving course is I don’t have the strength or confidence to make those big, finished cuts. My response is always the same: Stack your cuts! To avoid the over-carved look, layer multiple calculated smaller cuts over each other.
As your confidence with the knife grows, you’ll quickly watch them get wider and deeper.
Practice exercise: Identify your caricature shoulders and elbows. Make one fell swoop cut and you have a flat-plane cut! The “starting” point is your Shoulder and the “ending point is the elbow.
Inside You’ll Find
- In-depth overview of how to perfect your cuts by practicing: push cuts, pull cuts, stop cuts, and chip cuts
- Tips for identifying the cutting zone of a blade from the do-all to the tip
- How-to guide for sharpening and stropping your blades using oil stones, diamond sharpening cards, etc.
- The basics of choosing your wood blanks from basswood to butternut and how to work with its grain and direction


