WHITTING PROJECT: DART ARROW
By FELIX IMMLER in the Victorinox® SWISS ARMY KNIFE WHITTING IN THE WILD
Even today, whittling with a Swiss Army Knife still captivates many children. Completely analog and battery-free, it is a companion for adventures big and small and creates valuable experiences outside of the digital world.
Nothing helps create a stronger bond than a parent or grandparent helping their child to achieve a whittling project—a wonderful opportunity to build relationships between two generations. In this regard, my Whittling in the Wild Book is meant for whittling enthusiasts of all ages. The selected projects appeal to children just as much as adults, but the techniques require fine-motor skills and often also technical understanding. So grab your Victorinox® Swiss Army Knife and try this dart arrow project from Felix’s Whittling in the Wild.
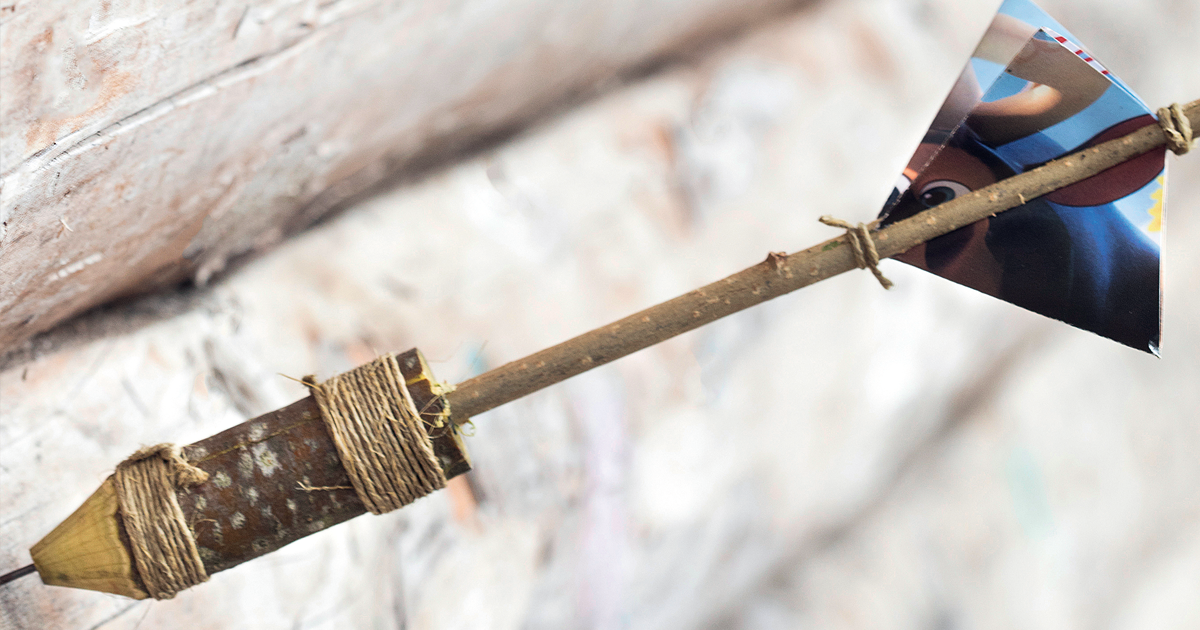
A dart arrow can be built in different sizes. The following instructions are for an approximately 6″ (16cm) long dart arrow. This size proved to be the best in my tests.
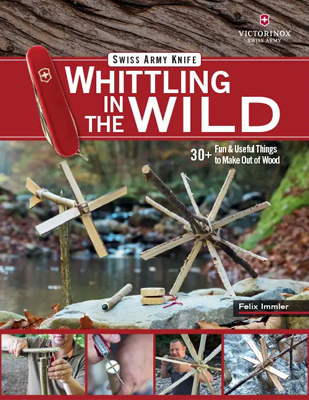
Whittling in the Wild
This book contains new 33 whittling project ideas you won’t find in any other book. Using easy-to-find items—both at home and in nature—and a Victorinox® Swiss Army Knife with a saw attachment, you’ll whittle an amazing collection of tools, instruments, and toys!
What you need:
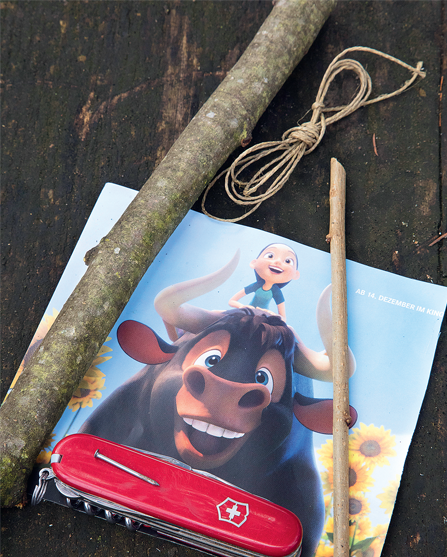
To make a dart arrow, you need a Swiss Army Knife; a thin, straight branch that is 3/16″–1/4″ (5–6mm) thick and 5 1/8″ (13cm) long for the shaft; a 3/4″ (2cm) thick, 4″ (10cm) long branch of strong wood like cornelian cherry, dogwood, boxwood, or hornbeam for the grip; a 4″x4″ (10x10cm) piece of waxy paper for the wings; and a nail or other small metal point for the tip.
Wood Carving a Dart – Step by Step
1. Get started on your wings.
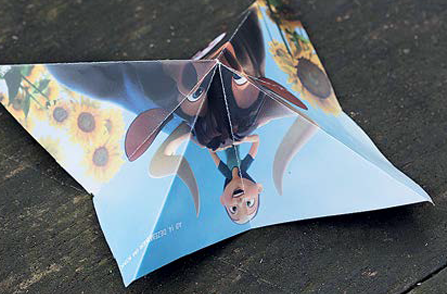
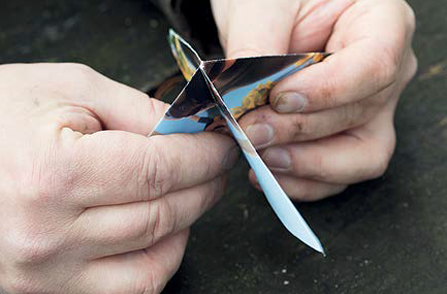
For the wings, you need a piece of thick paper or thin cardboard. If the paper is coated like the kind in a glossy magazine, it will be less susceptible to moisture. Wrapping paper also works well. Fold the paper in half twice. Then unfold it and fold it diagonally in one direction; unfold it and fold it diagonally in the other direction. When the paper is now unfolded, you should see creases that form a star.
2. Shape the wings.
Then shape the paper until four wings appear. (More detailed images can be found in Whittling in the Wild.)
3. Cut the Wings.
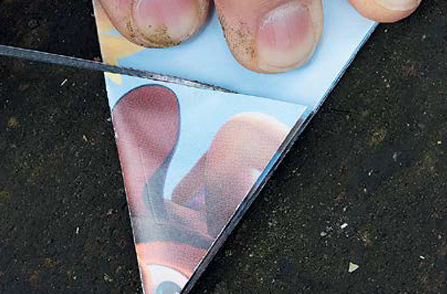
Fold the four wings over each other and cut a piece of the open side off to form a triangle. Then, open up the wings again.
4. Start the shaft.
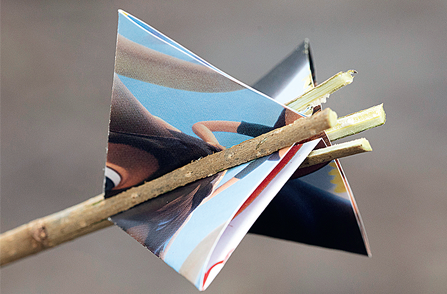
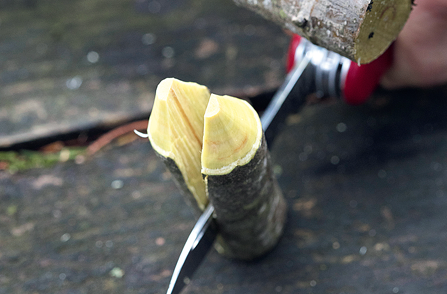
Now for the shaft: Split the branch crosswise at its thinner end so that the wings can fit inside. I like making the split deep enough to be able to tie string in front of, as well as behind, the wings. (More detailed images can be found in Whittling in the Wild.)
5. Start the grip.
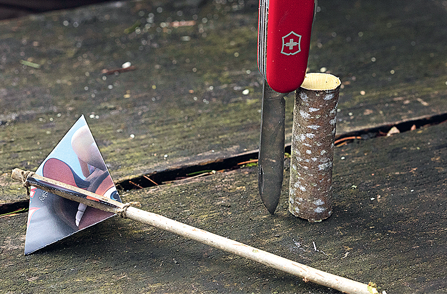
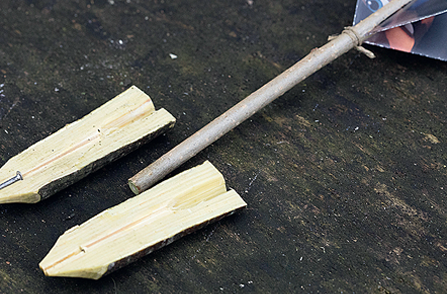
Finally, the grip: In a store-bought dart arrow, the handle makes up about 90% of the total weight. Cut off a 2 3/4″ (7cm) long piece from the branch. This is about the length of the large knife.
7. Make the nail impressions.
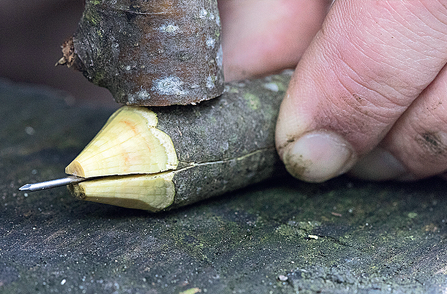
Take the nail that you will use for the point, place it between the two halves, and press firmly together. Now you have impressions of the nail in the right place.
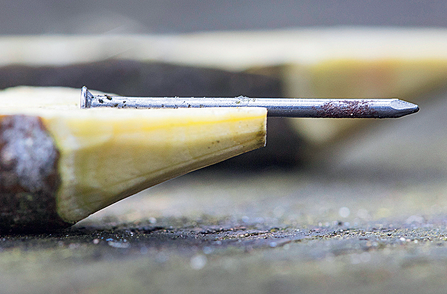
9. Add the nail.
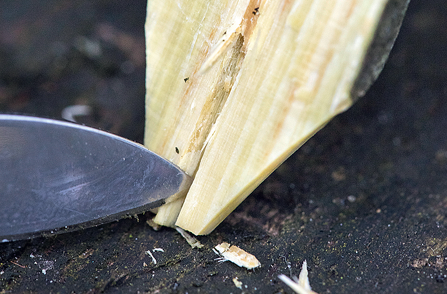
Create an indent where the nail will sit that will allow the two halves to come together evenly.
More Whitting Titles
Little Book of Whittling
Woodcarving Illustrated Magazine Whittling Volume 5
Get Exclusive Email Offers And Receive 15% OFF On Your First Book Order!




Recent Comments