WHITTLING A WOOD ELEPHANT
By TOM HINDES, AUTHOR OF WHITTLING IN YOUR FREE TIME
Tom Hindes is back with 16 new quick and easy projects to carve in wood! With over 20 years of wood carving experience and a regular contributor of Woodcarving Illustrated Magazine, Tom’s tutorials and patterns are sought after beginners and advanced carvers a like.
Sample Tom’s tutorial style as he will walks you through this fast, fun, and easy wood carving for beginners tutorial with a free pattern download of a little elephant carving below.
Elephant Wood Carving – Getting Started
In Indian culture, the elephant is considered lucky. Whittle these adorable pieces for your friends and family—and keep one for yourself. Trace the pattern onto the blank, and cut the perimeter with a band saw, scroll saw, or coping saw. Draw the detail lines and a centerline onto the blank.
WHITTLING IN YOUR FREE TIME
Anyone can whittle! Inside you will find:
- 16 easy projects using the approachable flat-plane style of whittling and carving
- Beginner-friendly method can be split into complexity levels from very simple, for novices, to more challenging, for experienced carvers
- Step-by-step instructions and photography take you through each project
- Expert tips for painting and finishing, plus the basics on knife safety, sharpening, and more
- Whittle a variety of animals from safari, aquatic, and woodland to farm and domestic animals
Materials & Tools:
- Basswood, 3/4 ” (1.9cm) thick: 1″ x 1 3/4 ” (2.5cm x 4.4cm)
- Acrylic paints (optional)
- Stain and wood conditioner (optional)
- Polyurethane
- Saw: coping, band, or scroll (optional)
- Knife
- Paintbrushes
The author used these products for the project. Substitute your choice of brands, tools, and materials as desired.
Wood Carving an Elephant – Step by Step
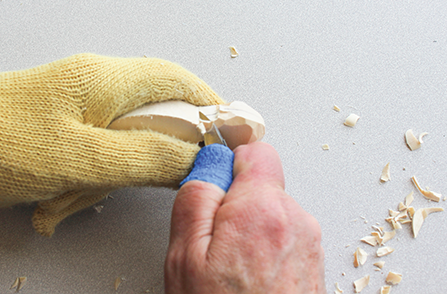
1. CARVE THE TRUNK & EARS.
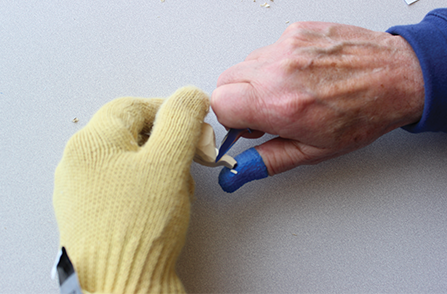
Carve the trunk. Use paring cuts. Taper and round the
elephant’s trunk toward the tip, the top of its head, and the
centerline. Make stop cuts at the lines defining the elephant’s
ears. Using paring cuts, remove wood up to these stop cuts.
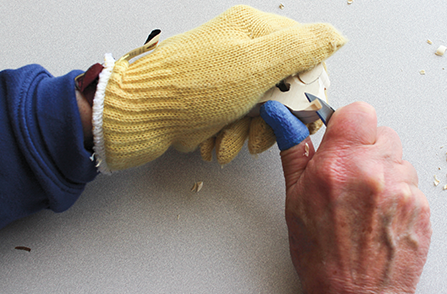
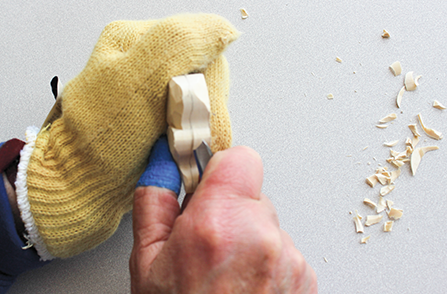
3. NARROW THE LEGS.
Shape the feet. You can separate the legs, or leave them connected for stability.
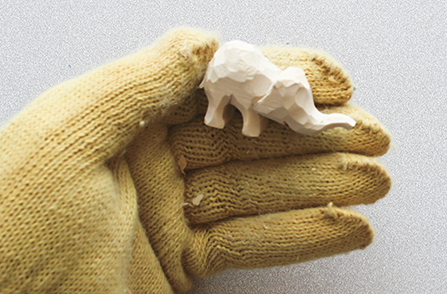
5. CLEAN UP THE BODY.
Clean up the body. It may be necessary to scrub the elephant with a stiff brush (such as a denture brush), warm water, and liquid detergent to remove pencil marks, dirt, or wood
“fuzzies” at the bottom of cuts. If you scrub the piece, let it dry before applying a finish.
6. FINISH THE CARVING.
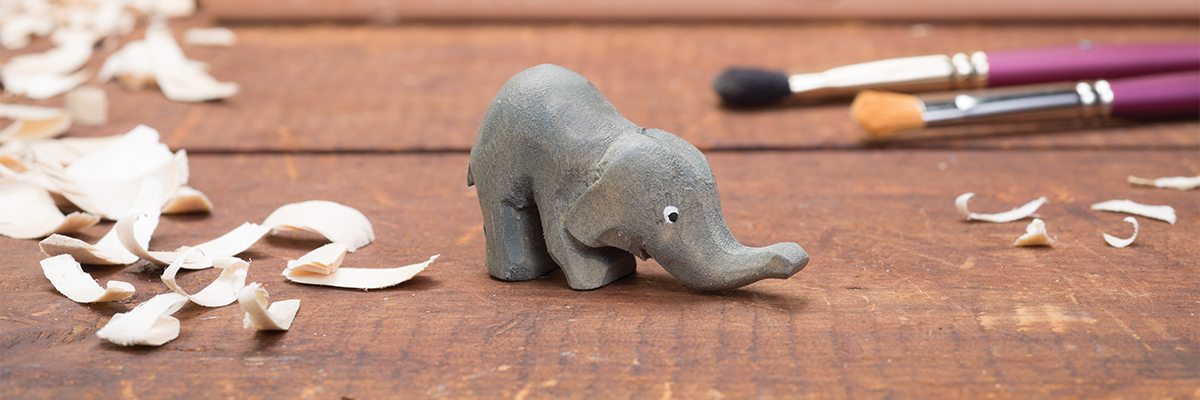
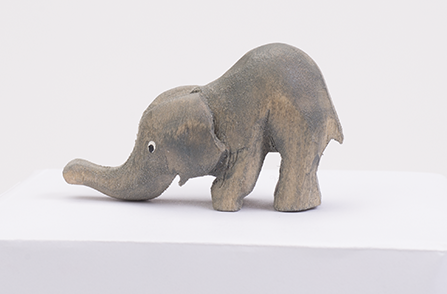
There are several ways to finish the baby elephant: sand it smooth, leave the knife cuts visible in a flat-plane style, stain it, or paint it. Mix and match these finishing techniques or leave the baby elephant unfinished. I chose to paint the elephant gray, its eyes white, and its pupils black.
More Wood Carving Titles
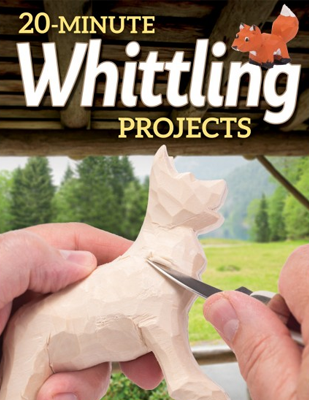
Fun Things to carve from Wood
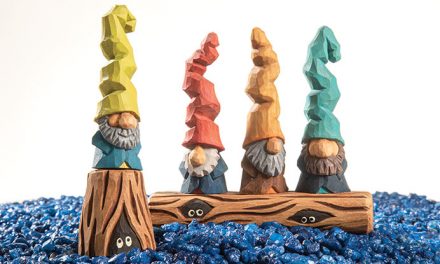
Author Tom Hindes demonstrates his easy-to-learn, quick-cut method for whittling expressive little figures from wood in just 20 minutes or less. With his friendly instructions and step-by-step photos, you’ll learn to carve an endless array of charming wizards, gnomes, gargoyles, ornaments, dogs, leprechauns, and more.
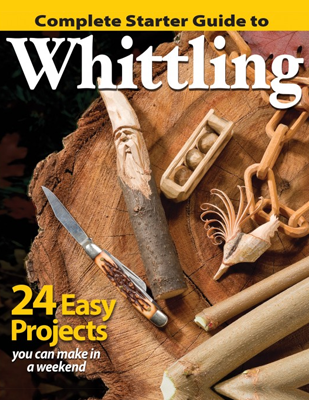
24 Easy Projects you can make in a weekend
All you need is a knife, a twig, and this book! We’ve assembled a team of 12 leading woodcarvers to bring you a complete starter guide to whittling. They present 24 easy whittling projects for beginners that you can make in just a weekend, complete with step-by-step instructions, how-to photographs, ready-to-carve patterns, and helpful tips.
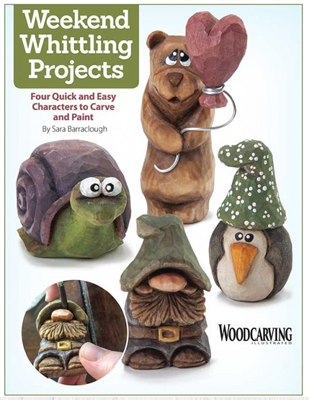
Four quick & Easy characters to carve & Paint
Learn to whittle four little friends! Featuring step-by-step instructions, coordinating photography, and full-size patterns for a snail, bear, troll, and penguin, author and talented woodcarver Sara Barraclough will guide you through each adorable whittling project.
Get Exclusive Email Offers And Receive 15% OFF On Your First Book Order!




Recent Comments